When Is a Plant Too Far Gone to Save?
Published on: January 23, 2026 | Last Updated: January 23, 2026
Written By: Lena Greenfield
You’re staring at your plant, wondering if it’s time to say goodbye. I’ve been there many times in my years of indoor gardening, hesitating over a beloved but struggling green friend.
In this guide, I’ll walk you through the clear signs of a plant that’s beyond saving, a simple step-by-step check to perform, and what to do next with your plant and your space.
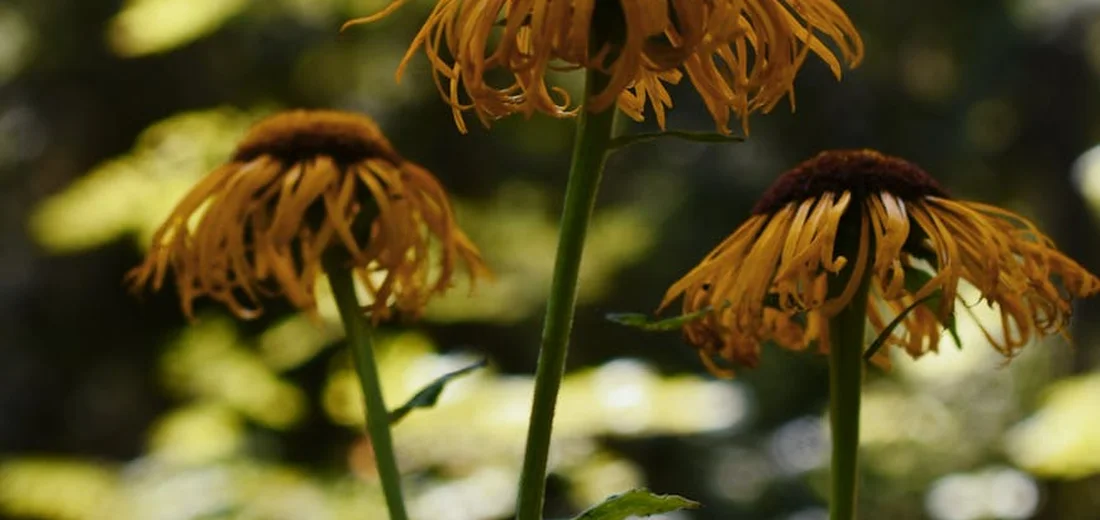
Recognizing the Point of No Return: Signs of Irreversible Decline
After years of nursing plants back to health, I’ve learned that sometimes, the kindest thing you can do is let go. When a plant has truly passed the point of no return, your energy is better spent on the thriving members of your plant family. It’s a tough but necessary part of the plant parent journey.
Here are the clear, undeniable signs that your plant is beyond saving.
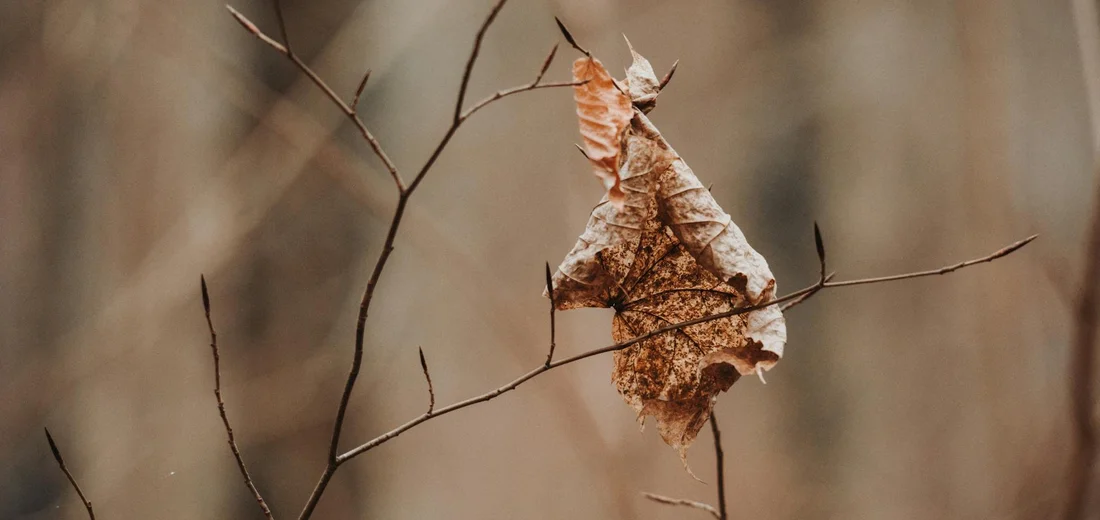
- Completely Mushy, Blackened Stems: If the main stem or trunk is soft, squishy, and black, it’s a goner. I once tried to save a jade plant with a black, mushy stem; it was like trying to revive a soggy celery stalk. The plant’s vascular system is gone.
- Roots That Are Brittle and Snap: Healthy roots are firm and white or tan. Gently unpot the plant and feel the roots. If they are dry, brittle, and crumble to the touch, the plant has no way to absorb water or nutrients. This is often the final stage of severe underwatering or root damage.
- A Pervasive Rotten Smell From the Soil: A healthy plant’s soil smells earthy. A foul, sour, or rotten egg odor is a major red flag for advanced root rot. I’ve smelled this on an overwatered snake plant, and it’s unmistakable. The roots have decayed and are now fostering anaerobic bacteria.
- Total Leaf Loss With No Green Growth Points: A plant can lose all its leaves and still be alive if it has healthy stems and nodes (those little bumps where new growth emerges). If every single leaf is gone and the stems are completely bare with no signs of green buds, the plant has likely exhausted all its energy reserves.
Diagnosing Reversible Plant Health Issues
Don’t panic at the first sign of trouble! Most plant problems are fixable if you catch them early. Think of yourself as a plant detective, looking for clues to solve the mystery of your plant’s unhappiness. Some clues may relate to lighting—whether your plant needs more sun or is getting too much. We’ll show you how to identify and fix common light-related plant problems. This quick-reference table will help you figure out what’s going on.
| Symptom | Likely Cause | Is It Reversible? |
|---|---|---|
| Yellow Leaves (Lower, Older Leaves) | Natural aging or consistent underwatering | Yes |
| Yellow Leaves (Widespread, Often with Wilting) | Overwatering and potential root rot | Yes, if caught early |
| Wilting or Drooping | Underwatering, overwatering, or shock from repotting | Yes |
| Brown, Crispy Leaf Edges | Low humidity, underwatering, or fertilizer burn | Yes (the damaged edges won’t heal, but new growth will be healthy) |
| Leggy, Stretched-Out Growth | Not enough light | Yes |
| Sticky Residue or Tiny Webbing on Leaves | Pests like aphids, scale, or spider mites | Yes, with consistent treatment |
| Soft, Mushy Brown Spots on Leaves/Stems | Severe overwatering leading to rot | Maybe (requires immediate intervention like cutting away rot and repotting) |
I always tell new plant owners that a wilting plant is often just a thirsty plant, and that’s an easy fix with a good drink. The key is to act quickly and adjust your care routine based on what the plant is telling you. Your observation is the most powerful tool you have.
Your Plant Rescue Plan: Step-by-Step Salvage Tips
I’ve brought dozens of plants back from the brink, and a calm, methodical approach is your best tool for success.
-
Step 1: Isolate and Inspect
Move your ailing plant away from its healthy neighbors to prevent any potential pests or diseases from spreading. I always do this on a table covered with an old towel or newspaper to contain the mess. Gently remove the plant from its pot and carefully examine every part. Check the leaves for unusual spots, stickiness, or tiny bugs. Feel the stems; they should be firm, not mushy or brittle. Finally, inspect the roots. Healthy roots are typically white or light tan and feel firm.
-
Step 2: The Pruning Process
Using a pair of clean, sharp scissors or pruning shears, cut away all the dead or severely damaged material. This step feels drastic, but it’s like redirecting traffic-you’re telling the plant to stop wasting energy on lost causes and focus on new growth. Remove any yellow, brown, or black leaves. If a stem is mushy or completely dried out, cut it back to the soil line or to where you see healthy, green tissue.
-
Step 3: Address the Root Cause
This is the most critical step. Your inspection should tell you what went wrong.
- If the roots were brown, slimy, and had a foul smell, you have root rot. Gently rinse the old soil away and snip off all the rotten roots before repotting into fresh, well-draining soil.
- If the soil was bone-dry and the roots were shriveled, you need to rehydrate. Soak the entire root ball in a basin of water for about 30-45 minutes until the soil is fully saturated.
- If you found pests, treat them immediately with an insecticidal soap or a mix of water and a few drops of mild dish soap.
-
Step 4: Create a Recovery Sanctuary
Your plant is now in a fragile, convalescent state. Place it in a spot with bright, indirect light—direct sun can be too harsh for a stressed plant. That setup creates the perfect recovery environment for a stressed plant. With consistent light and careful watering, you support its recovery. Hold off on fertilizer completely; its roots are too tender to handle the extra salts. Water only when the top inch or two of soil is dry, being extra careful not to over-love it with too much water. Then, be patient. Recovery takes time.
When to Propagate: Creating New Life from the Old
When a plant looks like it’s on its last legs, propagation is my go-to move for turning a potential loss into a hopeful win. It’s the ultimate plant insurance policy.
Identifying Viable Parts
You’re looking for any piece of the plant that still shows signs of life.
- For succulents like Echeveria or Jade plants: Look for plump, undamaged leaves. Gently wiggle a leaf from the stem; if it comes off with a clean break, it’s perfect.
- For vining plants like Pothos or Philodendron: Find a section of stem that has a “node”-that little brown bump on the stem. In my experience, a cutting with at least one node and one leaf has the highest chance of rooting.
- For plants like Snake Plants: Even a single, healthy-looking section of a leaf can be cut into smaller pieces and propagated. Here’s how to do it correctly.
Simple Propagation Methods
You don’t need fancy equipment.
- Water Propagation: This is my favorite method for beginners. Place your stem cuttings in a jar of water, ensuring the nodes are submerged. Change the water every week. It’s incredibly rewarding to watch those tiny white roots develop right before your eyes.
- Soil Propagation for Succulents: Lay your healthy leaves on top of dry, well-draining succulent soil. Place them in bright, indirect light and ignore them! In a few weeks, you’ll see tiny new roots and a baby plant forming at the base of the leaf. Leaf cuttings are a simple, proven way to propagate succulents. Detach a healthy leaf and lay it on dry, well-draining soil until roots and a new plant form.
- Division: For plants that grow in clumps, like ZZ plants or Peace Lilies, you can often divide the root ball into two or more separate plants during repotting.
The Emotional Reward
Propagating a struggling plant is more than just a gardening technique; it’s a deeply emotional act of preservation. I have a Spider Plant that was propagated from my grandmother’s original plant. Even though her main plant is long gone, a part of it still lives on in my home. It turns a story of loss into a legacy of growth and continuity, which is one of the most beautiful parts of caring for houseplants.
How to Compassionately Retire a Plant
After years of tending to my own indoor jungle, I’ve learned that saying goodbye is a natural part of the plant parenting journey. This process isn’t a failure; it’s a responsible act of care that protects your other plants and gives you a fresh start.
-
Step 1: Remove the plant from its pot.
Gently tip the pot on its side and carefully coax the plant out. I often do this over an old tarp or newspaper to contain the mess. If the root ball is stubborn, you can gently squeeze the sides of a plastic pot or run a knife around the edge of a ceramic one to loosen it.
-
Step 2: Discard diseased plant material in the trash (not compost).
This is a critical step I learned the hard way. If your plant succumbed to pests like mealybugs or a fungal disease, tossing it in your home compost bin can spread the problem. Seal the plant in a plastic bag and dispose of it with your regular household trash to prevent any issues from lingering.
-
Step 3: Clean and sanitize the pot thoroughly before reuse.
Simply rinsing a used pot isn’t enough. Scrub it with warm, soapy water to remove all soil and debris. For a deeper clean, I soak my ceramic and plastic pots in a solution of one part household bleach to nine parts water for about 10-15 minutes, then rinse them thoroughly. This kills any hidden pathogens.
-
Step 4: Consider composting healthy, non-diseased soil or plant matter.
If the plant died from simple overwatering or neglect and wasn’t sick, the soil and roots can often be composted. I break up the root ball and mix the old soil into my compost pile, where it breaks down and adds wonderful organic matter for my garden later.
Building a Resilient Plant Care Routine for the Future
Losing a plant is a powerful learning experience. It taught me to build a care routine that’s both consistent and adaptable, preventing future heartache.
-
Water with purpose, not on a schedule.
I stopped watering every Saturday and started checking the soil instead. Stick your finger about two inches into the soil; if it feels dry, it’s time to water. If it’s damp, wait. For succulents, I let the soil dry out completely between thorough waterings. In addition to the finger test, watch for signs like wrinkled or puckered leaves and a soft, shriveled look. These symptoms tell you when your succulents need water.
-
Choose the right potting mix for excellent drainage.
Regular potting soil is often too dense for many houseplants. I now mix in perlite or orchid bark for my aroids and use a gritty, fast-draining cactus mix for all my succulents. For succulents, I also use perlite-based succulent soil mixes to keep the soil airy and well-draining. Good drainage is the simplest way to prevent root rot.
-
Perform regular pest checks during watering.
Every time I water, I make it a habit to quickly inspect the tops and undersides of leaves, and along the stems. Catching pests like spider mites early makes them much easier to manage with a simple spray of insecticidal soap or neem oil. This routine also helps prevent spider mites on indoor plants.
-
Understand your specific plant’s light needs.
I used to think “bright, indirect light” was a vague suggestion until I bought a simple light meter. Knowing the difference between low, medium, and bright light transformed my success, ensuring my sun-worshipping succulents and my shade-tolerant snake plants both thrived.
FAQs

How can I tell if my plant is dormant or truly beyond saving?
Dormant plants often have firm stems and hidden growth points, while a plant beyond saving shows no signs of life like mushy stems or brittle roots.
What early warning signs suggest a plant is nearing the point of no return?
Persistent yellowing leaves combined with a softening stem base or a slight rotten smell can indicate irreversible decline is starting.
Can severe pest damage make a plant unsavable even if the roots seem healthy?
Yes, if pests have extensively damaged the vascular system or leaves, the plant may not recover despite healthy roots.
How do I handle emotional attachment when deciding to retire a plant?
Focus on the learning experience and consider propagating any healthy parts to continue the plant’s legacy in a new form.
What home check can I do to see if poor soil is contributing to plant failure?
Test soil drainage by watering and observing if it remains soggy for days, which can signal compaction or rot issues. To test your succulent soil’s proper drainage, observe how quickly the surface dries after watering and whether water drains freely through the pot. If drainage is slow, amend the mix with perlite or pumice and ensure the pot has adequate drainage holes.
How can I adjust my care to prevent plants from reaching an unsavable state in the future?
Regularly inspect plants for stress signs, tailor watering to their specific needs, and ensure they have appropriate light and soil conditions.
Your Plant Care Journey Continues
In my years of tending to houseplants and succulents, I’ve learned that recognizing when a plant is beyond saving allows you to channel energy into thriving greenery—so trust your observations and act decisively. If you’re unsure whether a succulent is dying or simply dormant, check how it responds to proper watering and light cues. Dormant succulents usually pause growth but stay firm, while dying plants soften, discolor, or develop rot and don’t recover.
- Look for persistent root rot, pest infestations, or no new growth after corrective care
- Propagate healthy parts or compost the plant to reduce waste
- Use each experience to refine your watering, light, and soil habits
Stay connected with Hardy House Plants at www.hardyhouseplants.com for more practical tips that make plant care joyful and manageable. Every challenge you face deepens your skills, so keep nurturing-your green thumb is always growing stronger.
Further Reading & Sources
- Got a dying plant? These tips could help you save it
- How to Revive Plants That Are Dying: Top Tips to Rescue Your Wilting Greenery
- How to Revive a Dying Plant – Green Thumb Nursery
- How to Save a Dying (or Dead) Plant | Angi
Lena Greenfield is a passionate horticulturist and plant care expert with over 10 years of experience cultivating and nurturing hardy house plants. With a deep understanding of both indoor and outdoor gardening, Lena shares practical advice on choosing, caring for, and maintaining resilient plants that flourish year-round. Through her knowledge and hands-on approach, Lena helps plant lovers transform their spaces into vibrant, green sanctuaries, no matter their gardening experience.
Stress Symptoms