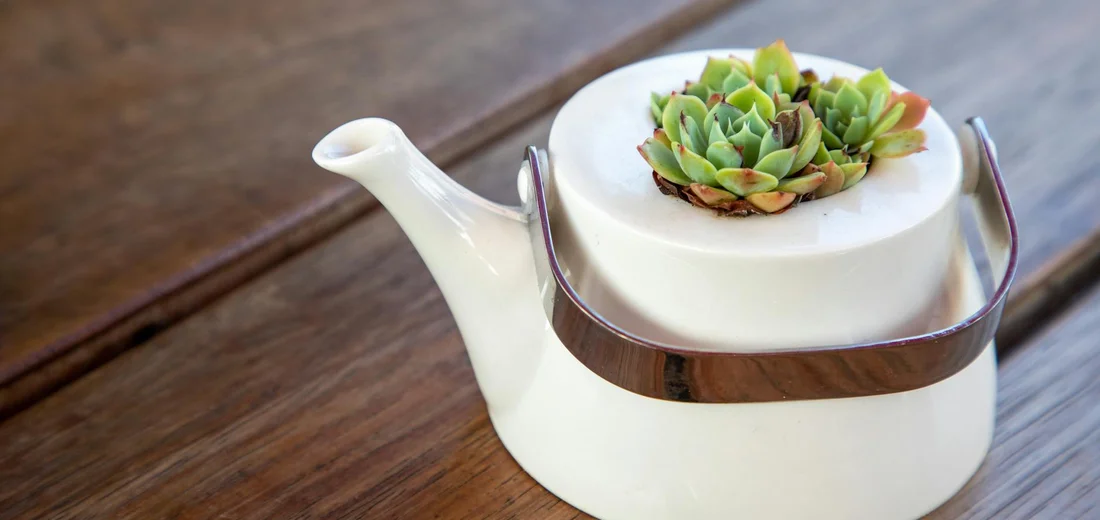
When to Repot Succulents and Change Their Soil
Published on: May 7, 2026 | Last Updated: May 7, 2026
Written By: Lena Greenfield
You’re probably wondering if your succulent is ready for a new pot, and maybe you’re worried about doing more harm than good. Repotting at the right time makes a huge difference for your plant’s health and growth.
In this guide, I’ll share what I’ve learned from years of growing succulents, covering the key signs your plant is root-bound, the best time of year to repot, how to choose the right soil mix, and a simple step-by-step repotting process.
Clear Signs Your Succulent Needs a New Home
Over the years, I’ve learned that succulents are subtle communicators. They don’t shout for help, they whisper. Learning to spot their quiet distress signals is the key to keeping them thriving for years.
Roots Taking Over the Pot
This is the most common and urgent sign I see. A root-bound plant is like a person wearing shoes three sizes too small. Gently tip the pot on its side and ease the plant out for a quick root inspection. You’re looking for a dense, tangled web of roots that completely encircles the soil ball.
- Roots Peeking Out: If you see roots growing out of the drainage hole, it’s definitely time. I’ve even had plants where the roots pushed the entire soil mass up and out of the pot!
- The Tight Squeeze Test: If the root ball won’t come out of the pot without a serious struggle, the roots have taken over.
- A Pot That Dries Too Fast: When there’s more root than soil, water runs straight through. If you water and the soil is bone dry an hour later, suspect a root takeover.
Soil That’s Given Up
Soil doesn’t last forever. Over time, it breaks down, compacts, and loses its ability to drain properly. Old, tired soil is a silent killer because it holds moisture right at the roots, inviting rot.
Press your finger into the soil. If it feels hard, crusty, or like a solid brick, it’s past its prime. Good succulent soil should feel loose and crumbly. Another telltale sign is water beading up on the surface and refusing to soak in, a sure sign of compaction and water-repellency. These signs of poor succulent soil are indicators of poor soil quality for succulents, which rely on well-draining, airy soil. By adjusting the mix, you can prevent issues like root rot and keep succulents thriving.
- The Poke Test: Can you easily poke a chopstick or your finger into the soil? If not, the soil structure has collapsed.
- Visible Salt and Mineral Buildup: Look for a white, crusty layer on the soil surface. This is from minerals in tap water and fertilizer, and it can harm your plant.
- Soil Pulling Away: If the soil has shrunk and is pulling away from the edges of the pot, it’s become hydrophobic and needs to be replaced.
The Perfect Time of Year for Repotting
Timing is everything. Repotting is a minor surgery for your plant, and you want to do it when they’re strongest and ready to heal. I always aim for the spring and early summer, as this is when succulents are in their prime growing season. The increasing light and warmer temperatures give them the energy to quickly establish new roots and recover from the move. These are the key seasonal timing milestones in succulent care. Aligning repotting with their peak growth sets the stage for healthier, faster recovery.
Think of it like this: you wouldn’t move houses in the middle of a snowstorm. Similarly, avoid repotting in the dead of winter when your succulent is semi-dormant. Its growth has slowed, and it won’t have the energy to settle into its new home, making it more susceptible to shock or rot. Understanding cold hardiness is essential for wintering succulents outdoors. It helps you know which varieties can tolerate freezing temps and what protection they need so they survive the season.
A quick tip: if you must repot outside of spring due to an emergency (like severe rot), do it but be extra cautious with water and light afterward. Provide bright, indirect light and wait even longer than usual before the first watering.
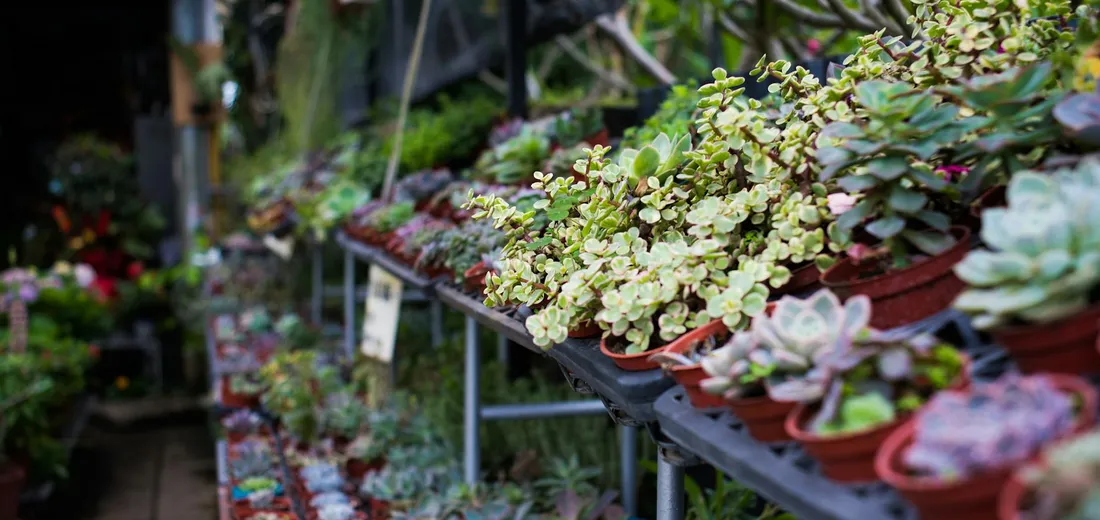
Choosing Your Succulent’s New Pot and Soil
Crafting the Ideal Fast-Draining Soil Mix
Store-bought potting soil is often a death sentence for succulents because it holds too much moisture. I learned this the hard way after losing a beautiful echeveria to root rot, and I’ve mixed my own soil ever since. Your goal is to create a gritty, airy environment that mimics the dry, rocky ground these plants naturally call home.
My go-to recipe is incredibly simple and has never failed me. I use a 1:1:1 ratio of regular potting soil, perlite, and coarse sand. The potting soil provides a tiny bit of nutrient-holding structure, the perlite creates crucial air pockets, and the sand ensures water flows through quickly. You want a mix that looks more like a gravel path than a rich garden bed.
If you’re not into DIY, you can buy a pre-made cactus and succulent mix, but I almost always add extra perlite to it. Squeeze a handful of your final mix; if it clumps together, it needs more gritty material. It should barely hold its shape and then crumble apart easily.
Quick Tip: A handful of small gravel or poultry grit mixed into your soil adds fantastic drainage and weight to keep top-heavy plants from tipping.
The Step-by-Step Repotting Process
Step 1: Gently Remove Your Plant
This is where patience pays off. Never pull on the stem or leaves. First, I squeeze the sides of the flexible nursery pot to loosen the root ball. For a rigid pot, I slide a butter knife or a chopstick carefully around the inside edge to break the soil’s grip. Turning the pot on its side and gently tapping the bottom often coaxes the whole plant out in one piece.
If the plant is truly stuck, you might need to sacrifice the old pot by carefully cutting it away with scissors. It’s better to lose a cheap pot than to damage your plant’s roots from a forceful tug.
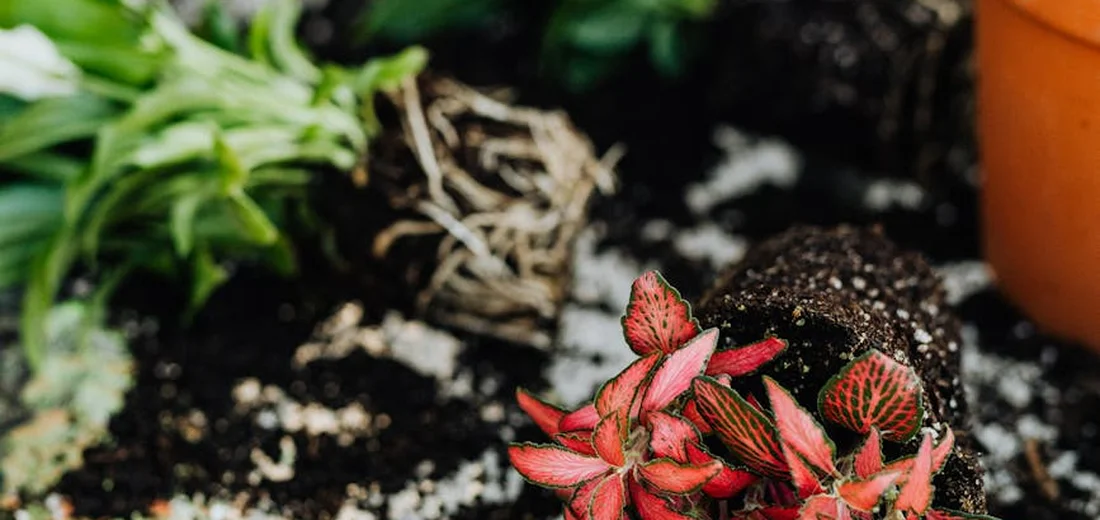
Step 2: Inspect and Prune the Roots
Once your plant is free, gently massage the root ball to shake off the old soil. This is your chance to play plant doctor. Healthy roots are firm and can be white, tan, or even orange, while rotten roots are mushy, black, and often smell bad. Using clean, sharp scissors, I snip away any rotten or dead roots. Don’t be shy about this; removing the bad parts encourages strong new growth.
If the roots are densely wound in a tight circle (root-bound), I gently tease them apart with my fingers. You can also make a few vertical cuts into the bottom of the root mass with a clean knife to encourage them to grow outward into their new home.
Step 3: Settle Into the New Pot
Place a layer of your fresh, dry soil mix in the bottom of the new pot. The goal is to have the plant sitting at the same depth it was in its previous pot. Hold the succulent in the center and slowly fill in around the sides with more soil. I gently tap the pot on the table as I go to help the soil settle into air pockets without compacting it too much with my fingers.
Do not water your succulent immediately after repotting! This is a common mistake. The roots have tiny abrasions from the process and need a few days to callus over. Waiting about a week before the first watering dramatically reduces the risk of root rot and gives your plant time to adjust. Learn when and how to water succulents after repotting to keep them healthy. After that, you can resume your normal watering schedule.
Essential Aftercare Following Repotting
Your First Watering After Repotting
After you’ve tucked your succulent into its new home, resist the urge to water it immediately. I always wait a full week before giving my repotted succulents their first drink. This pause gives any tiny root abrasions a chance to callous over, which dramatically reduces the risk of rot setting in. You can learn more about nurturing newly propagated succulents in our detailed aftercare guide.
When that week is up, I perform what I call the “deep sip” method. I take the pot to the sink and water it thoroughly until liquid runs freely from the drainage hole. This encourages the roots to grow downward, seeking moisture and establishing a strong, stable foundation. Then, I let all the excess water drain away completely before returning the plant to its sunny spot.
From there, you can go back to your regular succulent watering routine. For most of my collection, that means a deep watering only when the soil is completely bone-dry. Sticking your finger an inch into the soil is the most reliable test-if it’s dry, it’s time.
Avoiding Common Repotting Pitfalls
Over the years, I’ve made just about every repotting mistake you can imagine. Learning from these errors has been my best teacher, and I want to help you sidestep them completely.
The single biggest mistake is using standard potting soil. It holds far too much moisture for succulent roots, which are adapted to dry conditions. I learned this the hard way when I lost a beautiful echeveria to root rot. Always opt for a gritty, fast-draining cactus and succulent mix, or make your own by amending regular soil with perlite or coarse sand.
Another common error is choosing a pot that is dramatically too large. A pot that’s just one to two inches wider in diameter than the root ball is perfect. An oversized pot holds excess soil, which in turn holds excess water, creating a soggy environment around roots that crave dryness.
Here are a few other quick tips to ensure success:
- Never skip the drainage hole. A pot without one is a death sentence for most succulents.
- Be gentle when handling the roots. You want to loosen them, not aggressively tear them apart.
- Don’t bury the stem or leaves. Plant your succulent at the same depth it was growing before to prevent stem rot.
If you notice your succulent looking a bit sad or droopy after repotting, don’t panic! This is often just transplant shock, and the plant usually bounces back within a week or two once it settles in. Just give it bright, indirect light and stick to your careful watering plan. Also, it’s a good moment to propagate new succulents from healthy cuttings. With proper transplant care, those cuttings root more reliably and grow into thriving plants.
FAQs
How do you repot succulents?
Gently remove the succulent from its old pot, trim any damaged roots, and place it in a new container with fresh, well-draining soil, waiting about a week before watering. This careful repotting helps save a broken succulent by giving it a clean start. With the right care, it can recover and thrive again.
What soil mix is best for repotting succulents?
Use a fast-draining mix, such as equal parts potting soil, perlite, and coarse sand, to prevent moisture retention and root rot.
When is the best time to repot succulents?
Spring and early summer are the ideal times, as succulents are actively growing and can recover more quickly from the stress. Use this window to recognize seasonal stress signs in succulents and respond promptly to keep them thriving. Watch for signs like wilting, pale color, or slowed growth and adjust care accordingly.
How deep should a pot be for repotted succulents?
Choose a pot that is only slightly deeper than the root ball to minimize excess soil and reduce the risk of overwatering.
Should you prune roots before repotting succulents?
Yes, prune away any rotten, dead, or tightly wound roots to encourage healthy new growth and prevent disease.
Do succulents need drainage holes in their pots?
Yes, drainage holes are essential to allow excess water to escape and avoid waterlogged soil that can lead to root rot.
Your Succulent Repotting Action Plan
In my years of nurturing succulents, I’ve found that the ideal time to repot is when your plant clearly signals it needs more room or refreshed soil to thrive. For beginners, here’s a simple step-by-step repotting guide you can follow. It covers gathering supplies, root care, and aftercare.
- Watch for roots peeking out of drainage holes or soil that drains poorly.
- Repot in spring or early summer for the best recovery.
- Always use a well-draining mix and a pot that’s just slightly larger.
Now that you’re equipped with these insights, trust your instincts and give your succulents the care they deserve-you’ll be amazed at how they reward your efforts with vibrant growth!
Further Reading & Sources
- r/succulents on Reddit: When should I repot my succulents?
- Transplanting Succulents in Pots: A How To Guide
- Repotting Succulents in My Greenhouse – The Martha Stewart Blog
- How to Repot Succulents: 3 Important Steps You Should Know – Succulents Box
Lena Greenfield is a passionate horticulturist and plant care expert with over 10 years of experience cultivating and nurturing hardy house plants. With a deep understanding of both indoor and outdoor gardening, Lena shares practical advice on choosing, caring for, and maintaining resilient plants that flourish year-round. Through her knowledge and hands-on approach, Lena helps plant lovers transform their spaces into vibrant, green sanctuaries, no matter their gardening experience.
Repotting Guidelines