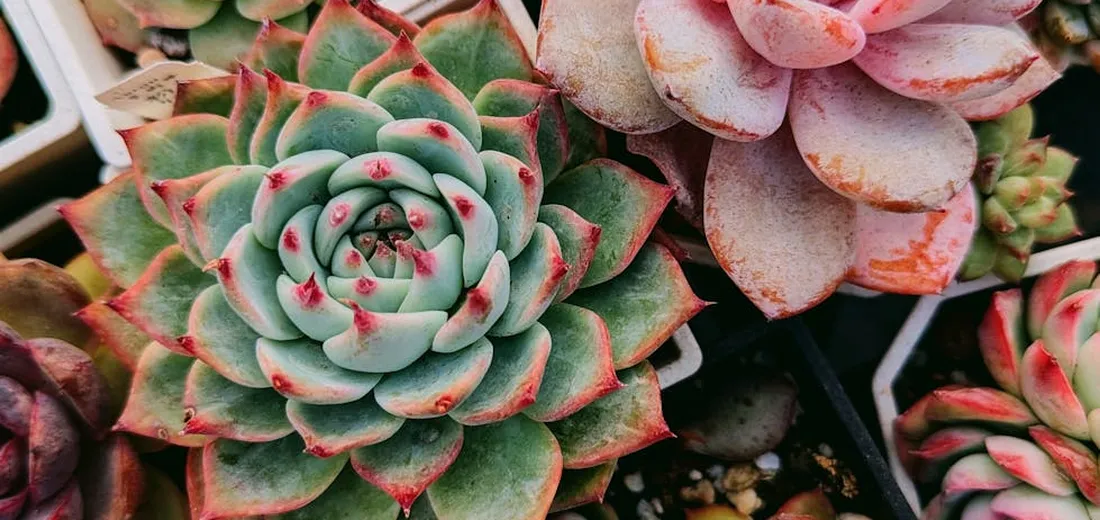
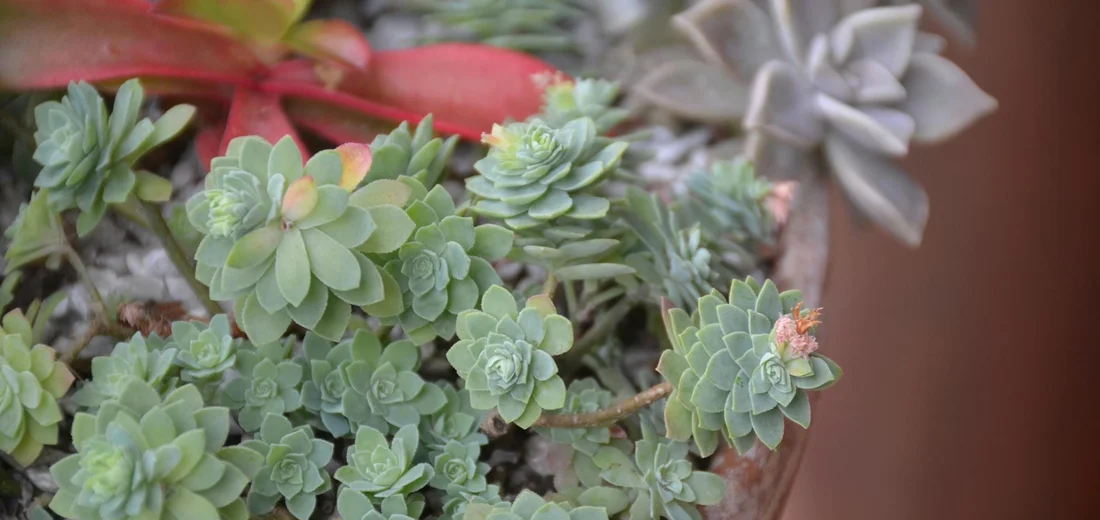
What Do Succulents Need to Thrive?
Published on: February 12, 2026 | Last Updated: February 12, 2026
Written By: Lena Greenfield
Succulents are tough little plants, but they rely on a few key elements to truly thrive indoors. If your succulents look sad or stretched out, you’re probably missing one simple adjustment that I’ve learned from years of growing them.
Drawing from my own experience, I’ll walk you through everything step-by-step, covering light exposure, watering habits, soil composition, and container selection.
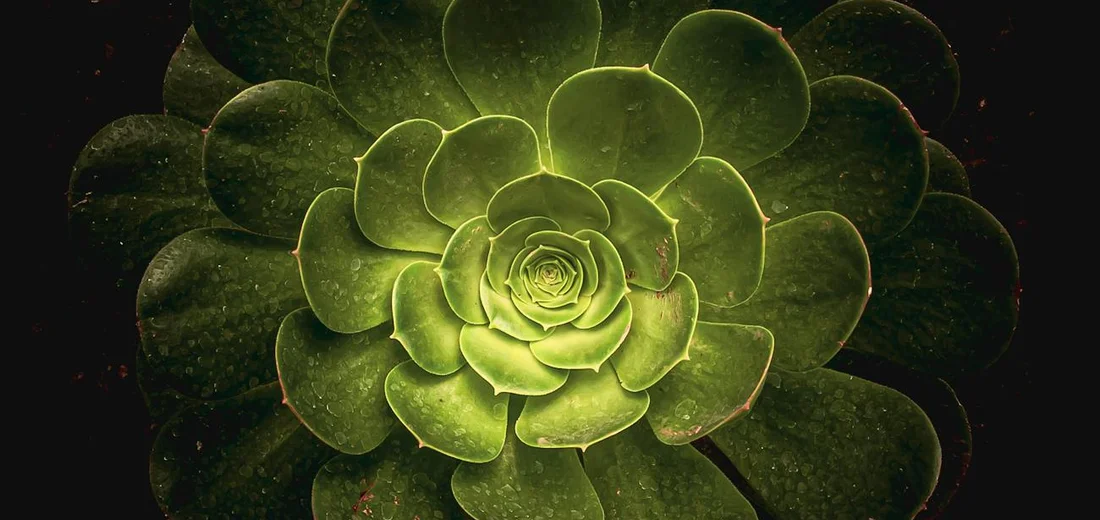
The Perfect Light for Your Succulents
Getting the light right is the single most important thing you can do for your succulents. Think of light as their food; without enough of it, they simply can’t grow properly. In my own collection, I’ve seen leggy, stretched-out plants transform into compact, colorful beauties just by moving them to a brighter spot.
How Much Sun is Enough?
Most succulents crave bright, indirect light for at least 6 hours a day. A south or east-facing window is usually your best bet. If your only option is a super sunny south window, a sheer curtain can provide the perfect filter to prevent sunburn.
Watch your plant for these tell-tale signs:
- Not Enough Light: The plant stretches out, with wide spaces between leaves. Its color may fade to a pale green.
- Too Much Light: Leaves develop brown, crispy patches or look bleached. This is a sunburn, and it’s permanent on those leaves.
My Go-To Light Setup
I live in a home with less-than-ideal natural light, so I’ve become a pro with grow lights. You don’t need a fancy, expensive setup; a simple LED grow light bulb in a regular desk lamp works wonders. Used correctly, grow lights can help succulents thrive indoors. The key is consistent light duration and the right spectrum. I run mine for about 12-14 hours a day using a cheap timer, and my succulents are thriving.
Mastering the Art of Succulent Watering
Overwatering is the #1 killer of succulents. Their plump leaves are designed to store water, so they’re built for drought. The golden rule I follow is to only water when the soil is completely dry, all the way to the bottom of the pot. To identify the issue, look for signs of overwatering or underwatering. If it’s overwatered, let the soil dry out and improve drainage; if it’s underwatered, give a thorough soak and resume a drought-friendly schedule.
The “Soak and Dry” Method That Never Fails Me
Forget giving your plant a little sip every few days. Succulents prefer a feast-or-famine approach.
- Check the soil. Stick your finger in the drainage hole. If you feel any moisture, wait.
- When it’s bone-dry, take your plant to the sink.
- Soak the soil thoroughly until water runs freely out the bottom.
- Let the pot drain completely before putting it back in its saucer.
This method mimics the desert downpours these plants are adapted to, encouraging strong, deep roots.
When to Change Your Watering Schedule
Your watering routine isn’t set in stone. It changes with the seasons and your home’s environment.
- Spring & Summer (Growth Season): Water more frequently, maybe every 1-2 weeks.
- Fall & Winter (Dormant Season): Water much less often, sometimes only once a month or less.
- Hot & Dry Air: Soil dries faster, so you may need to water a bit more.
- Cool & Humid Air: Soil stays wet longer, so extend the time between waterings.
A quick tip: When in doubt, wait it out. A thirsty succulent is easier to save than a drowned one. A wrinkled, slightly soft leaf is a cry for water, while a mushy, translucent leaf is a sign of rot from too much.
Choosing the Right Soil and Pot
Crafting the Ideal Soil Mix
Regular potting soil holds too much moisture and will suffocate your succulent’s roots. I learned this the hard way after losing a beautiful echeveria to root rot. Do succulents really need special soil? The truth is they do best with a soil that drains quickly and doesn’t hold moisture. This is why they require a gritty, fast-draining mix that mimics their native, arid habitats.
You can buy a pre-made cactus and succulent mix, but I always amend it for even better drainage. My go-to homemade recipe is simple:
- 2 parts potting soil
- 1 part coarse sand (like horticultural or builder’s sand)
- 1 part perlite or pumice
This combination allows water to flow through quickly while providing just enough organic matter to hold some nutrients. The gritty texture creates air pockets around the roots, which is absolutely vital for their health. When you squeeze a handful of the perfect mix, it should crumble apart easily and not form a dense clump.
Selecting a Container with Proper Drainage
The pot you choose is just as important as the soil inside it. Always, and I mean always, pick a pot with at least one drainage hole in the bottom. This is non-negotiable for happy succulents. That hole is an escape route for excess water, preventing it from pooling at the bottom and causing rot.
I have a whole collection of pots, and my succulents do best in these types:
- Terra Cotta Pots: These are my favorite. The porous clay allows the soil to dry out evenly from all sides, which is a huge help if you tend to overwater.
- Ceramic Pots with Glaze: These are beautiful but hold moisture longer. You must be extra careful with your watering schedule when using them.
- Plastic Pots: They are lightweight and cheap, but they retain the most water. I only use these for succulents I know are extra thirsty.
When it comes to size, don’t give a small plant a mansion. A good rule of thumb is to choose a pot that’s only about an inch wider in diameter than the plant itself. A pot that’s too large holds more wet soil than the roots can absorb, creating a soggy environment they hate.
Seasonal Care and Fertilizing
Succulents have different needs as the seasons change, just like outdoor plants. Tuning into this rhythm is the secret to year-round success. A seasonal care guide helps you adjust watering, light exposure, and protection from cold throughout the year.
During the warm, bright growing season (spring and summer), your succulents are active and thirsty for nutrients. This is the time to water more frequently and introduce a gentle fertilizer. I use a balanced, water-soluble fertilizer specially formulated for cacti and succulents. The key is to dilute it to half the strength recommended on the bottle and only apply it once a month. Over-fertilizing can cause weak, leggy growth.
When autumn arrives and daylight hours shorten, your plants will start to slow down. This is your cue to begin stretching out the time between waterings. I completely stop fertilizing in the fall to allow the plants to prepare for their winter rest.
Winter is a period of dormancy for most succulents. They need very little water and no fertilizer at all. In my experience, the number one killer of succulents in winter is overwatering. I sometimes go a month or more without watering my dormant succulents, especially if they’re in a cool spot. The goal is to just keep the roots from completely desiccating. Come summer, when many succulents resume active growth, they often need more frequent watering. In contrast to winter vs summer watering, you can water more regularly, as long as the soil dries between waterings to avoid soggy roots.
Quick Tip: If you’re unsure whether to water, it’s always safer to wait another few days. A thirsty succulent is easier to save than a drowned one.
Troubleshooting Common Succulent Problems

Identifying and Fixing Root Rot
I’ve lost more than one succulent to root rot in my early days, and it’s almost always a watering issue. You’ll notice the plant feels wobbly in its pot, and the leaves turn soft, mushy, and translucent, often starting from the bottom. The moment you suspect rot, you need to act fast to save the plant. Here’s a guide to saving succulents with root rot.
Gently remove the succulent from its pot and brush away the soil to inspect the roots. Healthy roots are firm and white or light tan. Rotten roots are dark brown or black, slimy, and will fall apart easily.
- Using clean, sharp scissors, cut away every single rotten root and any mushy leaves or stem.
- Let the plant sit out in a warm, airy spot for a few days so the cuts can callous over completely. This is a non-negotiable healing step.
- Repot the plant into a clean pot with fresh, dry, gritty succulent mix.
- Wait at least a week before you even think about giving it a small drink of water.
A pot with a drainage hole is your number one defense against this soggy disaster.
Dealing with Common Pests
Even the toughest succulents can attract a few uninvited guests. The most frequent offender I see is the mealybug, which looks like tiny bits of white, fluffy cotton hiding in leaf crevices. They suck the sap and weaken the plant.
For a small infestation, my go-to method is using a cotton swab dipped in isopropyl alcohol. Dab it directly onto each bug you see-the alcohol dissolves their protective coating on contact. Isolate any infested plant immediately to keep the pests from throwing a party on your other plants.
Another common pest is the fungus gnat, which is more annoying than harmful. They love wet soil.
- Let the soil dry out completely between waterings to eliminate their breeding ground.
- Place yellow sticky traps near your plants to catch the adult flies.
- A top dressing of sand or gravel can help block them from laying eggs in the soil.
When and How to Repot Your Succulents
Succulents are slow growers and don’t need frequent repotting like some other houseplants. I generally repot mine every two to three years, or when I see clear signs it’s needed. The best time to do this is at the start of their active growing season, which is usually in the spring. When you repot, refresh the soil with a fresh, well-draining mix. If the soil is compacted or stays damp for too long, it’s time to change it.
You’ll know it’s time for a new home when you see roots growing out of the drainage hole, or the plant has completely filled the pot and stopped growing. Sometimes, the plant becomes so top-heavy it constantly tips over.
Always choose a new pot that is only one size larger, as too much extra soil can stay wet for too long.
- Water the plant a few days before you plan to repot; this makes the roots more flexible and easier to work with.
- Gently tip the pot and coax the plant out. If it’s stuck, you can squeeze the sides of a plastic pot or run a knife around the edge.
- Loosen the root ball with your fingers and shake off the old soil. This is a great time to check for any pests or rot you might have missed.
- Place the plant in its new pot, which already has a layer of fresh, dry succulent mix at the bottom.
- Fill in around the sides with more soil, but don’t bury the stem any deeper than it was before.
- Wait about a week before watering to give any disturbed roots time to heal.
I always use a specialty succulent and cactus mix because it provides the fast drainage these plants crave. Mixing in extra perlite or pumice with a standard potting soil is a great DIY solution if you can’t find a pre-made gritty mix.
Easy Succulent Propagation for More Plants
Propagating succulents feels like magic because you can grow an entire collection from just one plant. I’ve turned single leaves into lush arrangements that now fill my sunny windowsills. One of my favorite methods is propagating succulents from leaf cuttings. Detach a healthy leaf, let the cut end callous, and place it on well-draining soil until roots and new growth appear. This method saves money and lets you share the joy of gardening with friends and family.
Start with healthy, plump leaves or stems for the best results. Gently wiggle a leaf from the stem until it snaps off cleanly. Always choose leaves that feel firm and show no signs of damage or pests.
Leaf Propagation in 4 Simple Steps
This technique works wonders for echeverias, sedums, and many other rosette types. I’ve propagated dozens this way and love watching new life sprout.
- Select a mature leaf and twist it off gently without tearing the base.
- Let the cut end dry for 1-3 days until it forms a callus-this prevents rot.
- Place the leaf on well-draining soil in bright, indirect light. Don’t bury it!
- Mist the soil lightly every few days once tiny roots or baby plants appear.
Patience is key here; roots can take a few weeks to show, but it’s worth the wait.
Stem Cuttings for Faster Growth
If your succulent gets leggy, stem cuttings are a perfect fix. I’ve revived many stretched-out plants by snipping and replanting the tops.
- Use clean scissors to cut a 2-4 inch stem section.
- Remove the lower leaves to expose a bare stem for rooting.
- Allow the cut end to callus over for a day or two before planting.
- Stick the stem into moist cactus mix and water lightly after a week.
Stem cuttings often root quicker than leaves, giving you a new plant in just a few weeks.
Dividing Offsets or “Pups”
Some succulents, like aloes and haworthias, produce little offshoots called pups. I gently separate these from the mother plant once they’re about one-third its size.
- Carefully unpot the plant and brush away soil to expose the roots.
- Twist or cut the pup away, ensuring it has some roots attached.
- Let the wound air-dry for a day before potting in fresh soil.
- Water sparingly until you see new growth, which means it’s settled in.
Dividing pups is almost foolproof and instantly gives you a mature-looking plant.
Quick Tips for Propagation Success
Keep your propagation setup simple and stress-free. I use a shallow tray with cactus mix and a sunny spot away from direct afternoon sun. Bright, indirect light encourages rooting without scorching delicate new growth.
Avoid overwatering at all costs-succulents hate soggy feet. I check the soil with my finger; if it’s dry an inch down, it’s time for a light drink. Underwatering is always safer than overwatering when propagating succulents.
FAQs
Can succulents be grown outdoors?
Most succulents can thrive outdoors in warm, dry climates but need protection from frost and excessive rain.
How do I acclimate succulents to more light?
Gradually increase light exposure over a week or two to prevent sunburn on your succulents.
What are the best succulents for low light conditions?
Haworthia and Sansevieria are excellent choices for low light environments compared to other succulents.
How often should I mist my succulents?
Avoid misting succulents as it can lead to rot; they prefer dry air and soil.
Can I use succulent cuttings in floral arrangements?
Yes, succulent cuttings can be used in arrangements, but ensure they have time to callus before planting.
Why is my succulent not producing flowers?
Lack of flowers is often due to insufficient light, improper watering, or the plant not being mature enough.
Your Succulent Success Simplified
I’ve nurtured dozens of succulents over the years, and the single most important lesson is this: succulents thrive when you mimic their natural dry, sunny habitat with bright light, infrequent watering, and fast-draining soil. To keep them small, compact, and healthy, pair these habits with mindful pruning and appropriate pot sizing. Regularly removing leggy growth and using snug pots helps maintain a tidy, space-efficient collection. Stick to this core trio for healthy growth:
- Provide several hours of bright, indirect sunlight daily.
- Water only when the soil is completely dry to the touch.
- Use a gritty, well-draining potting mix to prevent root rot.
Remember, succulents are wonderfully resilient and will forgive the occasional slip-up. For more hands-on tips and plant care confidence, continue exploring Hardy House Plants at www.hardyhouseplants.com – you’re doing great!
Further Reading & Sources
- Complete guide to succulent care | Patch
- Growing Succulents Indoors | Yard and Garden
- r/succulents on Reddit: How to Properly Care for Succulents
- Succulents 101 | Extension | West Virginia University
Lena Greenfield is a passionate horticulturist and plant care expert with over 10 years of experience cultivating and nurturing hardy house plants. With a deep understanding of both indoor and outdoor gardening, Lena shares practical advice on choosing, caring for, and maintaining resilient plants that flourish year-round. Through her knowledge and hands-on approach, Lena helps plant lovers transform their spaces into vibrant, green sanctuaries, no matter their gardening experience.
Light Requirements