Black Rose Succulent Care: Your Aeonium ‘Zwartkop’ Guide
Published on: March 1, 2026 | Last Updated: March 1, 2026
Written By: Lena Greenfield
That stunning, dark succulent you brought home is a showstopper, but you might be wondering how to keep its dramatic color from fading. I’ve grown these for years, and with the right care, your ‘Zwartkop’ will be the centerpiece of your garden.
In this guide, I’ll walk you through everything I’ve learned, from my own successes and mistakes, to help your plant thrive. We’ll cover watering needs, ideal sunlight, the perfect soil mix, propagation techniques, and seasonal care adjustments.
Meet the Dramatic Black Rose Succulent
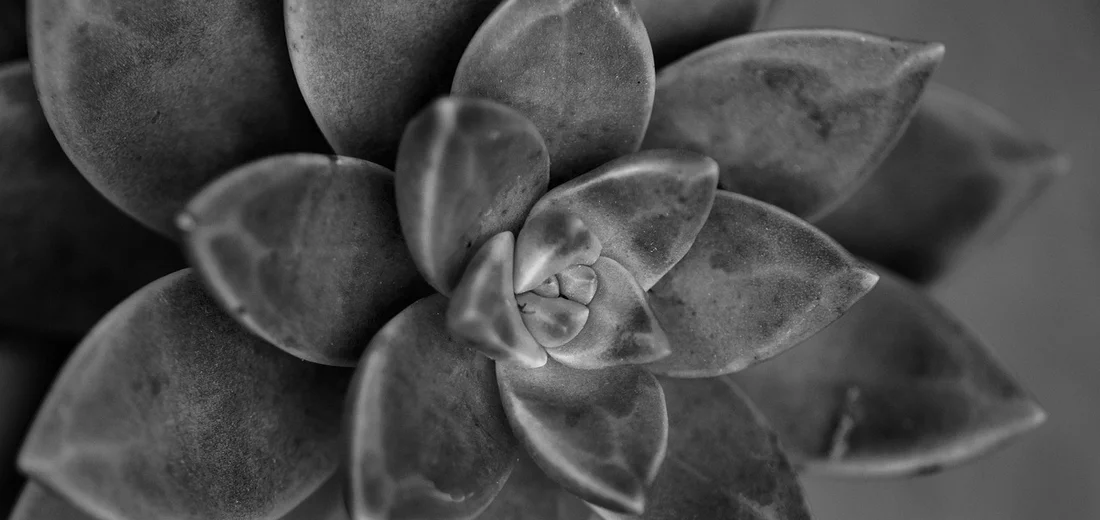
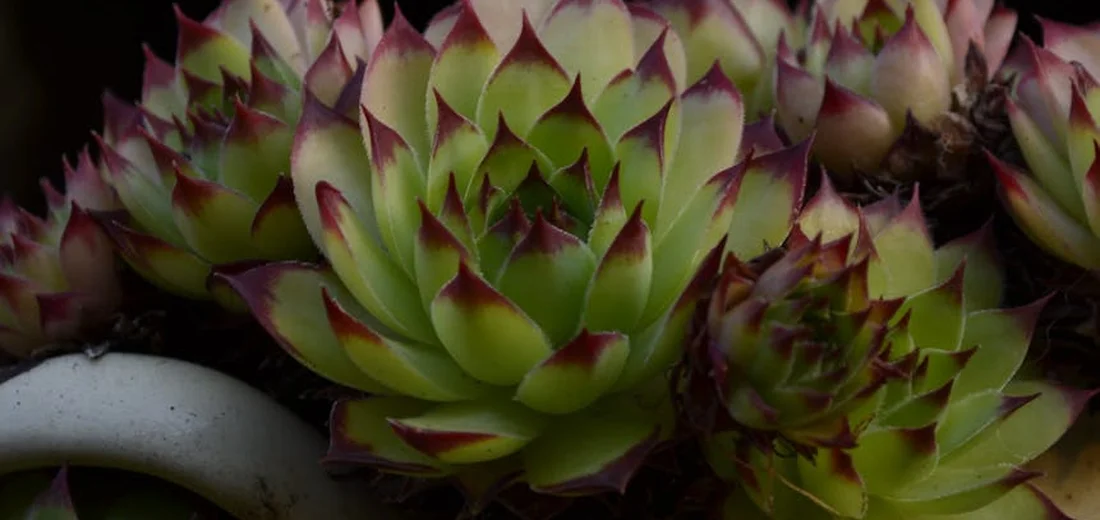
I remember the first time I saw an Aeonium ‘Zwartkop’ in person; its dark, moody rosettes felt like they belonged in a fairy tale, not on my sunny patio. This isn’t a plant that fades into the background-it’s a living sculpture that commands attention with its near-black foliage. The name ‘Zwartkop’ literally means “black head” in Dutch, and it lives up to the title.
Unlike many succulents that stay compact, this one is a dramatic, branching shrub. Mature plants send up woody stems topped with those stunning rosettes, creating a striking, tree-like form. I’ve found they have a distinct growth cycle, too. They actively grow during the cooler, wetter months and often go semi-dormant in the peak of summer heat. This is a prime example of succulent dormancy periods and how they relate to seasonal growth cycles. Understanding these patterns helps in timing care and watering to fit the plant’s natural rhythm.
One of the most fascinating things I’ve observed is how the color changes. The intense black-purple color is a direct response to bright sunlight; in lower light, the center of the rosettes may stay a deep green. It’s a plant that truly communicates its needs through its appearance.
Perfect Light for Deep, Dark Color
Getting the light right is the single most important factor for a spectacular Zwartkop. To achieve that legendary black color, your plant needs a generous dose of direct sunlight for at least 4-6 hours a day. A south-facing window is ideal indoors, while a spot with morning sun and afternoon shade often works perfectly outdoors.
I gradually acclimated my own plant to full sun to prevent scorching. Start with bright, indirect light and slowly increase the direct sun exposure over a couple of weeks. This patience pays off with resilient, deeply colored leaves.
If you’re growing it indoors year-round, don’t be afraid to place it right up against the sunniest window you have. Rotate the pot a quarter turn every time you water to ensure the entire plant grows evenly and doesn’t lean desperately toward the light.
Signs Your Zwartkop Needs More Sun
Your plant will tell you clearly when it’s not getting enough light. Keep an eye out for these changes:
- Color Fading to Green: The most obvious sign. The dark purple and black tones will revert to a plain, medium green.
- Flattened, Open Rosettes: Instead of forming a tight, cup-like shape, the rosettes will spread out and flatten as they stretch for light.
- Leggy, Elongated Growth: The space between the leaves on the stem will widen, creating a sparse, stretched-out appearance. This is called etiolation.
- Weak, Floppy Stems: The stems may not be sturdy enough to support the weight of the rosettes and will bend or droop.
Quick Tip: If your Zwartkop has turned green and leggy, you can behead it. Cut the top rosette, let it callous, and replant it in sunnier conditions for a fresh start.
Watering Your Black Rose Succulent
Getting the watering right is the single most important skill for keeping your ‘Zwartkop’ happy. These dramatic plants are much more forgiving of underwatering than overwatering, which is the fastest way to lose one. I treat mine like a prized cactus, not a thirsty fern.
My Step-by-Step Watering Routine
After years of trial and error, this is the simple process I follow that has never failed me.
- Check the soil first. I push my finger about two inches into the potting mix. If I feel any moisture or coolness at all, I walk away and check again in a few days.
- Water only when bone dry. I wait until the soil is completely dry from top to bottom. During hot summers, this might be every 7-10 days. In cool winters, it can stretch to once a month or longer.
- Soak it thoroughly. When it’s time, I take the plant to the sink and water it slowly until liquid runs freely from the drainage hole. This ensures the entire root ball gets a good drink, encouraging deep, strong roots.
- Let it drain completely. I leave it in the sink for at least 30 minutes to let all the excess water escape. I never let my Black Rose sit in a saucer of water.
Quick tip: Wrinkling or slightly limp leaves are your plant’s way of saying it’s thirsty. A squishy, black stem means you’ve gone too far.
The Right Soil and Potting Mix
The perfect soil is your best defense against overwatering. Regular potting soil holds far too much moisture and will compact around the roots, leading to rot. Common succulent soil problems include overwatering and compacted, poorly draining mixes. The fixes are simple: add perlite, pumice, or coarse sand to boost drainage. You need a mix that mimics the fast-draining, gritty conditions this succulent loves in its native habitat.
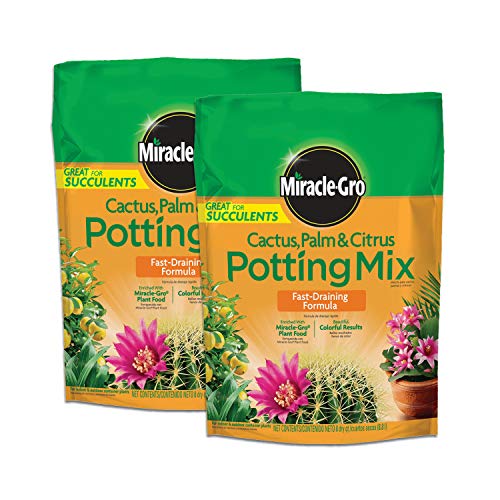
I always use a commercial cactus and succulent mix as my base because it’s convenient and reliable. To make it even better, I do a 50/50 mix of the potting soil and perlite or pumice. This extra grit creates air pockets and dramatically improves drainage. I also rely on perlite succulent soil mixes when I want an even lighter, fast-drying blend. They help prevent overwatering and keep roots healthy in hot weather.
Here is my go-to DIY recipe if you want to mix your own:
- 2 parts potting soil
- 1 part coarse sand (horticultural grade, not from the beach)
- 1 part perlite or pumice
- A handful of small gravel or crushed granite
Your goal is a mix that feels loose and gritty, not dense and muddy. When you water it, the water should rush through immediately, not pool on the surface.
Feeding, Temperature, and Humidity
Your Black Rose isn’t a heavy eater, but a light snack during its growing season makes a huge difference. I feed mine a half-strength, balanced liquid succulent fertilizer just once in early spring and maybe once more in mid-fall if it’s still actively growing. Over-fertilizing is a fast track to weak, leggy growth, so less is truly more here.
Finding the Perfect Temperature Sweet Spot
This plant thrives in the same temperatures most people find comfortable. Ideal temperatures range from 65°F to 75°F (18°C to 24°C). They can handle a chill, but anything below 30°F (-1°C) is dangerous. If you summer your plant outdoors, bring it back inside well before the first frost threatens.
Humidity: The Simple Truth
Good news for those of us with dry indoor air! Aeonium ‘Zwartkop’ prefers low to average household humidity and is perfectly happy in arid conditions. High humidity can encourage fungal issues and rot, especially if the soil stays damp. I never mist mine, and they’ve always rewarded me with robust health.
Pruning and Shaping Your Plant
Don’t be afraid to get snippy with your Black Rose. Pruning isn’t just about looks; it’s vital for keeping the plant strong and compact. Regular pruning encourages a sturdier, bushier plant and prevents it from becoming a lanky, top-heavy mess.
Your Essential Pruning Toolkit
- Sharp, Clean Pruners: I use a pair of precision bonsai shears for clean cuts that heal quickly.
- Rubbing Alcohol: Always wipe your blades before and after to prevent spreading any disease.
- A Courageous Spirit: Your plant can handle it, I promise!
When and How to Make the Cut
The best time to prune is during the plant’s active growth periods in the cooler spring and fall months. Here’s my simple process for pruning different types of houseplants:
- Identify any leggy stems that have stretched out with too much space between the leaf rosettes.
- Look for any dead, damaged, or diseased leaves and stems.
- Make your cut on the stem about a quarter-inch above a leaf node or a side branch.
- Don’t throw those cuttings away! Let the cut end callous over for a few days, then stick it in soil to propagate a whole new plant.
Pro Tip: After a major pruning session, hold off on watering for about a week to let the plant recover and all the cuts to seal up properly. This prevents moisture from entering the fresh wounds and causing rot.
Shaping for a Stunning Display
I like to think of my ‘Zwartkop’ as a living sculpture. To maintain its beautiful, tree-like form, I selectively prune branches that are crossing or growing inward. The goal is to open up the center of the plant to allow for light and air circulation, which highlights its dramatic, dark rosettes. A little strategic snipping each season keeps it looking like a gothic masterpiece.
How to Propagate Aeonium Zwartkop from Cuttings
Propagating my ‘Zwartkop’ is one of my favorite gardening tasks because it’s so simple and rewarding. I’ve successfully created dozens of new plants from a single mother plant using the stem cutting method. It feels like magic every single time.
Here is my go-to process, perfected over many years:
- Select Your Cutting: Use clean, sharp scissors or pruners to snip off a healthy rosette with about 2-4 inches of stem attached. I always choose a stem that looks strong and isn’t leaning or etiolated.
- Let it Callous: This is the most critical step! Place the cutting in a dry, shaded spot for 3-5 days. The cut end must form a dry, hard callous before you even think about soil. Planting it too soon is the fastest way to invite rot.
- Plant in Dry Soil: Stick the calloused stem into a small pot filled with a dry, fast-draining succulent mix. Don’t water it yet. Just let the cutting sit there and get comfortable in its new home.
- The Waiting Game: Place the pot in bright, indirect light. After about a week, give the soil a very light sprinkle of water. The goal is just to barely moisten the top layer. Within 3-6 weeks, you should feel a slight resistance when you give the cutting a gentle tug, meaning roots have formed!
- Begin Normal Care: Once it has a solid root system, you can start treating it like a mature succulent with thorough, but infrequent, waterings.
Troubleshooting Common Problems
Even the most stunning ‘Zwartkop’ can have an off day. Don’t panic if you see an issue; these plants are often telling you exactly what they need. Here’s how I handle the two most common problems.
Dealing with Mealybugs
I once spotted a white, cottony substance nestled in the tight center of a rosette, and my heart sank. It was a mealybug infestation. These pests love to hide in the crevices of the tight leaf rosettes, so you have to be a detective.
My battle-tested method for eviction is straightforward:
- Isolate the Plant: Immediately move the infected plant away from your other green friends to prevent the bugs from spreading.
- Q-tip Attack: Dip a cotton swab in 70% isopropyl alcohol and dab it directly onto every single white bug and speck of fluff you can see. The alcohol dissolves their protective waxy coating on contact.
- Spray for Stragglers: Mix one part alcohol with three parts water in a spray bottle and lightly mist the entire plant, getting into all the nooks. Repeat the Q-tip and spray process every 3-4 days until they are gone for good.
Preventing and Fixing Root Rot
Root rot is the number one killer of these succulents, and I’ve learned this lesson the hard way. The key to beating root rot is a combination of perfect prevention and swift action. Knowing the root rot causes is essential to effective treatment and saving your plants. We’ll cover practical steps to address these causes and save more succulents.
Prevention is your best weapon. Always use a pot with a drainage hole and a gritty soil mix. I make my own with two parts potting soil to one part perlite and one part coarse sand. Water deeply only when the soil is completely dry, and never let the plant sit in a saucer of water.
If your plant becomes mushy, pale, or starts dropping lots of leaves, you need to act fast:
- Gently remove the plant from its pot and brush away all the soil from the roots.
- Using sterilized scissors, cut away any roots that are black, slimy, or squishy. You must be ruthless here-only healthy, firm, white or tan roots should remain.
- Let the root system air dry and callous over for a day or two.
- Repot the plant into fresh, dry succulent mix. Do not water for at least a week to give the roots time to heal and settle.
Seasonal Care and Overwintering Indoors
As the days get shorter and the temperature drops, your Black Rose succulent begins its most dramatic transformation of the year. This is when the dark purple, almost black, pigmentation in the leaves intensifies, creating that stunning, deep color it’s famous for. I’ve found that getting the seasonal care right is what separates a good Zwartkop from a truly spectacular one.
Preparing for the Cooler Months
Your Aeonium is entering its active growing season! Unlike most succulents that go dormant in winter, Zwartkop comes to life. Caring for it correctly during this period sets the stage for healthy growth and incredible color.
- Gradually reduce watering frequency as autumn sets in.
- Begin moving the plant to its brightest possible indoor spot, like a south-facing window.
- Stop fertilizing completely; the plant doesn’t need extra nutrients during this time.
Mastering the Winter Watering Schedule
This is the most common area where I see plant parents struggle. Overwatering in winter is the fastest way to lose a Zwartkop to root rot.
The golden rule I follow is to water only when the top inch of soil is completely dry to the touch. For most of my indoor plants, this translates to a deep watering about every three to four weeks. You want to drench the soil thoroughly, then let it dry out completely before even thinking about watering again.
Providing Enough Light Indoors
Winter light is weak, and your dark-leaved beauty is a sunlight hog. Its incredible color depends on bright light.
If you notice the stems stretching out or the leaves turning a lighter, greenish-purple, it’s a sure sign it needs more light. Don’t hesitate to use a grow light; I use simple, full-spectrum LED bulbs in a desk lamp for 6-8 hours a day to supplement my window light, and it works wonders. Just keep the light source about 6-12 inches above the plant.
Finding the Perfect Spot
Where you place your plant indoors is critical for its survival. You need to balance light, temperature, and humidity. These are key factors in a plant’s suitability for indoor environments. Understanding them helps you choose plants that thrive in your space.
- Avoid placing it near drafty windows or hot air vents. Sudden temperature swings stress the plant.
- Keep it in a cool room, ideally between 50-65°F (10-18°C). This cool period is essential for triggering its growth and color.
- Ensure there’s good air circulation around the plant to prevent pests and fungus.
Quick Tip: A common household fan on a low setting, pointed away from the plant, can greatly improve air flow in a stagnant room.
FAQs
What is the general care for an Aeonium ‘Zwartkop’?
Provide bright, direct light for 4-6 hours daily and water thoroughly only when the soil is completely dry.
How do I care for an Aeonium ‘Zwartkop’ indoors?
Place it in your sunniest south-facing window and consider using a grow light in winter to maintain its dark color.
What is specific about Aeonium ‘Zwartkop’ care in the UK?
Protect it from excessive winter rain and provide as much direct sunlight as possible, often requiring a very bright indoor spot during the cooler, cloudier months.
How often should I water my Aeonium ‘Zwartkop’?
Water deeply only when the soil is completely dry, which may be every 7-10 days in summer and once a month or less in winter. Learn more about watering succulents in different seasons.
How do I care for my Aeonium ‘Zwartkop’ in winter?
Keep it in a cool, bright spot and significantly reduce watering to once every 3-4 weeks or when the top inch of soil is dry, as it is in its active growth season.
Can I grow my Aeonium ‘Zwartkop’ outdoors?
Yes, in a spot with morning sun and afternoon shade, but it must be brought indoors if temperatures are forecast to drop below 30°F (-1°C).
Your Black Rose Care Success
In my experience growing succulents, I’ve found that keeping your Aeonium ‘Zwartkop’ vibrant hinges on mimicking its native conditions with smart light, water, and soil choices. Focus on these core habits, and you’ll be rewarded with those striking dark leaves that make this plant a standout.
- Position it in bright, indirect light to avoid leaf scorch while encouraging rich color.
- Water deeply only when the soil is dry an inch down-overwatering is the top cause of issues.
- Use a gritty, well-draining soil mix to support healthy roots and prevent rot.
Stay connected with our website for more plant care insights, and trust that your Black Rose is resilient-even a small slip-up won’t set you back for long. With a little attention, you’ll watch it flourish and add a touch of dramatic beauty to your space.
Further Reading & Sources
- Growing the Mysterious Black Rose: A Guide to Aeonium Care – Succulents Box
- Aeonium ‘Zwartkop’
- Shop ‘Black Rose Succulent – Aeonium Zwartkop’ Care and Info | Planet Desert
- How to Care for Aeonium arboreum ‘Zwartkop’: Mastering Water, Sunlight & More
Lena Greenfield is a passionate horticulturist and plant care expert with over 10 years of experience cultivating and nurturing hardy house plants. With a deep understanding of both indoor and outdoor gardening, Lena shares practical advice on choosing, caring for, and maintaining resilient plants that flourish year-round. Through her knowledge and hands-on approach, Lena helps plant lovers transform their spaces into vibrant, green sanctuaries, no matter their gardening experience.
Types of Succulents