
Can You Use Aquarium Gravel for Succulent Soil?
You can use aquarium gravel for succulents, but not as a complete soil replacement. These colorful stones work best when mixed with other ingredients to create the fast-draining environment your succulents crave.
I’ve tested aquarium gravel in my own succulent pots for years, and I’ll share exactly how to use it safely. We’ll explore the benefits, the risks, the perfect mixing ratio, and my favorite alternative materials.
What is Aquarium Gravel and Why Consider It for Succulents?
Aquarium gravel is that colorful, small-stoned substrate you see lining the bottom of fish tanks. It’s typically made from materials like quartz, granite, or coated clay, and is designed to be inert, meaning it won’t alter the water’s chemistry. I first considered using it for my succulents years ago when I had a half-bag left over from a failed fish-keeping venture.
You might look at it for your plants for a few practical reasons. Many of us have some lying around, making it a convenient, budget-friendly option. Its small, uniform size and weight can add excellent structure to a potting mix. From my own repotting sessions, I’ve found that the smooth, rounded edges are gentle on delicate succulent roots, unlike some sharper horticultural grits. It also comes in a variety of colors, allowing for a bit of creative, decorative top-dressing.
The Pros and Cons of Using Aquarium Gravel in Your Soil Mix
After mixing aquarium gravel into my succulent soils for various projects, I’ve seen its full potential and its limitations. Let’s break down the good and the not-so-good.
The Benefits (The Pros)
When used correctly, aquarium gravel can be a helpful teammate in your soil mix.
- Superior Drainage: The primary reason to use any grit is to prevent waterlogged soil, and aquarium gravel excels here. It creates permanent air pockets, allowing water to flow through instantly, which is exactly what succulent roots crave.
- Heft and Stability: Some succulents, like tall jade plants or heavy echeverias, can become top-heavy. Mixing in aquarium gravel adds weight to the pot, preventing your prized plant from tipping over.
- Clean and Readily Available: Since it’s sold for aquariums, the gravel is pre-washed and free of dust or organic debris. You can often find it at any big-box store, making it an accessible option.
- Perfect for Top Dressing: I love using a thin layer of dark aquarium gravel as a top dressing. It gives a finished look, helps slow soil evaporation, and keeps the base of the plant dry, preventing stem rot.
The Drawbacks (The Cons)
It’s not a perfect, one-ingredient solution, and understanding its flaws will save you a lot of heartache.
- Zero Water Retention: This is its biggest strength and its greatest weakness. Aquarium gravel holds no moisture whatsoever. Using it alone as “soil” will desiccate and kill your succulent from thirst, as I unfortunately learned with a small haworthia pup.
- No Nutritional Value: The gravel is inert. It provides absolutely no nutrients for your plant. Your succulents will rely entirely on the potting soil you mix it with and any fertilizer you provide.
- Density and Weight: While the weight adds stability, it also makes the final pot very heavy. This can be a problem if you like to move your plants around for sunlight or if you use shelving with weight limits.
- Potential for Algae: If you use brightly colored gravel as a top dressing and keep the soil consistently damp, you might see green algae start to grow on the stones. This isn’t harmful to the plant but can look unsightly.
Essential Preparation: How to Safely Clean Aquarium Gravel
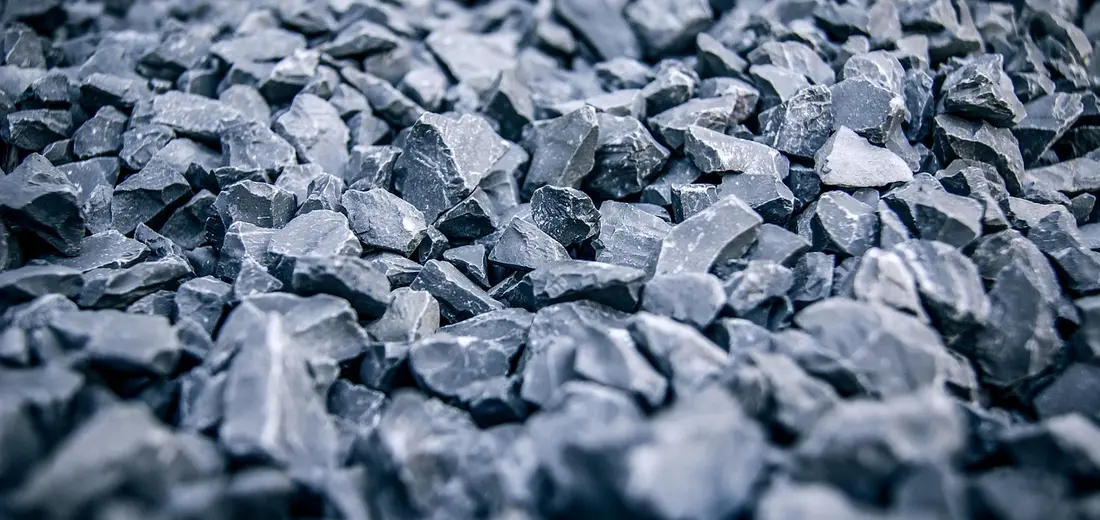
Before you even think about mixing that colorful gravel into your soil, you absolutely must clean it. Used aquarium gravel can be a hidden cocktail of fish waste, decaying food, and algae, all of which can introduce harmful bacteria and salts that will shock and potentially kill your succulents. I learned this the hard way years ago with a jade plant that developed root rot from what I thought was a “mostly clean” bag of old gravel.
Here is my no-fail, three-step cleaning process that I use every single time.
Step 1: The Initial Rinse
Place a generous amount of gravel into a large colander or sieve. Rinse it under running warm water while stirring it with your hands until the water running out the bottom turns from cloudy to completely clear. This first step washes away the bulk of the loose dirt and debris.
Step 2: The Sanitizing Soak
This is the most critical step for killing any lingering pathogens. Transfer the rinsed gravel to a large bucket or container.
- Create a bleach solution by mixing one part household bleach with nine parts water. You need enough to completely submerge the gravel.
- Pour the solution over the gravel and let it soak for 15-20 minutes. This is powerful enough to kill any nasty microbes without damaging the gravel itself.
- Always do this in a well-ventilated area and wear gloves to protect your skin.
Step 3: The Final Rinse and Dry
After the soak, drain the bleach solution carefully. You must now rinse the gravel repeatedly with clean water until you can no longer smell any trace of bleach. I typically rinse mine 4-5 times, agitating it thoroughly each time. Spread the clean gravel out on an old towel or a baking sheet and let it air dry completely in the sun for a day. Using damp gravel in your soil mix can create a soggy environment, so patience here is key.
Creating Your DIY Succulent Soil Mix with Aquarium Gravel
Now for the fun part—mixing your own super-draining soil! Aquarium gravel is a fantastic inorganic material, but it shouldn’t be used alone. Succulents still need some organic matter to anchor their roots and provide minimal nutrients. The goal is to create a gritty, open mix that mimics the dry, rocky soils these plants naturally thrive in.
Think of the gravel as the structural backbone of your mix, creating air pockets that prevent soil compaction and allow water to flow through almost instantly.
My Go-To Succulent Soil Recipe
This is the basic ratio I’ve had the most success with for my potted echeverias and haworthias. You can adjust it based on your home’s humidity.
- 2 Parts Potting Soil: Use a standard, all-purpose mix. Avoid soils labeled “moisture control,” as they hold too much water.
- 1 Part Aquarium Gravel: Your cleaned, dry gravel acts as the perfect drainage champ.
- 1 Part Coarse Sand or Perlite: This adds another layer of grit. Horticultural sand is best, but clean play sand works too.
Mixing and Testing Your Blend
Combine all the ingredients in a large tub or bucket and mix them thoroughly with your hands or a trowel. To test if your mix is ready, grab a handful and squeeze it; it should crumble apart immediately and not hold a shape. If it forms a clump, add more gravel or perlite until you get that perfect, loose texture. This simple test ensures your succulents’ roots will never sit in wet soil for long.
Quick Tip for Extra Drainage
For succulents that are extremely prone to rot, like lithops or split rocks, I create an even grittier mix. I use one part potting soil to two parts aquarium gravel and one part perlite. This is a classic example of a perlite-based succulent soil mix designed for fast drainage and good aeration. Using perlite in the mix helps keep roots dry and prevents rot. When in doubt, always err on the side of more grit-it’s much easier to water a thirsty plant than to save a drowned one.
Aquarium Gravel as a Top Dressing: A Simple Guide
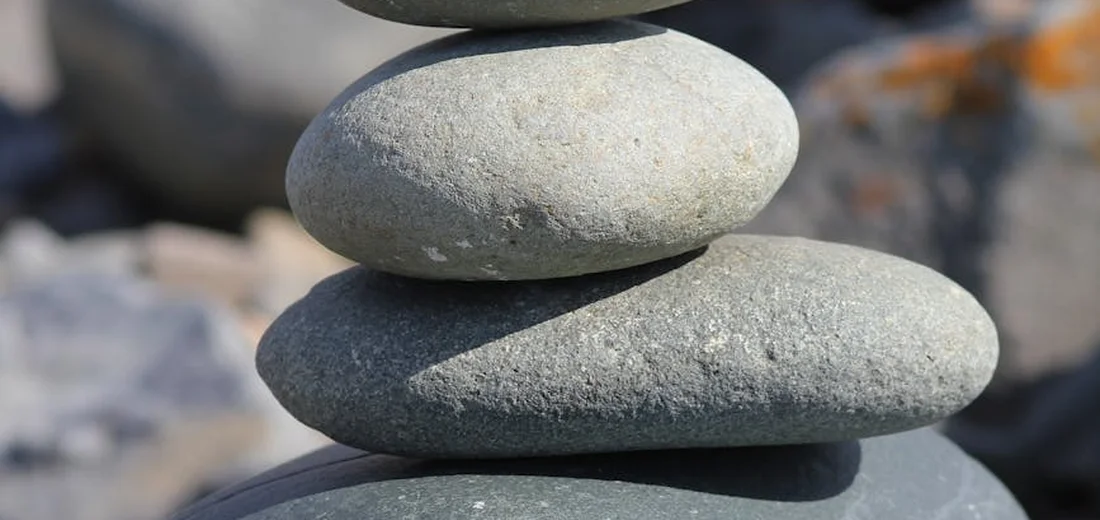
Using aquarium gravel as a top dressing is my go-to trick for a clean, polished look. I’ve found that a thin layer of colorful gravel completely transforms a pot, making even my simplest succulents look like they came from a high-end boutique. It acts like a tiny mulch layer, helping to keep the soil surface stable and reducing how quickly moisture evaporates.
Here is my simple, three-step method for applying it correctly:
- Ensure your succulent is already potted in a fast-draining cactus and succulent soil mix.
- Gently spread a single, even layer of clean aquarium gravel over the soil surface. Aim for a thickness of about half an inch.
- Leave a small gap between the gravel and the plant’s stem to allow for air circulation and prevent potential stem rot.
The benefits are immediate. A top dressing of gravel physically prevents soil from splashing out during watering, which keeps your pots and shelves much cleaner. It also helps deter fungus gnats, as they prefer to lay eggs in exposed, moist soil.
Understanding the Risks: Drainage, Compaction, and Root Health
While it’s fantastic on top, using aquarium gravel *within* the soil mix is where I’ve seen many gardeners run into trouble. The primary risk is creating a dense, heavy layer that traps water right at the root zone, which is the exact opposite of what succulents need to thrive. Their roots crave a light, airy environment.
In my early days, I made the mistake of mixing too much fine gravel into my soil. The result was a compacted, cement-like mass that suffocated the roots and led to rot. Aquarium gravel is not a substitute for components like perlite or pumice, which are specifically designed to be lightweight and porous.
Let’s compare the key differences:
| Material | Primary Function | Weight | Porosity |
|---|---|---|---|
| Perlite/Pumice | Aerates soil, creates air pockets | Very Light | Highly Porous |
| Aquarium Gravel | Adds weight, decorative top layer | Heavy | Non-Porous |
Healthy succulent roots need to breathe almost as much as they need water, and a heavy, non-porous gravel mix simply doesn’t allow for that. Over time, the fine particles can settle and fill all the tiny air pockets in your soil, creating an anaerobic environment that is a death sentence for these plants. So, do succulents really need special soil? The truth is they perform best in well-draining mixes designed for cacti and succulents, not in dense potting soils.
If you are determined to use it in your mix, my advice is to use it very sparingly and only with larger, chunky gravel pieces. Always combine it with a significant amount of a proper succulent soil base and plenty of perlite to counteract its density. For most gardeners, sticking to a top-dressing role is the safest and most effective way to enjoy aquarium gravel.
How Aquarium Gravel Compares to Other Soil Amendments
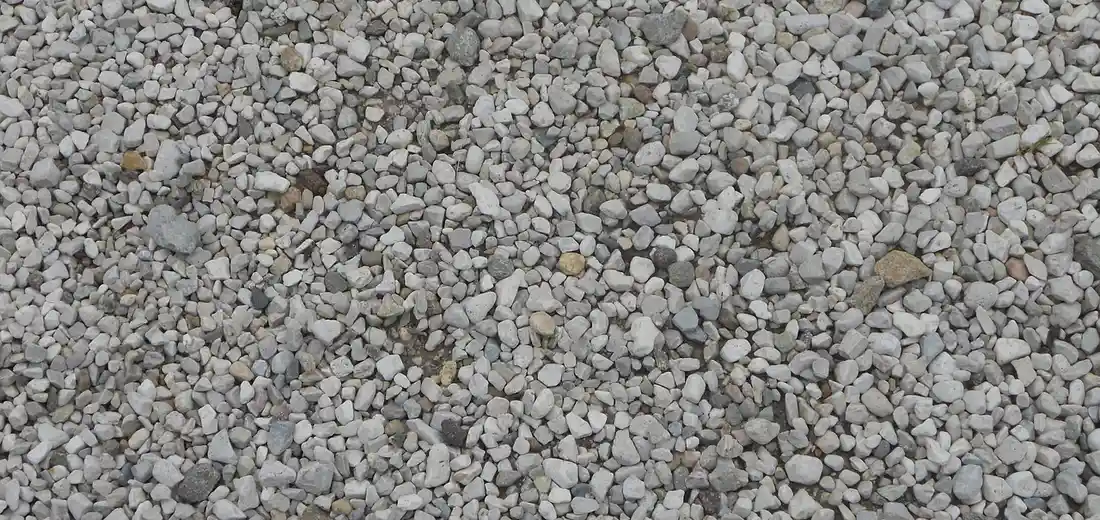
When you’re building the perfect succulent soil, drainage is the name of the game. I’ve experimented with all sorts of materials over the years, and each one brings something different to the potting mix. Let’s see how aquarium gravel stacks up against the usual suspects.
Aquarium Gravel vs. Perlite
Perlite is that lightweight, white, popcorn-like stuff you see in many bagged potting mixes.
- Weight: Perlite is incredibly light, while aquarium gravel is much heavier. A pot with gravel will be more stable and less likely to tip over.
- Drainage: Both are excellent for creating air pockets and improving drainage. They’re champions at preventing soggy roots.
- Water Retention: This is the big difference. Perlite can actually hold a tiny bit of moisture on its porous surface. Gravel is inert and doesn’t hold any water at all.
In my own mixes, I find gravel is better for succulents that are extremely drought-tolerant and prone to rot, like many cacti. Perlite is a fantastic all-arounder. When considering the best soil amendments for succulents, drainage and texture are key. Gravel provides drainage, while perlite helps keep the mix airy.
Aquarium Gravel vs. Pumice
Pumice is my personal favorite soil amendment. It’s a volcanic rock that’s porous and lightweight.
- Function: Pumice is the overachiever-it provides drainage, aeration, and it has a slight cation exchange capacity, meaning it can hold onto a few nutrients for the plant. Gravel only does the first two.
- Cost & Availability: Pumice can be harder to find and is often more expensive than a bag of aquarium gravel from a pet store.
If you can’t find pumice, a mix of perlite and aquarium gravel is a solid substitute that I’ve used many times with great success.
Aquarium Gravel vs. Coarse Sand
This is a crucial distinction. Not all sand is created equal.
- Drainage: Fine, play sand is terrible for succulents-it compacts into a concrete-like block. Coarse, horticultural sand is better, but aquarium gravel provides even larger air pockets for superior drainage.
- Mess Factor: Gravel is much cleaner and less dusty to work with than sand.
I made the mistake of using fine sand years ago and learned the hard way. For drainage, gravel is the much safer bet.
Finding the Right Gravel and Practical Alternatives

You can’t just grab any colorful bag from the pet store aisle. Choosing the right type of aquarium gravel is critical to keeping your succulents happy and healthy. Here’s what I look for.
What to Look For in Aquarium Gravel
- Size Matters: Aim for gravel that is between 1/8 and 1/4 inch in size. Anything smaller can compact, and anything larger won’t integrate well with the soil.
- Material is Key: Look for inert, natural materials like quartz, granite, or river rock. Avoid gravel coated in dyes or epoxy, as these can break down and affect your soil’s pH.
- A Quick Clean is a Must: Even if the bag says “pre-washed,” always rinse your gravel thoroughly in a colander until the water runs completely clear. This removes fine dust that could clog up your soil.
My Go-To Soil Recipe Using Aquarium Gravel
After a lot of trial and error, this is the basic recipe I use for most of my succulents. It’s never failed me.
- Start with 2 parts potting soil (a standard, well-draining mix without moisture-retaining crystals).
- Add 1 part aquarium gravel (the size and type described above).
- Add 1 part perlite or pumice for extra aeration.
- Mix everything thoroughly in a large tub before potting.
This simple 2:1:1 ratio creates a chunky, fast-draining environment that mimics a succulent’s natural, rocky habitat.
Top Alternatives if You Don’t Have Gravel
Don’t have aquarium gravel on hand? No problem! Here are excellent alternatives I’ve used with great results.
- Pumice: My top choice. It’s lightweight and provides aeration and slight nutrient retention.
- Perlite: Widely available and very effective, though it can be a bit dusty and tends to float to the top when you water.
- Baked Clay Pellets (LECA): These are expanded clay balls. You can crush them slightly for a perfect, porous soil amendment.
- Chicken Grit: This is crushed granite sold for poultry. It’s inexpensive, inert, and provides fantastic drainage-just be sure to get the plain, non-soluble type.
| Material | Best For | One Thing to Watch |
|---|---|---|
| Aquarium Gravel | Heavy pots, maximum drainage | Must be inert and rinsed well |
| Pumice | All-around superior aeration | Can be pricey and hard to find |
| Perlite | Lightweight, budget-friendly mixes | Can be messy and float away |
| Chicken Grit | A very cheap and effective alternative | Must be non-soluble (flint or granite) |
FAQs
Can aquarium gravel be used for succulents?
Yes, aquarium gravel can be used for succulents as a soil amendment to improve drainage when mixed with other components. However, it’s important to note that succulents cannot grow in rocks without soil.
Is aquarium gravel suitable for potted succulents?
Aquarium gravel works well in potted succulents by adding structure and enhancing soil aeration in a DIY mix.
Can I find aquarium gravel for succulents at Home Depot?
Yes, Home Depot often sells aquarium gravel that can be cleaned and used for succulent soil mixes.
Where can I get aquarium gravel for succulents near me?
You can purchase aquarium gravel for succulents at local pet stores, garden centers, or large retailers near you. For buying the succulent plants themselves, our complete shopping guide highlights the best places to shop. It covers options from local nurseries to reputable online retailers and what to look for in healthy specimens.
Are there nearby options for buying aquarium gravel for succulents?
Check nearby pet supply shops or home improvement stores for aquarium gravel that suits succulent care needs.
Where can I buy aquarium gravel for my potted succulents locally?
Look for aquarium gravel at local pet or hardware stores to incorporate into your potted succulent soil blends.
Your Succulent Soil Success Plan
From my hands-on experience, I’ve learned that aquarium gravel can work in succulent soil if you blend it wisely with other components to boost drainage and aeration. Mixing it properly prevents water from pooling around roots, which is a common mistake I’ve seen many plant lovers make when choosing soil mixes for succulents.
- Combine aquarium gravel with cactus potting mix and perlite in equal parts.
- Always check that the soil feels gritty and loose before planting.
- Water only when the top inch of soil is completely dry to avoid overwatering.
You’re all set to give your succulents a cozy home—trust your instincts and enjoy watching them thrive under your care. Every small step you take builds your confidence as a plant parent, and I’m cheering you on from my own sunny windowsill! It helps to know just how to care for succulents.
Further Reading & Sources
- Can You Use Aquarium Gravel for Succulents?
- Is Aquarium Gravel Safe for Succulents? What You Need to Know | Aquasucculents
- Can You Use Aquarium Gravel for Succulents? (Answered)
- Amazon.com: Succulent Gravel
Lena Greenfield is a passionate horticulturist and plant care expert with over 10 years of experience cultivating and nurturing hardy house plants. With a deep understanding of both indoor and outdoor gardening, Lena shares practical advice on choosing, caring for, and maintaining resilient plants that flourish year-round. Through her knowledge and hands-on approach, Lena helps plant lovers transform their spaces into vibrant, green sanctuaries, no matter their gardening experience.
Soil Types