
How Often Should You Change Succulent Soil?
Published on: May 21, 2026 | Last Updated: May 21, 2026
Written By: Lena Greenfield
If you’re caring for succulents, you might be wondering exactly how often to swap out their soil to keep them happy and healthy. Based on my years of nurturing these resilient plants, a good rule of thumb is to refresh the soil every 1 to 2 years, but your specific plant’s behavior and soil condition will give you the best clues.
In this article, I’ll guide you through signs it’s time for a change, my step-by-step repotting method, the benefits of fresh soil, and mistakes to avoid so you can confidently support your succulent’s growth.
The Ideal Repotting Frequency for Succulents
I get this question all the time, and my answer is always the same: it depends on your plant’s lifestyle, not a rigid calendar date. Most happy, established succulents are perfectly content being repotted every two to four years. They’re slow growers and prefer to be a little snug in their pots.
Think of it like a comfortable pair of shoes-you don’t need new ones just because a season changed. You replace them when they’re worn out or you’ve outgrown them. Here’s a quick guide based on what I’ve seen with my own collection:
- Young or Fast-Growing Succulents: Every 1-2 years. They’re putting on new growth and need the space and fresh nutrients.
- Mature, Slow-Growing Succulents (like many cacti or my old jade plant): Every 3-4 years is often plenty.
- Succulents in Terracotta Pots: These pots breathe, which is great, but they can cause soil to break down a bit faster. Check them at the 2-year mark.
- Succulents in Plastic or Glazed Pots: The soil stays moist longer and compacts more easily. You might need to refresh it closer to every 2 years.
The best time to do this chore is at the start of their active growing season, which for most succulents is spring or early summer. Repotting during their growth spurt gives them the best chance to recover quickly and settle into their new home. I always plan my big repotting day for a sunny Saturday in April-it’s become a little ritual. Knowing the right time to repot is crucial to maintaining their health.
Signs Your Succulent Soil Needs Changing
Your plant will tell you when it’s time for a soil change; you just need to know how to listen. I’ve learned to spot these cues over the years, and they’ve saved more than one plant from a slow decline.
The soil has become hard and compacted, almost like a brick. This is the number one sign I look for. Good succulent soil should be loose and crumbly. If water pools on the surface for more than a few seconds before soaking in, the soil structure is gone. It feels like trying to pour water onto a soggy sponge—it just can’t absorb any more. Are these signs of poor soil quality for succulents? If so, addressing drainage and soil texture can help them recover and thrive.
Your succulent has stopped growing, even during its growing season. If your once-vigorous plant has seemingly hit the pause button, it’s often a sign it has exhausted the nutrients in its current soil. It’s running on empty.
- Water drains through the pot impossibly fast. When the soil becomes so compacted or peaty that it actually repels water, it’s a major red flag. The water takes the path of least resistance straight down the sides of the pot, leaving the roots bone-dry.
- You see a white, crusty buildup on the soil surface. This is mineral salt accumulation from tap water and fertilizer. In large amounts, it can harm the roots and alter the soil’s pH.
- The plant is root-bound. Gently tip the pot and check if roots are circling densely at the bottom or pushing the plant up and out of the pot. They need a new, slightly larger space to explore.
A quick tip: if you notice a musty or sour smell coming from the soil, it’s an urgent sign of decay and poor drainage, and you should repot immediately. This smell often means the organic matter in the soil is breaking down anaerobically, which can quickly lead to root rot. Don’t wait on this one.
Step-by-Step Guide to Changing Succulent Soil
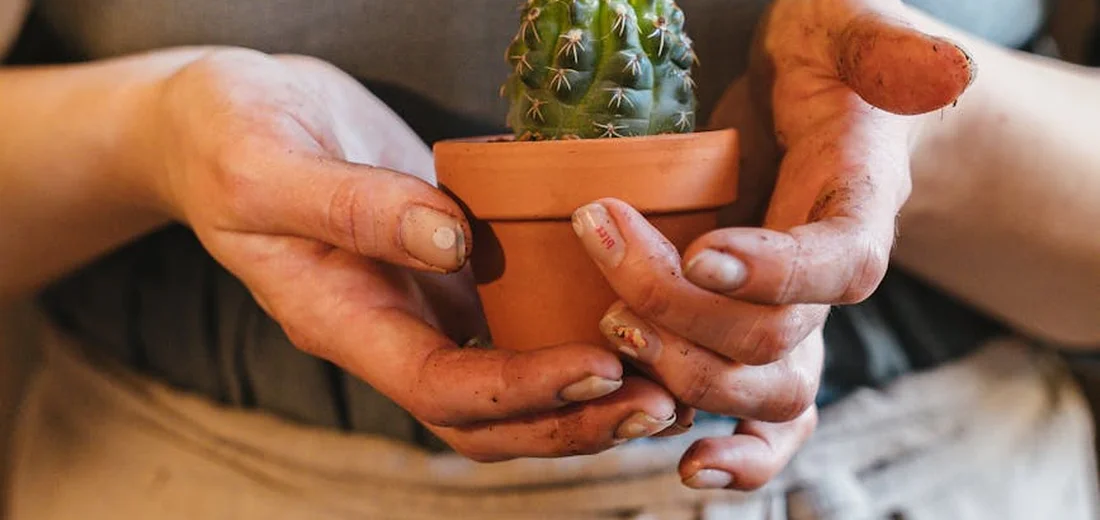
I’ve repotted hundreds of succulents over the years, and a good process makes all the difference. Gather your new pot, fresh soil mix, a trowel or spoon, and some newspaper to contain the mess before you even touch the plant. Check out our step-by-step guide for repotting succulents to make sure you do it right.
Phase 1: Preparation and Removal
- Stop watering your succulent for about a week before you plan to repot. Dry soil makes it much easier to remove the plant and minimizes root damage.
- Lay down your workspace. I use an old baking sheet covered in newspaper. It catches all the old soil and keeps things tidy.
- Gently tip the current pot on its side. Carefully squeeze the sides of a plastic pot or run a butter knife around the edge of a ceramic one to loosen the root ball.
- Support the base of the plant with your fingers and gently coax it out. If it’s stubborn, I sometimes tap the bottom of the pot firmly against the table.
Phase 2: Root Inspection and Cleanup
This is the most critical step for plant health. Take your time to gently tease apart the root ball with your fingers, shaking off as much of the old, compacted soil as possible.
- Look for roots that are dark brown, black, or mushy-these are rotten and need to be snipped off with clean, sharp scissors.
- Healthy roots will be firm and can range in color from white to a light tan.
- If the roots are tightly wound in a circle (root-bound), gently loosen them to encourage them to grow outward into their new home.
Quick Tip: Don’t be afraid to trim away dead or rotten roots. It feels scary, but it’s like a haircut for your plant-it promotes healthy new growth.
Phase 3: The Repotting Process
- Place a layer of fresh, dry succulent soil in the bottom of your new pot. The depth should allow your plant to sit at the same level it was in its old pot.
- Position your succulent in the center of the pot.
- Holding the plant steady, gently add new soil around the roots, using a chopstick or pencil to carefully push soil into any gaps.
- Stop filling when the soil line is just below the lowest leaves. You never want soil to touch and trap moisture against the plant’s stem or leaves.
Phase 4: The Crucial Aftercare
This is where many people go wrong. Do not water your succulent immediately after repotting. Wait at least five to seven days to give any disturbed or trimmed roots time to callous over and heal. This prevents root rot. This timing is exactly about when to water succulents after repotting. It helps you avoid overwatering and gives roots a chance to recover. After the waiting period, give it a thorough, deep watering, then return to your normal watering schedule.
Choosing the Right Soil Mix for Your Succulents
Getting the soil right is the single biggest factor in keeping your succulents alive and thriving. In my experience, using standard potting soil is the number one cause of succulent failure. Succulents need a fast-draining, gritty mix that mimics their native, arid habitats, not a moisture-retentive one.
Commercial Mixes vs. DIY: My Take
You have two main paths: buying a pre-made bag or mixing your own.
- Commercial Cactus & Succulent Mix: This is a great starting point, especially for beginners. Look for a reputable brand. However, I often find even these are still a bit too dense and organic for my liking.
- DIY Succulent Soil: This is my preferred method because I can control the exact texture and drainage. It’s easier than you think!
My Go-To DIY Succulent Soil Recipe
After a lot of trial and error, this is the basic formula I use for most of my succulents. You can find these ingredients at most garden centers.
- Start with 2 parts potting soil. This acts as the base and provides some nutrients.
- Add 1 part coarse sand (like horticultural or builder’s sand, not fine play sand). This improves drainage significantly.
- Add 1 part perlite or pumice. These inorganic materials create air pockets, prevent compaction, and ensure water flows through quickly.
Mix everything thoroughly in a large tub. You’re aiming for a loose, chunky, and gritty texture. When you squeeze a handful, it should crumble apart easily instead of clumping together.
Key Ingredients and What to Look For
| Ingredient | Why It’s Important |
|---|---|
| Potting Soil | Provides a base and minimal organic matter. Avoid mixes with moisture-retaining crystals. |
| Coarse Sand | Creates space between soil particles, allowing water to drain and roots to breathe. |
| Perlite | Those white, lightweight balls increase aeration and prevent soil from becoming a dense, muddy mess. |
| Pumice | A heavier, porous volcanic rock that provides excellent drainage and aeration without floating to the top. |
Quick Tip: If you’re using a commercial mix straight from the bag and find it’s still too dense, simply amend it by mixing in a handful or two of perlite. This small tweak can dramatically improve its performance.
When to Refresh Soil Versus a Full Change
I used to think changing soil meant a full, messy repot every single time. Now I know that a simple top-dressing or soil refresh can solve many problems without stressing the plant. It’s like giving your plant a mini spa day instead of a full-blown relocation.
When a Simple Soil Refresh is Perfect
A refresh means you’re only replacing the top layer of soil, maybe an inch or two. I do this often in my own collection.
- After a Pest Infestation: If you’ve had fungus gnats, I’ll sprinkle a fresh layer of sand or gritty mix on top. This creates a dry barrier that disrupts their life cycle.
- For Soil Compaction: When the soil surface looks hard and crusty, I gently break it up and add a fresh, airy mix on top. This immediately improves water absorption.
- To Boost Aesthetics: Sometimes I just add a clean top layer of decorative gravel to make the pot look neat and tidy again.
Signs You Need a Full Soil Change
A full change means taking the plant out, shaking off all the old soil, and giving it a completely new home. This is a bigger job, but sometimes it’s the only way.
- The Soil Stays Soggy for Days: If you water and the pot still feels heavy a week later, the soil structure has broken down. It’s no longer draining properly.
- You See Salt or Mineral Buildup: A white, crusty layer on the soil surface or the pot’s rim is a dead giveaway. This happens from tap water and fertilizer salts accumulating over time.
- The Plant is Completely Root-Bound: When you lift the plant out and it’s a solid mass of roots with little soil visible, it’s time for a bigger pot and all new soil.
- You Suspect Root Rot: A musty smell or black, mushy roots mean you must change the soil immediately to save the plant.
My quick tip: If the soil smells fresh and earthy, a refresh might be enough. If it smells sour or musty, a full change is non-negotiable.
Seasonal and Environmental Impact on Soil Changes
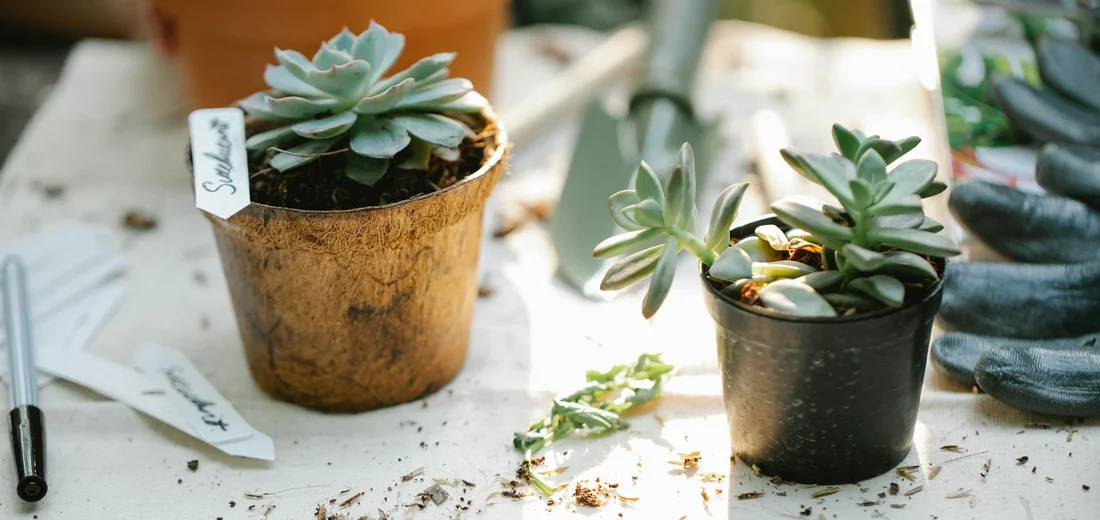
Your local climate and the time of year play a huge role in how quickly soil breaks down. I live in a region with distinct seasons, and my soil care routine shifts with them.
How Your Home Environment Affects Soil
Think about the air in your home. Is it dry and arid, or humid and still?
- Dry, Air-Conditioned Homes: Soil tends to dry out faster on the surface, but it can also become water-repellent. In these environments, I find soil stays usable for longer, but I might refresh the top layer more often to ensure even watering.
- Humid Environments: High humidity slows down evaporation. This means soil stays wet for longer, accelerating its breakdown. In humid climates, you’ll likely need to do full soil changes more frequently to prevent compaction and mold.
The Best and Worst Seasons for Repotting
Timing your soil changes with the seasons sets your succulents up for success.
Spring & Early Summer: The Prime Time
This is the active growing season for most succulents. Their roots are eager to expand into fresh soil, helping them recover from the stress of repotting quickly. I schedule almost all of my major soil changes for this window.
Fall: Proceed with Caution
As growth slows, I only repot if it’s an emergency, like severe root rot. A fall repot can sometimes work, but the plant will take much longer to establish itself.
Winter: The Hands-Off Season
I avoid changing soil in winter completely. The plants are dormant, and their roots are barely drinking. Disturbing them now can lead to rot, as the fresh soil will stay wet for far too long without roots to absorb the moisture.
Remember, a plant in a sunny, warm windowsill will use up soil nutrients faster than one in a cooler, shadier spot. Always let your plant’s specific conditions be your final guide.
Common Mistakes to Avoid When Changing Soil
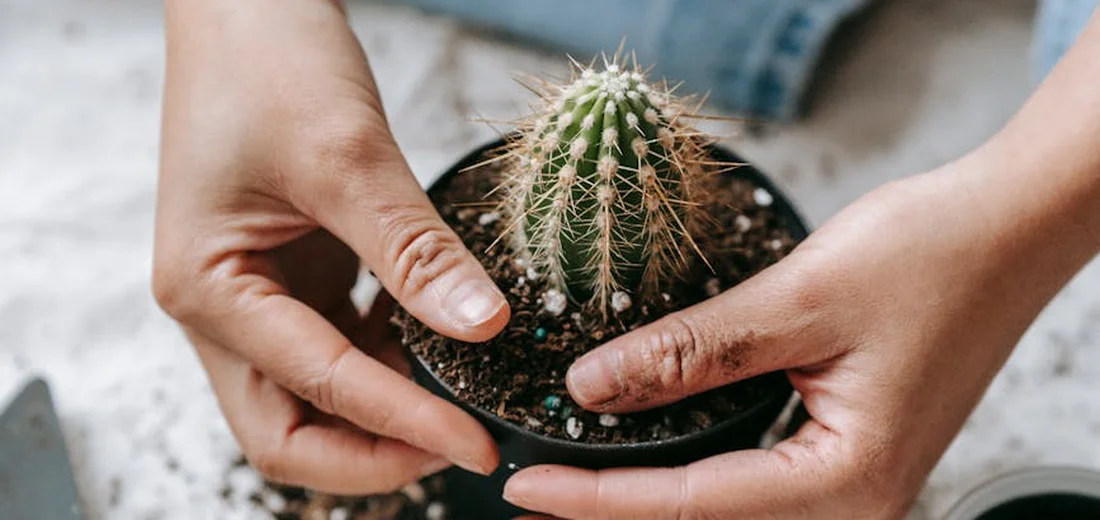
I’ve repotted hundreds of succulents over the years, and I’ve made nearly every mistake in the book so you don’t have to. Learning from these errors is what transformed my own collection from struggling to thriving. Here’s a quick guide to the most common succulent propagation mistakes and how to avoid them. With these tips, you’ll set cuttings up for success from the start.
1. Choosing a Pot That’s Too Big
It’s tempting to give your plant a mansion to grow into, but a pot that’s too large is a recipe for disaster. Excess soil holds onto moisture for far too long, creating a soggy environment that succulent roots absolutely hate. Always select a new pot that is only 1-2 inches wider in diameter than the root ball of your plant. This ensures the soil can dry out at a healthy pace.
2. Watering Immediately After Repotting
This is the number one mistake I see beginners make. Your succulent’s roots have just been disturbed and likely have tiny, invisible abrasions. Watering right away invites rot to set in through these fresh wounds. I always wait a full 5-7 days after repotting before I give my succulents their first drink. This gives the roots time to callous over and heal.
3. Reusing Old, Spent Soil
That old soil is exhausted. It has lost its nutritional value and its structure has broken down, making it compact and poorly draining. Reusing old soil is like forcing your plant to live in a cramped, nutrient-depleted apartment. Always start fresh with a new, well-draining mix to give your succulent the best new home possible.
4. Skipping the Root Inspection
Repotting is the perfect time for a root health check-up. Gently tease the old soil away and take a good look. Healthy roots are firm and white or light tan, while rotten roots are mushy, dark, and often smell bad. Use clean, sharp scissors to snip away any rotten parts before placing your plant in its new pot. This simple step can save your plant’s life—especially if you face issues with root rot.
5. Using the Wrong Soil Mix
Standard potting soil is too dense and moisture-retentive for succulents. They need a gritty, airy mix that mimics their natural, dry habitat. I always make my own mix using two parts potting soil to one part perlite and one part coarse sand. This creates the perfect fast-draining environment that prevents root rot and keeps my plants happy.
Common Questions
Can I change my succulent’s soil if it is flowering?
It is best to wait until after the flowering cycle has finished to avoid shocking the plant.
Should I change the soil after buying a new succulent?
Yes, you should repot a new succulent to ensure it is in fresh, well-draining soil.
Does the type of water I use affect how often I change the soil?
Using hard tap water can lead to mineral buildup, potentially requiring more frequent soil changes.
Is it necessary to change the soil after a pest infestation?
Yes, a full soil change is often required to remove pest eggs and larvae from the pot.
Can I just add new soil on top of the old soil instead of repotting?
Top-dressing can help with minor issues, but it does not replace the need for a full soil change when the soil is degraded.
How does the pot material influence soil change frequency?
Porous pots like terracotta cause soil to dry faster and can lead to salt buildup, sometimes requiring more frequent changes than non-porous pots.
Your Succulent Soil Refresh Plan
From my years of nurturing succulents, I’ve found that refreshing their soil every 1-2 years—or when you see signs like slow drainage or compacted soil—keeps them thriving. When you repot, this is also a good time to feed lightly with a diluted succulent fertilizer. Just avoid heavy feeding and don’t fertilize during dormancy.
- Repot in spring for active growth.
- Use a gritty, well-draining mix to prevent root rot.
- Check annually for soil degradation or pest issues.
You’re all set to give your plants the cozy home they deserve-trust your green instincts and enjoy watching them flourish!
Further Reading & Sources
- How often do you change soil? : r/succulents
- How Often to Change Soil for Succulents? – Essential Care Secrets – GardenerBible
- How Often You Should Change the Soil in Your Houseplants-and the Best Way to Do It
- How Often Do You Change Soil For Succulents
Lena Greenfield is a passionate horticulturist and plant care expert with over 10 years of experience cultivating and nurturing hardy house plants. With a deep understanding of both indoor and outdoor gardening, Lena shares practical advice on choosing, caring for, and maintaining resilient plants that flourish year-round. Through her knowledge and hands-on approach, Lena helps plant lovers transform their spaces into vibrant, green sanctuaries, no matter their gardening experience.
Repotting Guidelines