How to Dry Out Overwatered Plant Soil Quickly and Safely
Published on: January 18, 2026 | Last Updated: January 18, 2026
Written By: Lena Greenfield
Did you give your plant a little too much love with the watering can? You’re not alone-I’ve done it more times than I can count, and the panic is real.
The good news is, your plant can likely be saved, and I’ll show you exactly how to rescue it without causing more stress. I’ll walk you through the fastest methods to dry the soil, the safest ways to check your plant’s roots for rot, the simple tools you can use from around your home, and my top tips to prevent this from ever happening again.
First, Confirm Your Plant is Overwatered
Before you start any rescue mission, make sure you’re dealing with an overwatering issue and not something else. I’ve learned from my own mistakes that acting on the wrong diagnosis can do more harm than good.
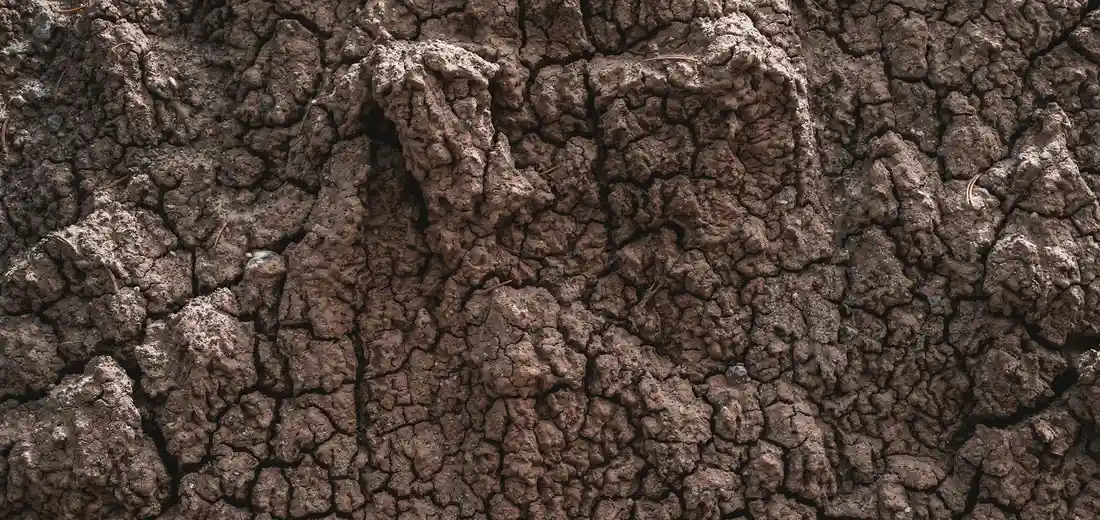
Stick your finger about two inches into the soil. If it feels cold, soggy, and mud-like, that’s your first clue. A healthy soil should feel cool and slightly moist, not wet.
Give the pot a gentle sniff. This sounds strange, but it’s a trick I use all the time. Overwatered soil often has a musty, sour, or “swampy” smell, which signals that root rot might be starting. These are common signs of root rot in houseplants. If you notice them, act quickly.
Look at your plant’s leaves. Are they turning yellow, becoming mushy and translucent, or drooping dramatically without being dry? These are classic distress signals from the roots, which are essentially drowning. In troubleshooting common succulent problems like yellowing and drooping, start by checking watering and root health. These clues help you identify overwatering, underwatering, or poor drainage and guide the fixes.
- Consistently wet, muddy soil
- A foul, musty odor from the pot
- Yellowing, mushy leaves
- Presence of fungus gnats (they love damp soil)
Emergency Steps to Dry Soggy Soil Quickly
Once you’re sure it’s overwatering, it’s time for some plant first aid. The goal is to remove excess water and get oxygen back to the roots as fast as possible. I keep a “plant rescue kit” with paper towels and tampons handy for exactly this situation.
Using Absorbent Materials to Pull Out Moisture
This is my go-to method for a serious waterlogged situation. You’re essentially wicking the water right out of the soil.
- Gently tip the entire plant, pot and all, on its side. Support the base of the plant with one hand so it doesn’t fall out. Let any standing water in the saucer drain away.
- Take a thick stack of paper towels or newspaper and press it firmly against the surface of the soil. You’ll see the moisture get absorbed instantly.
- Replace the paper towels as they become soaked. Repeat this until they come away mostly dry.
- For a deep-water rescue, push a few unused, unwrapped tampons directly into the soil. I was skeptical at first, but tampons are designed to be super-absorbent and will pull water from the root zone brilliantly. Leave them in for an hour or two.
Boosting Airflow for Faster Drying
Moving air is a powerful drying agent. After you’ve soaked up the surface water, it’s time to get the air moving.
Place a small oscillating fan near the plant, set it on low, and let it blow gently across the soil surface. Don’t point a high-powered fan directly at the plant, as this can cause windburn on the leaves. A gentle breeze for a few hours works wonders.
If it’s a warm, breezy day, take your plant outside to a shaded, sheltered spot for some fresh air. Just an hour can make a big difference. Never put a stressed plant in direct, hot sun.
Carefully aerate the soil by gently poking a few holes into it with a chopstick or a skewer. This creates tiny air channels that help evaporate moisture from deeper in the pot and delivers precious oxygen to the suffocating roots. Be very gentle to avoid spearing through major root systems.
- Use a fan on a low setting
- Give it some time in a shady, breezy outdoor spot
- Aerate the soil with a chopstick
- Remove any decorative moss or rocks covering the soil surface
When and How to Remove the Plant from Its Pot
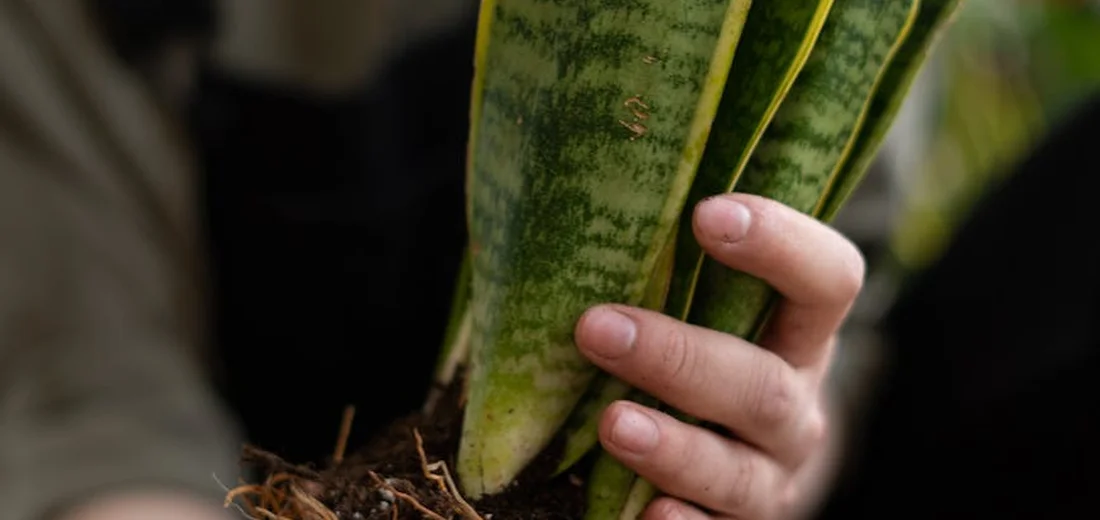
I always check if the plant is ready for a rescue mission by gently tipping the pot and sliding it out. If the root ball feels like a sopping wet sponge and soil sticks to your fingers, it’s definitely time for an intervention. Be gentle but firm, supporting the base of the plant as you coax it free.
Inspecting Roots for Rot
Once the plant is out, I gently massage the root ball to loosen the wet soil. Healthy roots should be firm and white or light tan, while rotten roots are mushy, dark brown or black, and often smell unpleasant. I use clean scissors to snip off any rotten parts, and I don’t hesitate to be thorough-it’s better to remove a little too much than to leave any rot behind.
Repotting into Fresh, Dry Soil
After dealing with the roots, I get the plant settled into its new home. Choose a pot with excellent drainage holes-this is non-negotiable for preventing future overwatering disasters. I place a layer of fresh, dry soil in the bottom, position the plant, and then fill in around the sides, gently tamping down to eliminate large air pockets.
Creating a Fast-Draining Soil Mix
Over the years, I’ve found that a standard potting mix often holds too much moisture for plants recovering from overwatering. My go-to emergency mix is two parts standard potting soil, one part perlite, and one part coarse sand or orchid bark. This creates a chunky, airy environment that allows water to flow through quickly and gives roots the oxygen they desperately need. Different indoor plants have varying soil needs, so the best mixes depend on the species. For example, succulents prefer gritty, fast-draining blends, while tropicals thrive in lighter, moisture-retentive soils.
- Standard Potting Mix: Provides a base of nutrients.
- Perlite: Those little white pieces create crucial air pockets.
- Coarse Sand or Orchid Bark: Adds weight and improves drainage dramatically.
Don’t water the plant immediately after repotting! Give those stressed roots a few days to a week to adjust to their new, dry surroundings before offering a small drink. These recovery tips help your plant rebound after repotting. In the coming days, monitor moisture and light, and resume watering only after new growth appears.
Helping Your Plant Recover After the Rescue
Once you’ve gotten the excess water out, your plant is still in a fragile state. Think of this phase like nursing a friend back to health-patience and gentle care are everything. I’ve revived many overwatered plants, and the ones that bounce back strongest are the ones given this thoughtful aftercare.
Give Those Roots a Fresh Start
If you had to take the plant out of its pot to dry the soil, this is your golden opportunity. Gently inspect the root ball and snip off any roots that are mushy, slimy, or smell bad with clean, sharp scissors. Healthy roots are firm and white or light tan. I always do this; it feels like giving the plant a clean slate to focus its energy on new growth.
The Perfect New Home
Don’t just put your plant back in old, stressed soil. Repot it into a fresh, well-draining mix.
- For most houseplants, I use a standard potting mix with a handful of perlite or orchid bark mixed in for extra drainage.
- For succulents and cacti, a specialty succulent mix is non-negotiable for me. It’s gritty and fast-draining, which they love.
Hold Off on the Water
This is the hardest part for many plant parents! After repotting into fresh, slightly moist soil, do not water your plant. Wait until the top inch or two of soil is completely dry. For my succulents, I wait until the soil is bone dry all the way through. When you water succulents after repotting, water sparingly and only after the soil is completely dry, with good drainage. This pause encourages the roots to stretch out and seek moisture, promoting stronger growth.
Find the Right Light
Place your recovering plant in a spot with bright, indirect light. Direct, hot sun can add stress, but a well-lit room helps the plant use its energy efficiently for recovery. To create a perfect recovery environment for a stressed plant, keep the air steady with a stable temperature. Maintain moderate humidity and avoid drafts. I avoid fertilizing for at least a month, as the plant is too vulnerable and fertilizer can burn the tender roots.
Smart Habits to Prevent Overwatering for Good
Prevention is truly the best medicine for overwatering. Developing a few simple habits will save you and your green friends from future soggy emergencies. I’ve trained myself to do these things, and my plants have never been happier.
Ditch the Watering Schedule
I learned this the hard way: watering every Saturday doesn’t work. Your plant’s thirst changes with the seasons, the light it gets, and the humidity in your home. Instead of marking your calendar, get into the habit of checking the soil. It’s more effective than following a generic schedule, especially since watering needs vary for different indoor plants.
Become a Soil Moisture Detective
Your finger is the most reliable tool you own.
- Stick your finger about two inches into the soil.
- If it feels damp or cool, walk away from the watering can.
- If it feels dry, it’s time for a drink.
For succulents, I wait until the soil is completely dry throughout the pot. When in doubt, wait another day or two. Most plants are better off slightly under-watered than over-watered. In our complete guide on how often to water succulents, this rule is explained in detail. It helps tailor watering to pot size, soil, and climate.
Choose the Right Pot and Soil
Your plant’s pot is its foundation.
- Always use a pot with a drainage hole. This is my number one rule. It’s the emergency exit for excess water.
- Unglazed terracotta pots are my favorite because they are porous and allow the soil to dry out more evenly.
- Plastic and glazed ceramic pots hold moisture longer, so you’ll need to water less frequently when using them.
Water Deeply and Thoroughly
When you do water, do it properly. Take your plant to the sink and water slowly until it runs freely out of the drainage hole. This ensures the entire root ball gets hydrated. Let it drain completely before putting it back in its decorative cover or saucer. I never let my plants sit in a saucer of water-it’s a surefire way to cause root rot.
FAQs
Can I use a moisture meter to check if the soil is dry enough after overwatering?
A moisture meter can provide an accurate reading, but your finger is a reliable and free alternative.
What is the role of temperature in drying overwatered soil?
Warmer temperatures can speed up evaporation, but avoid extreme heat that could stress the plant.
How does humidity affect the drying process of overwatered soil?
Lower humidity levels facilitate faster drying, while high humidity can slow it down.
Is it safe to use baking soda or other home remedies to dry soil?
Avoid using baking soda or other remedies as they can alter soil pH and harm the plant.
Can I transplant the plant to a larger pot to help dry the soil?
Transplanting to a larger pot is not recommended as it can hold more moisture; instead, use a well-draining mix in the same or appropriately sized pot.
What should I do if the plant is in a pot without drainage holes?
If the pot lacks drainage holes, repot the plant into a container with proper drainage to prevent future issues.
Your Plants Will Bounce Back
To rescue your overwatered plants, act fast by improving drainage and airflow to dry the soil safely. I always start by gently removing the plant, shaking off wet soil, and letting the roots breathe before repotting in fresh, dry mix. If root rot is suspected, carefully trim away any rotted roots and repot into a clean pot with fresh, well-draining soil. This helps prevent the rot from returning and gives the plant a strong start. Here’s a quick recap:
- Check soil moisture and stop watering immediately.
- Repot using a well-draining soil mix and a pot with drainage holes.
- Increase air circulation around the plant to speed up drying.
Don’t stress-most plants recover well with a little patience and the right care. For more personalized tips on succulent and houseplant care, I share all my hands-on experiences over at Hardy House Plants (www.hardyhouseplants.com) to help you keep your green friends thriving, especially when it comes to succulents.
Further Reading & Sources
- How To Dry Houseplant Soil That’s Overwatered | Gardening Know How
- How to Dry Out Overwatered Plants
- How to Dry Overwatered Soil? 7 Easy ways to quickly dry soil – Flourishing Plants
- 14 Ways To Dry Out Soggy Soil And Correct Overwatering Mistakes
Lena Greenfield is a passionate horticulturist and plant care expert with over 10 years of experience cultivating and nurturing hardy house plants. With a deep understanding of both indoor and outdoor gardening, Lena shares practical advice on choosing, caring for, and maintaining resilient plants that flourish year-round. Through her knowledge and hands-on approach, Lena helps plant lovers transform their spaces into vibrant, green sanctuaries, no matter their gardening experience.
Watering Techniques