How to Propagate Different Snake Plant Varieties Step-by-Step
Published on: January 21, 2026 | Last Updated: January 21, 2026
Written By: Lena Greenfield
Are you eager to grow more snake plants from the ones you already own, but concerned about making a mistake? I’ve propagated countless snake plants over the years, and I can assure you it’s a straightforward process that even beginners can master with a little guidance.
In this article, I’ll share my hands-on experience to cover:
- the best propagation methods for various snake plant types,
- clear, step-by-step instructions for each technique,
- my personal tips for success and common pitfalls to avoid,
- and how to care for your new plants after propagation.
Gather Your Snake Plant Propagation Toolkit
Before you start, having the right gear makes the whole process smoother and much more successful. I’ve found that a small, dedicated kit prevents last-minute scrambling and helps your new plants get the best start.
- A Sterilized Sharp Tool: I always use a clean, sharp knife or a pair of pruning shears. A clean cut heals faster and drastically reduces the risk of introducing disease to your plant.
- Rooting Hormone Powder: This isn’t strictly mandatory, but I consider it a secret weapon. A quick dip in rooting hormone encourages the cutting to develop roots more reliably and often a bit faster.
- Small Pots or Containers: Your new plant babies need their own homes! Make sure whatever you use has drainage holes. I save and wash old plastic nursery pots for this very purpose.
- Well-Draining Soil Mix: Regular potting soil holds too much moisture. I mix my own with two parts regular potting soil to one part perlite or coarse sand. This provides the perfect airy, fast-draining environment snake plant roots crave.
Propagate Snake Plants by Division
This is my absolute favorite method because it’s fast and you get a mature-looking plant right away. Division is essentially giving your overgrown snake plant more room by splitting it into two or more fully-formed plants. It works best when your plant has become pot-bound and is bursting out of its container. Another quick route for propagation is cutting snake plant leaves, which can be very successful. Cut a healthy leaf near the base into several sections, let the cut ends dry to callus, then plant the sections in well-draining soil and keep them lightly moist.
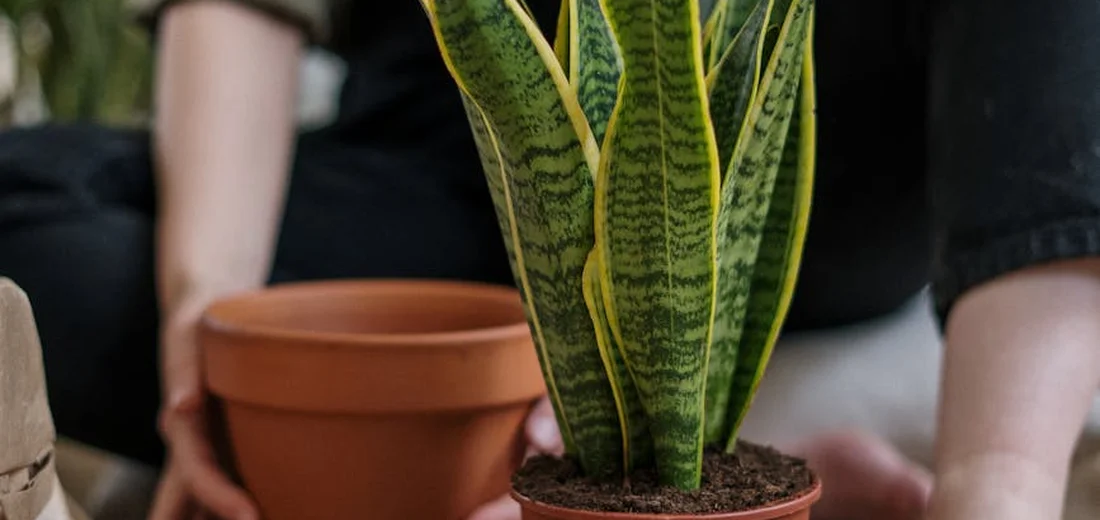
- Step 1: Remove the mother plant from its pot. Water the plant a day or two before to make the roots more flexible. Gently tip the pot on its side and coax the plant out, supporting the base of the leaves.
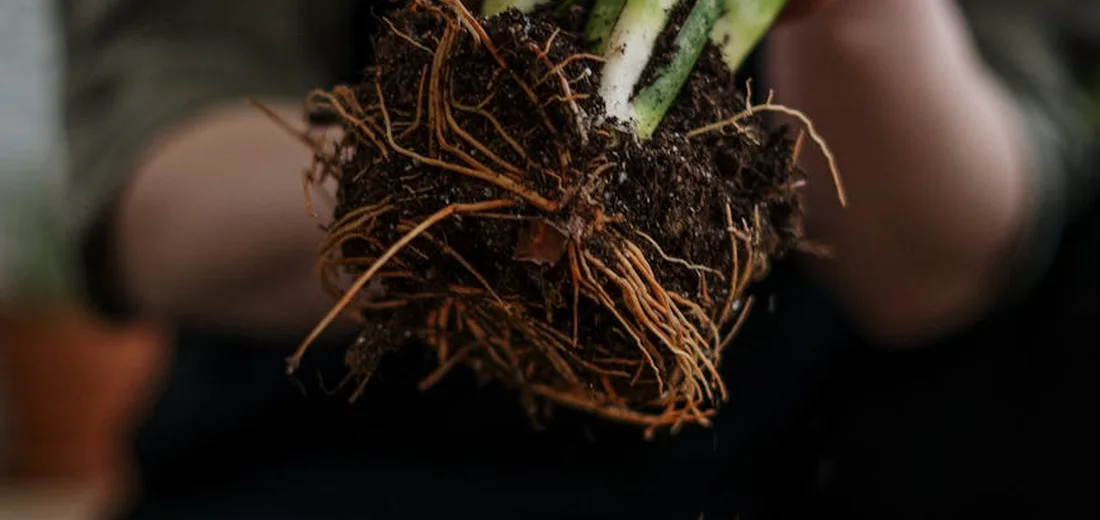
- Step 2: Gently separate the root ball into sections. You’ll likely see natural clumps. Use your hands to gently tease them apart, aiming for each new section to have its own set of leaves and a healthy cluster of roots.
- Step 3: Pot each new section. Place each division into its own container filled with your fresh, well-draining soil mix. Water them lightly to help settle the soil around the roots.
- Look for the rhizomes-those thick, light-colored stems under the soil that the leaves grow from. They often have natural points where they want to separate. If a section won’t pull apart easily by hand, you can use your sterilized knife to make a clean cut through the connecting rhizome.
Separate and Pot Snake Plant Pups
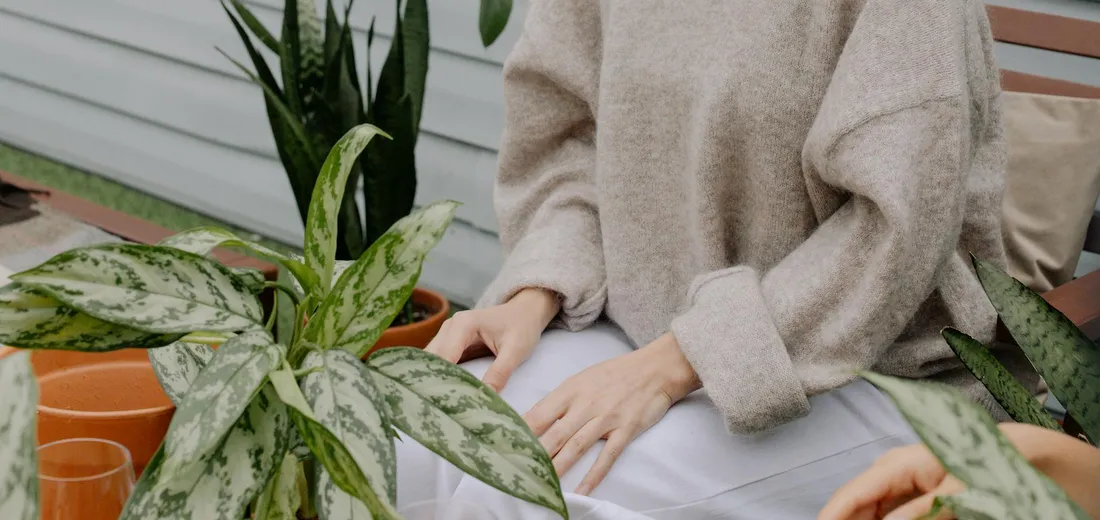
In my years of nurturing snake plants, I’ve found that separating pups is a reliable way to expand your green family. This method is beginner-friendly and gives you instant new plants with established roots. Are snake plants good indoor houseplants? They are—tolerant of low light and needing little water, with a neat, upright form that fits many spaces.
- Locate a healthy pup growing from the soil line; I look for one that feels sturdy and has a few leaves of its own.
- Use a sterilized knife or scissors to cut the pup away, making sure it keeps some roots attached for a head start.
- Plant the pup in a small pot filled with a well-draining mix, like one I make with cactus soil and perlite for optimal growth.
- I recommend waiting until the pup is about one-third the size of the mother plant or at least 4-6 inches tall before separating it. This size ensures it has enough stored energy to thrive on its own.
Grow New Plants from Leaf Cuttings
Leaf cuttings are a fun project I often use when pups aren’t available. You can turn a single leaf into multiple new plants, which feels like magic every time.
- Select a healthy, mature leaf and slice it into 3-4 inch sections using a clean blade; I pick leaves that are thick and unblemished.
- Mark the end that was nearest the soil-this is the part you’ll plant, and getting it right is key for rooting.
- Let the cut ends dry and form a callous for a day or two; this step prevents rot and boosts success rates.
- Stick the cuttings into a moist medium like perlite or succulent mix, keeping them lightly damp but not wet.
- If you propagate variegated types from leaf cuttings, they might lose their stripes and revert to solid green. I’ve noticed this with my ‘Moonshine’ snake plants, so for patterned varieties, stick to pup separation.
Try Water Propagation for Leaf Cuttings
Water propagation is a visual treat I love for its simplicity. It lets you observe root growth up close, which is perfect for impatient gardeners like me.
- Place the calloused end of a leaf cutting in a jar of water, submerging just the bottom inch to avoid rot.
- Position the jar in bright, indirect light; I avoid direct sun to keep the water cool and clear.
- Refresh the water every week to stop bacterial buildup; I use filtered water for the best results.
- Wait until roots are about an inch long before moving to soil; this usually takes a few weeks in my experience.
- Water propagation shows you the rooting process vividly, while soil propagation skips the wait but builds stronger roots initially. In my trials, soil cuttings adapt faster after planting, but water ones are great for learning and patience.
Understanding Rhizome Propagation
-
Step 1: Unpot the plant and brush away soil to expose the thick, horizontal stems (rhizomes). I always do this over a newspaper or tray to catch the soil-it keeps things tidy and lets me inspect the root system up close.
-
Step 2: Using a clean knife, cut a section of rhizome that has at least one growth node. From my experience, a node looks like a small bump or bud; aim for a piece about 2-3 inches long to give it the best start.
-
Step 3: Let the cut rhizome piece dry for a day, then plant it just below the soil surface. This step is central to propagating ZZ plants using rhizome methods. This brief drying period forms a protective callus that prevents rot, much like how a scab forms on skin. If you’re exploring ZZ plant propagation, you can also start with water cuttings to develop the rhizome before transferring to soil.
-
This method is best for plants that have become overcrowded. When I see roots circling the pot or leaves competing for light, dividing via rhizomes not only creates new plants but also boosts the health of the original.
Water vs. Soil: Choosing Your Propagation Method
-
Factor Water Propagation Soil Propagation Speed of Root Development Roots often sprout in 2-4 weeks Typically takes 4-8 weeks to establish Risk of Rot Higher if water isn’t refreshed weekly Lower with fast-draining mixes Ease of Monitoring Simple-you can watch roots grow clearly Tricky without unpotting, which can stress the plant -
The table highlights how water lets you see progress easily, while soil offers a steadier environment. I’ve found that checking water clarity and root color in water propagation helps me catch issues early, like slimy roots signaling rot.
-
Based on my trials with varieties like Sansevieria trifasciata and cylindrical types, I lean toward soil propagation for its natural feel and lower maintenance. For quick satisfaction, though, water propagation wins-it’s like having a front-row seat to your plant’s growth journey! But if you do choose the soil route, it’s crucial to pick the right soil for indoor plants.
Troubleshooting Your Propagation Project
Sometimes, your propagation project hits a snag. I’ve seen many cuttings fail over the years, and it’s almost always due to one of these three common issues. Don’t get discouraged-each problem has a straightforward fix.
Rotting Cuttings
A mushy, brown, or black cutting is a classic sign of rot. This is the number one killer of snake plant cuttings and is almost always caused by overwatering or poor drainage. I learned this the hard way with my first Sansevieria cylindrica propagation that turned to mush.
- If you’re propagating in water, change the water weekly to keep it fresh and oxygenated.
- For soil propagation, ensure your potting mix is extremely well-draining. I mix two parts standard potting soil with one part perlite.
- Always use a pot with a drainage hole. Water only when the top inch of soil is completely dry.
Dehydrated Cuttings
If your leaf cutting looks shriveled, wrinkled, or is curling in on itself, it’s desperately thirsty. Dehydration happens when the cutting loses more moisture through its leaves than it can draw up through its new, tiny roots.
- For water propagations, simply top off the water if it gets low between changes.
- For soil propagations, give the soil a thorough, deep watering until it runs out the drainage hole, then let it dry out completely before the next drink.
Slow Root Development
Snake plants are famously slow growers, but if you see no progress after two months, check your setup. Roots need warmth and bright light to feel encouraged to grow. Try proven tips and techniques to speed growth. Simple steps like proper watering, occasional fertilization, and repotting when roots are crowded can help.
- Move your propagation to a warmer spot, like the top of your refrigerator or near a sunny window (but out of direct sun).
- Ensure it’s receiving plenty of bright, indirect light. A dark corner will drastically slow things down.
- Be patient! Some of my variegated varieties have taken over three months to show significant roots.
My favorite trick is to create a mini-humidity dome without causing sogginess. I place a clear plastic bag loosely over the pot of my soil-propagated cuttings, which traps a little moisture around the leaves. I remove the bag for an hour every other day to let the cutting breathe and prevent mold.
Caring for Your Newly Propagated Snake Plants
Once you see those first tiny roots or a new pup emerging, your job shifts from propagator to plant parent. This aftercare phase is critical for building a strong, resilient plant that will thrive for years. Your main goals are to avoid shocking the new growth and encourage steady development.
The Perfect Aftercare Routine
Treat your baby snake plant like the succulent it is. Bright, indirect light is the sweet spot that fuels growth without scorching the tender new leaves. What are the complete light requirements for snake plants? They’re forgiving and tolerate a wide range of light levels, though growth is strongest in bright indirect light. A north or east-facing window is ideal.
- Water infrequently. I wait until the entire pot of soil is bone dry, then I give it a good soak.
- Begin a light fertilizing schedule only after you see a new pup or a few inches of new leaf growth. I use a diluted, balanced liquid houseplant fertilizer at half strength, and only during the spring and summer months.
Signs of Success and When to Pot Up
You’ll know your propagation is a winner when you see specific, exciting signs. For water propagations, a healthy network of roots about 1-2 inches long means it’s ready for soil.
- In soil, the most obvious sign of success is the emergence of a new shoot, or “pup,” from the base of the cutting or the soil nearby.
- Another tell-tale sign is resistance when you give the cutting a very gentle tug. This means roots have anchored it into the soil.
- Your plant is ready for a permanent pot once the new pup is a couple of inches tall or the root system looks established.
The single most important thing you can provide during this establishment phase is patience. I’ve had propagations that looked dormant for months before suddenly exploding with growth. They are building a strong root system underground before they show off up top. Transplanting and propagating succulents successfully hinges on patience: handle roots gently and plant in a clean, well-draining mix. Give them time to settle before subjecting them to full sun or heavy watering. Trust the process, and you’ll be rewarded with a new plant that you grew yourself.
Common Questions
What is the easiest way to propagate a snake plant?
Separating pups from the mother plant is the easiest method as they already have their own roots.
How do I propagate a snake plant in water without it getting mushy?
Change the water weekly and ensure only the very bottom of the cutting is submerged to prevent rot.
Should I propagate my snake plant in soil or water?
Water propagation is best for observing root growth, while soil propagation often leads to stronger initial roots and less risk of rot. So, when comparing water vs soil propagation for succulents, the better choice depends on whether you value monitoring ease or robust establishment.
What does a snake plant rhizome look like for propagation?
A rhizome is a thick, light-colored, horizontal stem under the soil that often has small growth nodes or buds.
How long should I let a snake plant cutting dry before planting it in soil?
Let the cut end dry and form a callous for one to two days before planting to prevent rot.
Which end of a snake plant leaf cutting goes in the soil?
Always plant the end of the leaf cutting that was closest to the soil, as this is where roots will form.
Your Snake Plant Propagation Adventure Awaits
In my years of nurturing snake plants, I’ve found that successful propagation boils down to using healthy cuttings, clean tools, and a bit of patience. When propagating, you can start from pups or cuttings, and many hobbyists even try water methods to root them. Here are the core steps to remember:
- Select a robust leaf or division from a thriving mother plant.
- Make clean cuts with sterilized scissors to prevent disease.
- Provide bright, indirect light and minimal water until roots form.
I encourage you to explore more plant care guides on Hardy House Plants to build your confidence and expand your indoor jungle. Don’t worry if your first attempt isn’t perfect—snake plants are remarkably resilient and will reward your efforts with new growth. This is a complete indoor snake plant care guide—from placement to maintenance—and it covers how to choose the right spot and establish a simple care routine. It offers practical tips on lighting, watering, and ongoing maintenance to keep your plant thriving.
Further Reading & Sources
- Snake Plant Propagation Methods – HOUSE PLANT HOUSE
- Snake Plant Propagation By Leaf Cuttings
- 3 Ways to Propagate a Snake Plant So You Can Share It with Friends
- How To Propagate Snake Plant: 4 Sure-Fire Methods (Steps + FAQs) – Rosy Soil
Lena Greenfield is a passionate horticulturist and plant care expert with over 10 years of experience cultivating and nurturing hardy house plants. With a deep understanding of both indoor and outdoor gardening, Lena shares practical advice on choosing, caring for, and maintaining resilient plants that flourish year-round. Through her knowledge and hands-on approach, Lena helps plant lovers transform their spaces into vibrant, green sanctuaries, no matter their gardening experience.
Propagation Methods