How to Propagate Pothos Plants: Your Complete Guide
Published on: January 16, 2026 | Last Updated: January 16, 2026
Written By: Lena Greenfield
Want more of your beautiful pothos plant but don’t want to buy another one? Good news-you can easily create new plants from the one you already own, and it’s much simpler than you might think.
In this guide, I’ll walk you through the entire process, from snipping your first cutting to potting your new plant, covering water propagation, soil propagation, and the sphagnum moss method.
Why Propagating Pothos is So Rewarding
I’ve propagated dozens of pothos plants over the years, and I still get a little thrill every time I see those first tiny roots emerge. Watching a single leaf turn into a whole new, thriving plant feels like a small miracle you created yourself. It’s one of the most satisfying parts of my plant care routine.
Beyond the pure joy of creation, propagation is incredibly practical. You can turn one leggy pothos into several lush, full plants. This is the secret to having a home filled with greenery without constantly buying new plants. I’ve filled empty corners and bookshelves for free just by propagating my original pothos. Of course, knowing how to care for these plants is key to their success.
- Share the Green Love: A propagated pothos makes a wonderfully personal and inexpensive gift. I’ve given them as housewarming presents and to friends just starting their plant journey.
- Rescue a Struggling Plant: If your main plant gets damaged, has a pest issue, or just becomes too sparse, propagation lets you save the healthy parts and start fresh.
- Boost Your Confidence: Pothos are so forgiving that success is almost guaranteed. This builds your confidence to try propagating other, more challenging plants later on.
Gathering Your Propagation Toolkit
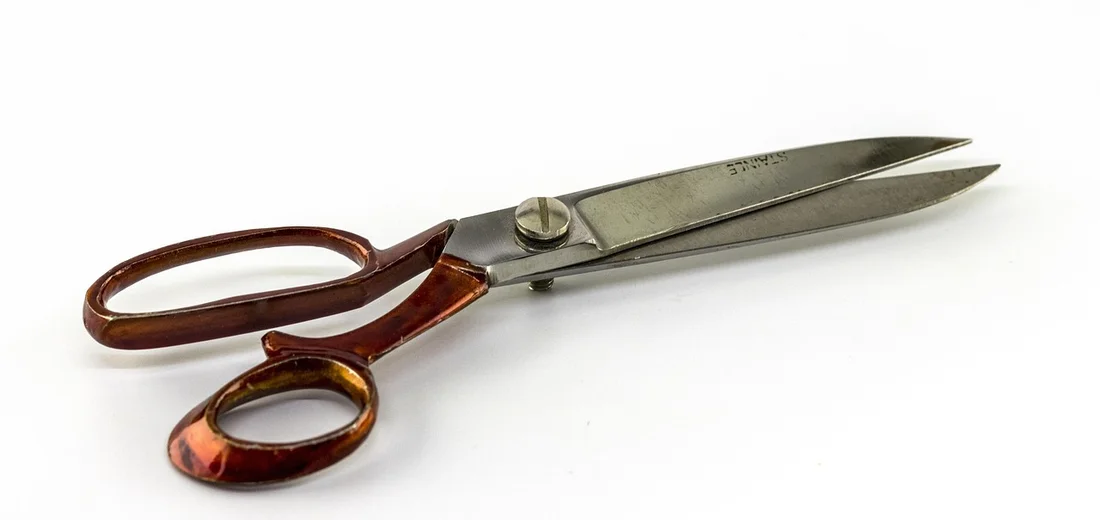
You don’t need a fancy gardening store haul to get started. I’ve successfully propagated pothos with tools I already had in my kitchen junk drawer. For beginner plant parents, having a few essential tools on hand makes the process smoother. A clean pair of scissors, a spray bottle, and a small container are all you really need to start. Having the right simple items on hand increases your chances of success.
Here is my essential propagation toolkit, gathered from years of trial and error:
- Sharp Scissors or Pruners: A clean, sharp cut is vital. Dull blades can crush the stem, making it harder for the plant to take up water and form roots. I wipe my scissors with a little rubbing alcohol before each use.
- A Glass Jar or Vase: Clear glass is my favorite because it lets you watch the roots develop, which is half the fun! Any clean cup or jar will work perfectly.
- Fresh Water: Plain tap water that has been left out for a day to let the chlorine dissipate is ideal. Room temperature is best to avoid shocking the cutting.
- Well-Draining Potting Mix: If you plan to root directly in soil, a standard indoor plant mix is great. I sometimes add a handful of perlite for extra drainage.
- A Small Pot with Drainage Holes: For your final rooted plant, a pot that isn’t too large helps prevent overwatering.
Quick Tip: An old mayonnaise jar makes a perfect, free propagation station! Just give it a good wash first.
You can also use a rooting hormone to speed things up, but I’ve found pothos root so easily in water that it’s not strictly necessary. The single most important tool is a sharp, clean blade for taking your cuttings. Everything else just supports the process. If you’re propagating snake plants, pups or leaf cuttings can be rooted in water as well. For water methods, refresh the water regularly and keep the container in bright, indirect light.
Finding and Preparing the Perfect Cutting
Let’s start with the most exciting part: taking the actual cutting. This initial cut is the foundation for proper pruning and trimming of pothos plants, ensuring optimal growth. I’ve found that the success of your new pothos plant entirely depends on this first, crucial step.
- Identify a healthy stem with several leaves. Look for a vibrant, green vine on your mother plant that has at least 4-5 leaves. Avoid any stems that look yellowed, damaged, or sickly.
- Locate the nodes (the small brown bumps on the stem). These little bumps are where the roots will magically sprout from! They are usually found at the point where a leaf connects to the main stem.
- Make a clean, angled cut just below a node. Using a sharp, clean pair of scissors or pruners, cut the stem at a 45-degree angle about a half-inch below a node. The angled cut gives the plant more surface area to absorb water and nutrients, giving your baby pothos a strong start.
- Optional: Briefly dip the fresh cut end in rooting hormone. This isn’t strictly necessary for pothos, as they root so easily, but I always do it for an extra boost. It speeds up root development and can help prevent rot.
Your Step-by-Step Guide to Rooting Pothos Cuttings
Now for the main event! You have two fantastic options for rooting your prepared cutting, and I use both methods regularly in my own home.
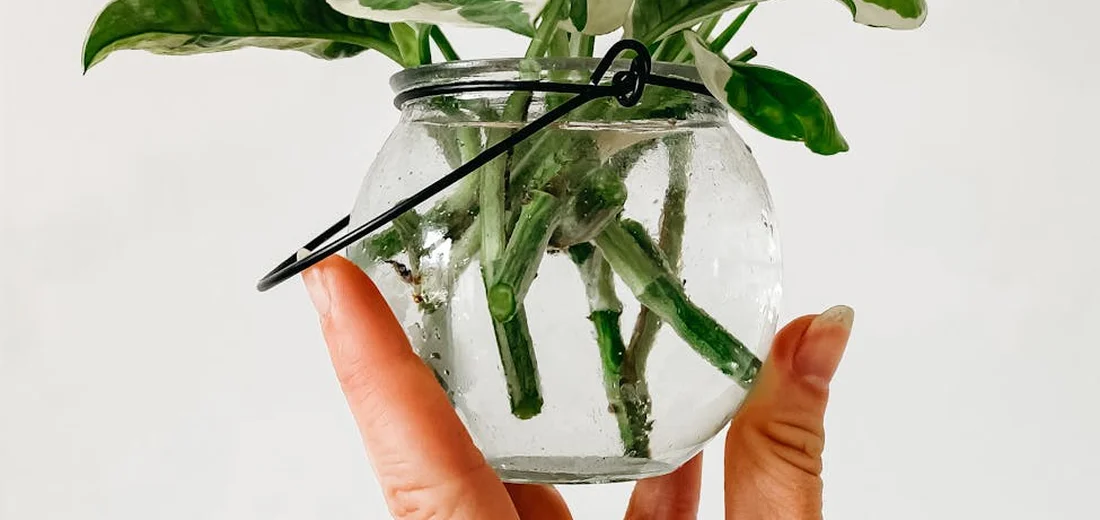
Rooting Pothos in Water
This is my go-to method for beginners because you get a front-row seat to the rooting process. Watching those little white roots develop in a glass jar is incredibly rewarding and a great project to do with kids.
- Fill a clear glass or jar with room-temperature water.
- Place your cutting in the water, ensuring the node where you made the cut is fully submerged.
- Keep the leaves well above the waterline to prevent them from rotting.
- Place the jar in a spot with bright, indirect light. A windowsill is perfect.
- Change the water once a week to keep it fresh and full of oxygen.
- Wait patiently! You should see tiny white roots emerging from the node in 1-2 weeks.
Quick Tip: Use a clear container so you can easily monitor root growth and water clarity without disturbing the cutting.
Rooting Pothos Directly in Soil
If you want to skip the transplanting step later, planting your cutting directly into soil is the way to go. This method feels more natural to the plant and can sometimes lead to a stronger, more established root system from the get-go.
- Get a small pot with drainage holes and fill it with a well-draining potting mix. I often add a handful of perlite to my standard mix for extra aeration.
- Moisten the soil so it’s damp like a wrung-out sponge, but not soggy.
- Poke a small hole in the center of the soil with your finger or a pencil.
- Place your cutting into the hole, gently pressing the soil around the stem so the node is buried.
- Place the pot in a warm location with bright, indirect light.
- Keep the soil consistently moist for the first few weeks while the roots establish.
A simple trick I use is to gently tug on the cutting after a few weeks; if you feel resistance, you know roots have formed and are holding the plant in place!
Troubleshooting Common Propagation Problems
Even with the best intentions, things can go a little sideways. I’ve propagated hundreds of pothos cuttings, and I can tell you that running into a small issue is completely normal. Don’t panic if you see a problem; pothos are incredibly resilient and usually bounce back with a simple fix.
Why Are My Cuttings Rotting in Water?
This is the most common issue I see, and it almost always comes down to the leaves. If you have leaves submerged under the water, they will decompose and create a slimy, bacteria-filled environment that rots the stem.
- Always remove any leaves that would sit below the waterline in your vessel.
- Change the water every 5-7 days to keep it fresh and oxygenated.
- If you see slime, gently rinse the stem under lukewarm water to clean it off.
Why Are There No Roots After Weeks?
Patience is key, but if it’s been over three weeks with zero signs of little white nubs, a few things could be happening.
- The node isn’t in the water. This is the number one reason! Double-check that the bumpy node is fully submerged.
- It’s too cold. Pothos root best in warm conditions. Move your propagation station away from drafty windows.
- Not enough light. While they don’t need direct sun, bright, indirect light provides the energy needed to grow roots.
My Propagated Plant Looks Sad After Potting
This is called transplant shock, and it’s like the plant version of a toddler’s tantrum after a big change. The leaves might droop or yellow slightly. This is usually temporary and your plant just needs time to adjust to its new soil home.
- Ensure you’re using a well-draining potting mix to prevent soggy roots.
- Water it thoroughly right after potting to help the soil settle around the new roots.
- Place it in a spot with stable, bright indirect light and resist the urge to move it or fertilize it for a few weeks.
Caring for Your New Pothos Plant
Congratulations, you’ve successfully grown a brand new plant! Now, let’s talk about how to help it thrive for years to come. I’ve found that a simple, consistent routine is the secret to a lush, trailing pothos. If your pothos ever looks wilted or stressed, you can revive a dying pothos plant by adjusting light, water, and soil. With a little patience, it can bounce back to vibrant health.
The Perfect Spot for Your Pothos
Light is like food for your plant. Pothos are flexible, but they have a sweet spot.
- Bright, indirect light is the gold standard. A spot near an east-facing window is perfect, or a few feet back from a south or west window.
- They can tolerate lower light, but their growth will slow and the variegation (those lovely white or yellow streaks) may fade to solid green.
- Direct afternoon sun will scorch the leaves, leaving brown, crispy spots.
How to Water Your Pothos Correctly
Overwatering is the fastest way to harm a pothos. I’ve learned to listen to the plant rather than follow a strict calendar. People often water pothos indoors too often, especially in dry indoor air. Letting the top inch of soil dry out between waterings keeps them happier.
- Stick your finger about two inches into the soil.
- If the soil feels dry, it’s time for a thorough watering.
- Water until it runs out of the drainage hole, then let the pot fully drain.
- Wait until the soil is dry again before repeating.
A thirsty pothos will have droopy, limp leaves, while an overwatered one will have yellowing leaves and soft, mushy stems.
Feeding for Lush Growth
Your new plant is using a lot of energy to establish itself and grow. A little food gives it a boost.
- Use a balanced, liquid houseplant fertilizer diluted to half the recommended strength.
- I only fertilize my pothos during the main growing season (spring and summer).
- Feed it once a month. In the fall and winter, you can stop fertilizing altogether as growth naturally slows.
Common Questions
What is the best time of year to propagate pothos?
The best time is during the spring and summer growing season when the plant is most active.
How many nodes should a pothos cutting have for propagation?
A cutting should have at least one node, but two or more nodes will increase the chances of successful rooting.
How long does pothos propagation typically take to root?
Roots typically begin to emerge in 1 to 2 weeks, but it can take a few more weeks for them to become established enough for potting. If you’re wondering how long succulent propagation takes, our complete timeline guide covers the full process from root emergence to mature plants.
What rooting hormone, if any, should be used for pothos propagation?
A rooting hormone is not necessary but can be used to potentially speed up root development and help prevent rot. For succulent propagation, using rooting hormone on cuttings can improve rooting success, especially with stubborn varieties. Follow the product’s directions for best results.
Can pothos be propagated in sphagnum moss or perlite?
Yes, pothos can be successfully propagated in moist sphagnum moss or perlite, which provides excellent moisture retention and aeration.
How do you transplant rooted pothos cuttings into soil?
Gently plant the rooted cutting in a small pot with well-draining soil and water it thoroughly to help settle the roots.
You’re All Set to Grow More Pothos!
After walking through this guide, I can confidently say that propagating pothos boils down to snipping the right stem, picking a simple method, and giving it a cozy spot to root—it’s a rewarding process I’ve used to fill my home with greenery. To get a fuller, bushier pothos, repeat pruning to encourage dense growth. A little trimming goes a long way toward lush vines. Here’s the core advice in a nutshell:
- Choose healthy vines with nodes for cuttings.
- Root in water or soil based on your preference.
- Provide bright, indirect light and consistent moisture.
I’ve shared my best tips from years of nurturing pothos, and I’m excited for you to try it—head over to Hardy House Plants for more plant care insights that make indoor gardening a breeze. For essential indoor planting tips for absolute beginners, start here with simple, beginner-friendly steps. You’ll learn the basics and gain confidence as you grow your first pothos. You’ve got this, and before long, you’ll be sharing cuttings with friends and enjoying your own lush, thriving pothos family!
Further Reading & Sources
- How to Propagate a Pothos Plant : 6 Steps (with Pictures) – Instructables
- 10 ways to propagate Pothos cuttings faster 👇🏻
- How to Propagate Pothos Quickly & Easily (Step-By-Step) – Terrarium Tribe
- How To Propagate Pothos Plants: 3 Foolproof Ways (Steps + Tips) – Rosy Soil
Lena Greenfield is a passionate horticulturist and plant care expert with over 10 years of experience cultivating and nurturing hardy house plants. With a deep understanding of both indoor and outdoor gardening, Lena shares practical advice on choosing, caring for, and maintaining resilient plants that flourish year-round. Through her knowledge and hands-on approach, Lena helps plant lovers transform their spaces into vibrant, green sanctuaries, no matter their gardening experience.
Propagation Methods