
Sand in Succulent Soil: Your Complete Guide
Should you use sand for your succulents, and if so, what kind? I’ve seen many plant lovers accidentally harm their plants with the wrong sand, and I want to make sure you get it right.
In this guide, I’ll walk you through everything I’ve learned from years of potting succulents. We’ll cover the best types of sand, the perfect soil-to-sand ratio, a simple step-by-step mixing guide, and common mistakes to avoid.
Why Your Succulents Crave Gritty Soil
I learned the hard way that regular potting soil is a death sentence for most succulents. Gritty soil isn’t just a preference; it’s a survival mechanism that mimics the dry, rocky slopes where these plants naturally thrive. Their fleshy leaves store water, so their roots are designed to dry out completely between drinks.
Think of gritty soil as a cozy, breathable bed for your plant’s roots. It creates large air pockets that allow oxygen to reach the roots and lets excess water drain away instantly. I’ve repotted dozens of succulents suffering from soggy soil, and the transformation after giving them a gritty mix is incredible. Their roots go from brown and mushy to firm and healthy.
- Prevents Root Rot: This is the number one killer of succulents. Fast-draining soil stops water from pooling around the roots.
- Encourages Strong Root Growth: Roots have to work a bit to navigate the grit, which makes them stronger and more resilient.
- Imitates Natural Habitat: You’re giving your plant a little piece of home, which reduces stress and promotes overall health.
Quick Tip: If your succulent’s leaves feel soft and mushy, you’re likely dealing with overwatering and need to check your soil mix immediately. This is one of common succulent watering mistakes to avoid.
Choosing the Right Sand: A Guide to Grit and Texture
Not all sand is created equal. The type you use can mean the difference between a thriving plant and a waterlogged one. I’ve experimented with many types over the years, and the choice is simpler than you might think.
The Critical Difference Between Coarse and Fine Sand
This is the most important decision you’ll make. Coarse sand, like horticultural sand or builder’s sand, has sharp, large particles that refuse to compact. It keeps the soil structure open and airy. I always look for grains that feel like tiny pieces of gravel between my fingers.
Fine sand, like play sand or beach sand, is your succulent’s worst enemy. Fine sand particles pack together like concrete, creating a dense, suffocating layer that holds water and chokes roots. I made this mistake with my first succulent arrangement, and the entire planter became a solid, damp brick within a month.
- Coarse Sand: Looks and feels like tiny rocks. Water flows right through it. This is what you want.
- Fine Sand: Looks and feels soft and powdery. It clumps together when wet. Avoid this at all costs.
Where to Source the Best Sand for Your Plants
You don’t need a special permit to find great sand. My go-to source is a local landscaping or building supply store where I can buy coarse builder’s sand in bulk. It’s incredibly affordable, and a single bag lasts me for years of potting and repotting.
For smaller projects, a bag of horticultural sand from a garden center works perfectly. I always make a point to feel the bag-if it feels gritty and I can hear the coarse particles shifting, I know it’s the right stuff.
- Landscape/Building Supply Stores: Ask for coarse or sharp sand. This is the most cost-effective option.
- Garden Centers: Look for bags labeled “horticultural sand” or “succulent mix sand.”
- Aquarium Supplies: Pool filter sand or certain types of aquarium sand can work well, but always wash it thoroughly first.
Quick Tip: Never, ever use sand from a beach or sandbox. It’s usually too fine and can contain salt or other contaminants harmful to plants.
My Go-To DIY Succulent Soil Recipes with Sand
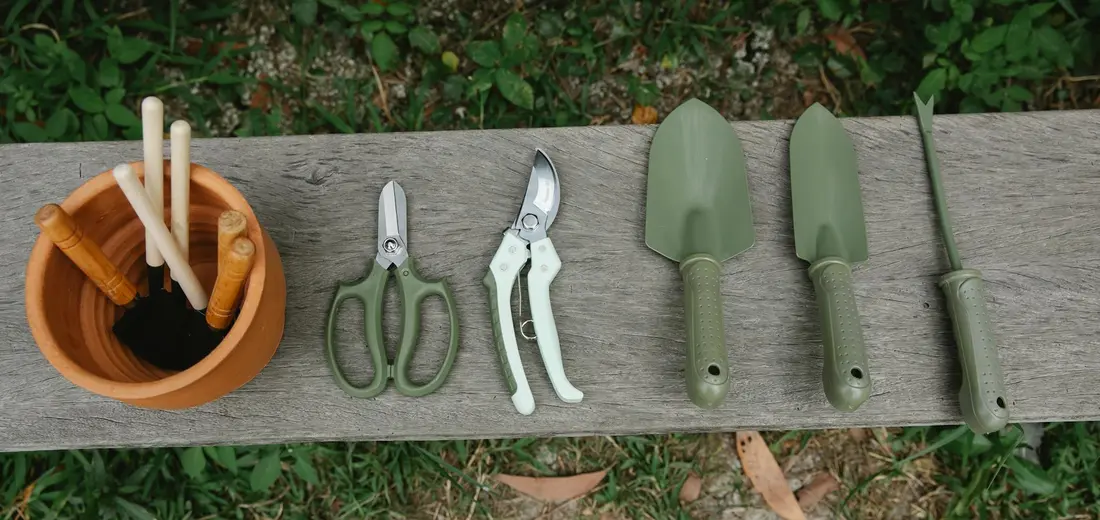
After years of trial and error with my own collection, I’ve settled on a couple of reliable recipes that my plants absolutely thrive in. Getting the soil mix right, especially for different succulent types, is the single most impactful thing you can do for your succulent’s long-term health.
The Simple 2-Ingredient Starter Mix
If you’re new to this or just want a no-fuss option, this is the mix I recommend to all my friends. It’s incredibly forgiving and works for most common succulents like Echeverias and Haworthias. Also, for the best succulents for beginners, the top 10 easy-care varieties are a great starting point. They tend to be forgiving, require minimal watering, and thrive in bright, indirect light.
- 2 parts Potting Soil: Use a standard, all-purpose mix.
- 1 part Coarse Sand: This is the key-it must be horticultural sand or very coarse builder’s sand, not fine play sand.
I use this blend for about half of my personal pots. This simple combination dramatically improves drainage over bagged succulent soil alone, preventing the dreaded soggy roots. You can literally feel the difference in texture; it’s loose and gritty, just how succulents like it.
The Advanced Gritty Mix for Expert Drainage
For my finicky succulents that hate wet feet-like Lithops or some cacti-I use this more advanced, super-draining mix. It’s perfect for humid climates or if you tend to be an over-waterer.
- 1 part Potting Soil: This acts as the minimal organic component.
- 1 part Coarse Sand: Provides the primary drainage structure.
- 1 part Perlite or Pumice: Adds extra aeration and prevents compaction.
This is my go-to for any plant I’m worried about. The water runs straight through this mix, which mimics the arid, rocky natural habitats these plants love. I repotted a struggling String of Pearls in this blend last year, and it exploded with new growth within a month.
Mixing and Potting: A Step-by-Step Guide
Making the perfect soil is only half the battle; how you mix and pot is just as important. Follow these steps for a stress-free repotting day.
-
Step 1: Cleaning and Preparing Your Sand
This is a step many skip, but I never do. If you’re using sand from a hardware store, it can be dusty. I pour my sand into a large bucket and rinse it with water, swishing it around until the water runs clear. Rinsing your sand removes fine particles that can clog up the air pockets in your soil, ensuring maximum drainage. Let it drain completely before using-I often spread it on an old baking sheet to dry in the sun for a few hours.
-
Step 2: Combining Your Ingredients Thoroughly
Don’t just dump everything in the pot and hope for the best. I use a large, clean tub or a wheelbarrow to mix my soil. Add all your components and use your hands or a small trowel to mix them until the color is completely uniform. A thorough mix ensures every root will encounter the same perfect balance of moisture retention and drainage as it grows. You should see individual grains of sand and perlite evenly distributed throughout.
-
Step 3: Gently Removing Your Succulent
Tip the old pot on its side and gently squeeze the sides to loosen the root ball. Carefully ease the plant out, supporting the base of the stem. If it’s stuck, I’ll sometimes slide a butter knife around the inside edge of the pot. Handle your succulent by its leaves, not its fragile stem, to avoid damage. Gently tease apart the roots if they are tightly wound in a circle, which encourages them to spread out in their new home.
-
Step 4: Potting Up in the New Gritty Mix
Place a small layer of your new soil mix in the bottom of a clean pot with a drainage hole. Position your succulent so the base of the stem is just below the pot’s rim, then backfill the soil around the roots. I gently tap the pot on the table as I go to help the soil settle naturally, avoiding the temptation to pack it down with my fingers. Wait about a week before you give it the first watering; this allows any tiny root tears to callous over and prevents rot. This is a beginner-friendly step in a repot succulents step-by-step guide. By following these steps, beginners can confidently repot succulents.
Sand vs. Other Soil Additives: Making the Best Choice
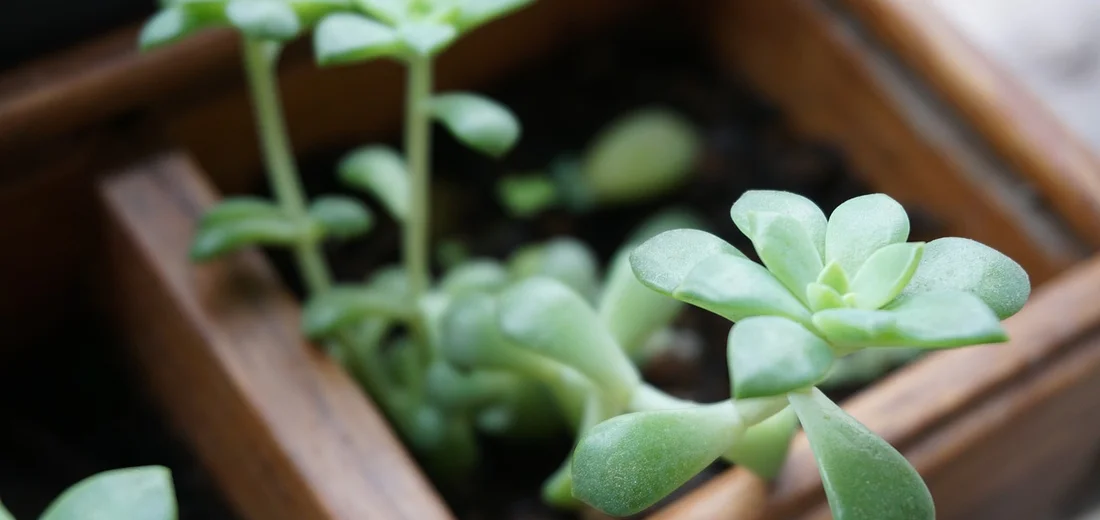
When I first started mixing my own succulent soil, I thought any gritty material would do the trick. I quickly learned that not all soil amendments are created equal, and choosing the right one can make or break your plant’s health. The goal is always to create a mix that drains rapidly and provides plenty of tiny air pockets for the roots to breathe.
How Sand Stacks Up Against Perlite and Pumice
Let’s break down how sand compares to the other two most popular options for improving drainage. I’ve used all three extensively in my own plant collection, and each has its own strengths.
- Coarse Sand: This is the heavyweight champion. It adds significant weight to your pots, which is great for top-heavy plants. The key is using horticultural or coarse builder’s sand, not fine play sand, which turns into concrete. From my experience, sand is fantastic for creating a stable, well-draining base, but it doesn’t hold any moisture or nutrients itself.
- Perlite: Those little white, popcorn-like pieces are super lightweight. Perlite is excellent for aeration, creating tons of air pockets. My main gripe with perlite is that it tends to float to the top of the pot over time, especially with bottom watering. It’s also very dusty when you first pour it out.
- Pumice: Think of pumice as the perfect middle ground. It’s porous, so it holds a tiny bit of moisture and nutrients within its structure, which it can then release to the roots. I find pumice provides the best long-term structure; it doesn’t break down or float away. It’s my personal favorite, though it can be harder to find and more expensive than sand or perlite.
| Additive | Best For | My Experience |
|---|---|---|
| Coarse Sand | Adding weight and improving basic drainage. | I use it for large, outdoor succulents that might tip over in wind. |
| Perlite | Maximum aeration in lightweight indoor mixes. | I mix it in for seedlings and small indoor pots, but I don’t rely on it alone. |
| Pumice | Long-term soil structure and slight moisture retention. | This is my go-to for creating a premium, durable mix for my favorite succulents. |
QUICK TIP: For the absolute best results, I often combine coarse sand with pumice or perlite. This gives you the benefits of weight, aeration, and structure all in one mix.
Adjusting Your Care for a Sandy Soil Mix
Switching to a fast-draining, sandy mix is a game-changer, but it means your watering and feeding routine needs to change, too. Your plants are now living in a penthouse with excellent plumbing, so you can’t treat them like they’re in a standard apartment.
The biggest shift is in watering. Because the water flows through so quickly, you’ll need to water more frequently than you would with a denser, peat-based soil. Don’t let the word “frequently” scare you-it still means only when the soil is completely dry. I stick my finger deep into the pot to check. When it’s dry, I give it a thorough soak until water runs freely from the drainage holes.
Fertilizing is the other major adjustment. Sandy mixes hold very few nutrients, so your plants will depend on you for food.
- Use a balanced, water-soluble fertilizer diluted to half-strength.
- Only fertilize during the active growing season (typically spring and summer).
- I fertilize my succulents in sandy soil about once a month, and they show their appreciation with vibrant, steady growth.
The beauty of a sandy mix is that it’s much harder to overwater, which is the number one killer of succulents. You gain more margin for error, making it a fantastic choice for beginners. Just remember to water deeply and feed lightly, and your succulents will thrive in their new gritty home.
Troubleshooting Common Sandy Soil Problems

Even with the best intentions, using sand can sometimes lead to unexpected issues. I’ve made my fair share of sandy soil mistakes over the years, and I’m here to help you sidestep the same problems. Let’s walk through the most common hiccups and how to fix them.
Problem: Your Soil Has Turned into Concrete
You mixed in sand, but now your potting medium feels hard as a rock and water just pools on the surface. This is the number one issue I see. This almost always happens when you’ve used the wrong type of sand, like fine play sand or beach sand. Those tiny particles pack together tightly, eliminating the air pockets your succulents’ roots desperately need. To fix this common succulent soil problem, switch to a gritty, well-draining mix (perlite, pumice, or coarse sand). Then re-pot and ensure the pot has drainage holes so water won’t sit on top of the soil.
- Signs: Water takes forever to drain, soil surface is crusty and hard, plant looks wilted even after watering.
- The Fix: You’ll likely need to repot. Gently remove your plant and shake off the old, compacted soil mix.
Start fresh with a new, grittier mix. For a quick and effective homemade blend, I use one part potting soil, one part coarse sand or poultry grit, and one part perlite. This combination has never failed me and provides the perfect balance of moisture retention and instant drainage.
Problem: Water Runs Straight Through Without Soaking In
On the flip side, sometimes a sandy mix can become too porous, especially if it’s very old or has a high percentage of large, coarse particles. The water zips right through the pot and out the drainage hole, leaving the roots high and dry.
- Check the Roots: Gently tip the plant out of its pot. If the root ball is small and loose, it might not be able to absorb water effectively.
- Try Bottom-Watering: Place your pot in a shallow tray of water for about 30 minutes. This allows the soil to pull moisture up from the bottom, ensuring a thorough drink.
- Amend the Mix: If bottom-watering isn’t enough, your soil might need a touch more organic matter. Mix in a small amount of fresh potting soil or coconut coir to help the medium hold onto a bit more moisture.
Bottom-watering is my go-to trick for reviving a dehydrated succulent in a super gritty mix—it’s a game-changer for thorough hydration. In our bottom watering techniques succulents complete guide, you’ll find a step-by-step approach to mastering this method. It’s a must-read for keeping succulents hydrated and thriving.
Problem: Mold or Fungus Gnats Appear
Seeing white fuzz or tiny flies is a red flag that your soil is staying damp for too long. While sand helps with drainage, if the overall mix is still too dense or you’re watering too frequently, you can still get these problems.
- For Mold: Scrape off the top layer of soil and replace it with a fresh, dry layer of your sandy mix. Increase air circulation around the plant.
- For Fungus Gnats: These pests thrive in moist organic material. Let the soil dry out completely between waterings. I also use yellow sticky traps to catch the adult flies.
The key is remembering that sand is just one component; the entire mix and your watering habits work together as a system. If you see mold, it’s a sign that system is out of balance.
Quick Tip: The Chopstick Test
Unsure if your sandy soil is dry? Stick a wooden chopstick into the pot all the way to the bottom, leave it for a minute, and then pull it out. If it comes out clean, it’s time to water. If it has damp soil or debris stuck to it, hold off. This simple test has saved me from overwatering countless times.
FAQs
Can I use play sand for my succulents?
No, play sand is too fine and can compact, leading to poor drainage and root rot.
Where can I buy coarse sand for succulents at Home Depot?
Home Depot often carries coarse builder’s sand or all-purpose sand in the landscaping section.
What sand should I get from Lowe’s for succulents?
At Lowe’s, choose coarse horticultural sand or sharp sand from the garden center for best results.
How do I incorporate sand into a succulent soil mix?
Mix one part coarse sand with two parts potting soil to create a well-draining base for most succulents.
Is coarse sand necessary for all succulent types?
Yes, coarse sand is essential for nearly all succulents to mimic their natural gritty habitat and prevent overwatering issues. So, do succulents really need special soil? The truth is that a well-draining mix is important, but the exact blend depends on species and climate.
What is the best overall sand for succulent soil mixes?
Coarse horticultural sand or builder’s sand is the best choice for its ability to improve drainage without compacting.
Your Sand & Succulent Success
Stick with coarse, sharp sand like horticultural or builder’s sand, mix it at a 1:1 or 1:2 ratio with a well-draining potting mix, and you’ll give your plants the fast-draining foundation they desperately need to avoid root rot and thrive.
From my own collection, I can tell you that getting the soil mix right is the single most satisfying step you can take for long-term succulent health. If you want to tailor things, try making your own succulent potting mix with a simple DIY recipe. There are plenty of beginner-friendly recipes to start with. Go mix up a batch—your plants will thank you for it with years of happy growth. Happy planting!
Further Reading & Sources
- How To Make Your Own Succulent Soil (With Recipe!) – Get Busy Gardening
- Can Succulents Grow Well in Sand? | Succulent Care – Succulents Box
- Okay sand for succulent soil.
- r/succulents on Reddit: How do I make a good soil mix out of these materials?
Lena Greenfield is a passionate horticulturist and plant care expert with over 10 years of experience cultivating and nurturing hardy house plants. With a deep understanding of both indoor and outdoor gardening, Lena shares practical advice on choosing, caring for, and maintaining resilient plants that flourish year-round. Through her knowledge and hands-on approach, Lena helps plant lovers transform their spaces into vibrant, green sanctuaries, no matter their gardening experience.
Soil Types