How to Make Hanging and Wall-Mounted Succulent Planters
Have you ever wanted to bring lush, low-maintenance greenery to your walls or ceilings with succulents? After years of crafting these planters myself, I can confirm that DIY versions are surprisingly simple, budget-friendly, and perfect for small spaces.
I will guide you through picking the right succulents, sourcing materials, assembling hanging planters, constructing wall-mounted designs, and keeping them healthy long-term.
What Are Hanging and Wall-Mounted Succulent Planters?
Hanging and wall-mounted succulent planters are creative containers that let you grow your favorite succulents vertically, either suspended from ceilings or attached directly to walls. I love using these in my own home because they turn blank walls and empty corners into lush, living art displays without taking up precious floor space. Succulents thrive in these setups since their shallow root systems and low water needs make them ideal for the excellent air circulation and drainage these planters provide.
- Space-saving design maximizes small areas like apartments or offices
- Low maintenance-succulents need infrequent watering and care
- Aesthetic appeal adds a natural, calming touch to any room
- Versatile styles from boho macrame to modern geometric frames
- Eco-friendly option when using recycled or sustainable materials
From my experience, hanging a planter near a sunny window keeps succulents happy and growing steadily. These can be trailing hanging succulents that spill over the edge, perfect for a vertical garden. In that setup, they maximize space and add lush texture with minimal upkeep. You’ll notice how these vertical gardens make your space feel fresher and more inviting with minimal effort.
Essential Materials and Tools for Your DIY Project
Gathering the right materials and tools is the first step to creating your own hanging or wall-mounted succulent planter. I’ve built dozens of these over the years, and starting with a well-stocked kit makes the process smooth and fun. You can mix and match items based on your style and budget-think rustic wood for a cozy vibe or sleek metal for a contemporary look.
- Terracotta pots for breathability and classic appeal
- Wooden boards or frames for wall-mounted designs
- Rope, macrame cord, or chain for hanging support
- Metal rings or hooks for secure mounting
- Recycled materials like tin cans or old picture frames
- Drill with bits for making drainage holes
- Scissors, measuring tape, and strong adhesive
If you’re on a tight budget, upcycled containers from your kitchen work wonderfully. I often repurpose mason jars or plastic containers to reduce waste and add a personal touch.
Must-Have Tools and Supplies
These core items ensure your planter is sturdy and your succulents stay healthy. Always prioritize drainage holes in your pots to prevent root rot, a lesson I learned after a few overwatering mishaps. Opt for eco-friendly choices like biodegradable pots or organic soil to keep your project green.
- Drill with masonry or wood bits
- Sharp scissors or utility knife
- Well-draining succulent soil mix
- Small pots or containers with holes
- Watering can with a narrow spout
- Gloves and safety goggles for protection
Using a fast-draining soil mix is non-negotiable for succulent health. Perlite-based succulent soil mixes make it easy to achieve that drainage. I mix my own with perlite and sand to mimic their natural habitat and avoid soggy roots.
Optional Add-Ons for Customization
Add flair to your planter with these extras-they let your personality shine through. In my projects, I’ve used colorful ropes and painted designs to match room decor, making each piece unique. Don’t be afraid to experiment; creativity is what makes DIY so rewarding.
- Colorful ropes, beads, or tassels for macrame hangers
- Acrylic paint or sealant for weatherproofing outdoor planters
- Decorative stones or moss to top the soil
- Upcycled items like teacups or wire baskets
- LED grow lights for low-light areas
Mixing materials can lead to stunning results. Try combining wood with metal accents for a planter that stands out and lasts for years.
Step-by-Step Guide to Making a Hanging Succulent Planter
Creating your own hanging planter is a rewarding weekend project that instantly adds life to any room. I’ve made dozens of these over the years, and the key is to keep the process simple and focus on good drainage.
Step 1: Choose and Prepare Your Planter Base
Your container is the star of the show. I love using unconventional items I find at thrift stores, like shallow bowls or even old teacups.
- Select a container that is wide and shallow rather than deep. Succulent roots are shallow, and a deep pot holds too much moisture.
- Check for or create a drainage hole. If your container doesn’t have one, use a ceramic or diamond-tip drill bit to carefully make one. I always do this outside with a little water running over the spot to keep the bit cool.
- Clean the container thoroughly with soap and warm water to remove any dust or residues that could harm your plants.
- Place a small piece of mesh screen or a coffee filter over the drainage hole. This keeps the soil from washing out while still allowing water to drain.
A quick tip: If you can’t drill a hole, use the container as a decorative cache pot and keep your succulents in a smaller plastic nursery pot inside it.
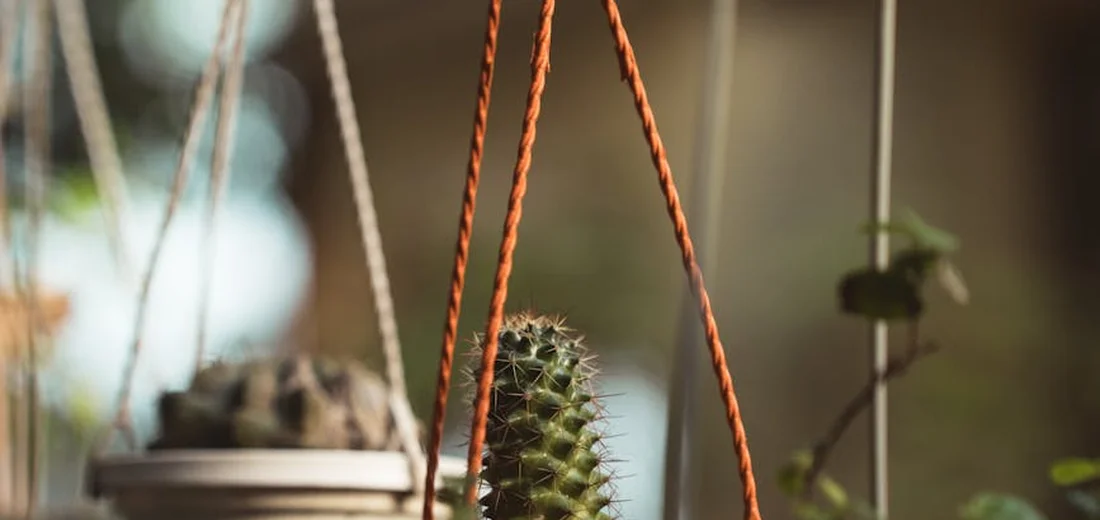
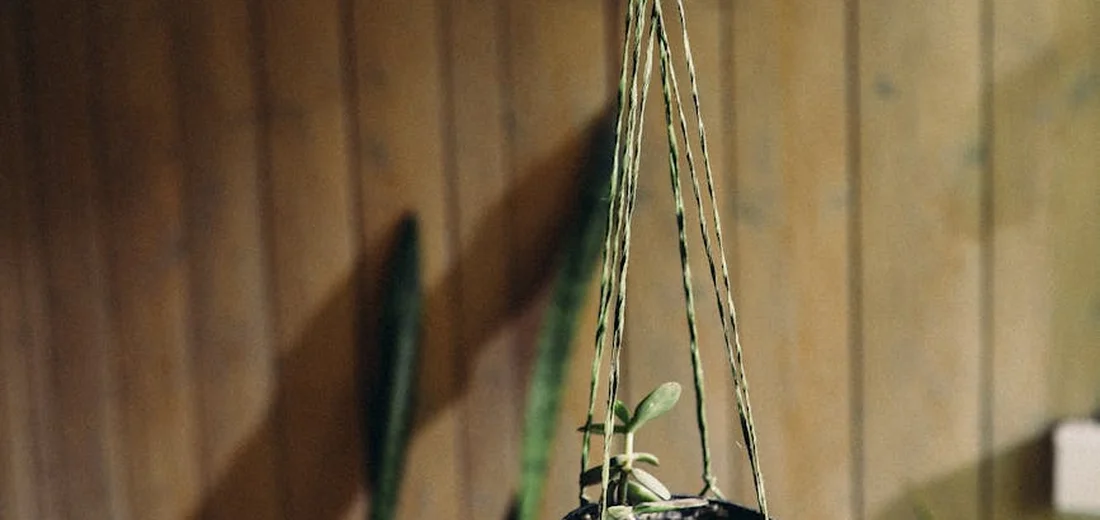
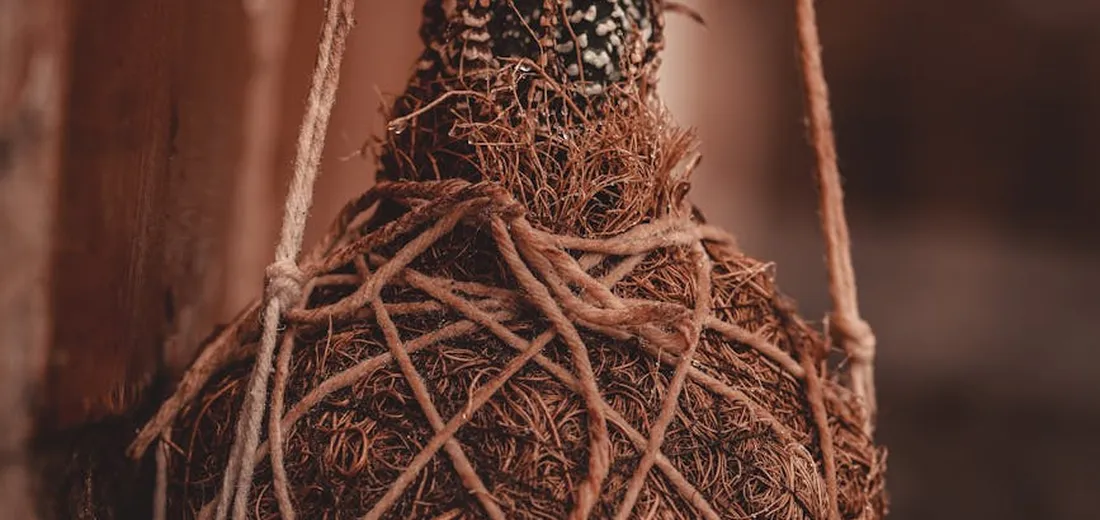
Step 2: Assemble Hanging Components
This is where you get creative with how your planter will be suspended. Macrame hangers are my personal favorite for their boho charm.
- Cut three or four equal lengths of sturdy cord, like cotton rope. The length depends on how low you want the planter to hang; I usually start with pieces about 6 feet long.
- Gather the cords and tie a simple overhand knot at the top, leaving a loop for hanging. Make sure the loop is large enough for your hook.
- Separate the cords into pairs. About 4-6 inches down from the top knot, tie a square knot with each pair of cords. This creates the cradle that will hold your planter.
- Place your prepared planter into the cradle formed by the knots. Bring all the cords together beneath the pot and tie one final, tight overhand knot to secure everything.
- Trim the ends of the cords neatly. You can leave them straight or brush them out for a tassel look.
Always test the strength of your knots by gently pulling on the hanger before you add any plants or soil.
Step 3: Plant and Secure Your Succulents
Now for the fun part-bringing your planter to life! Handle your succulents gently, as their leaves can snap off easily.
- Fill the planter about two-thirds full with a fast-draining succulent and cactus soil mix. I like to add a handful of perlite to my standard mix for extra aeration.
- Arrange your succulents on top of the soil while they’re still in their nursery pots. Play with the layout until you’re happy with the look. I often put a taller, trailing plant like String of Pearls in the center.
- Once you’re satisfied, gently remove each plant from its pot. Tease the roots apart slightly if they are root-bound.
- Use a small trowel or your fingers to dig small holes and place each succulent into the soil. Firm the soil gently around the base of each plant to secure it.
- Do not water immediately! Wait about 5-7 days to let any disturbed roots heal, which helps prevent rot.
For a fuller look instantly, plant your succulents closer together than you normally would in a garden bed. This tip fits perfectly into an outdoor succulent care guide for growing succulents in your garden. It helps you get a lush look while you plan your garden’s succulent display.
Building a Wall-Mounted Succulent Display
A living wall of succulents is a stunning statement piece. I built my first one using an old wooden picture frame, and it’s still thriving on my porch years later. You can read the creation and care guide for living succulent wall gardens before you start your own.
Step 1: Construct the Frame or Backing
A sturdy frame is the foundation of your vertical garden. Lightweight wood like cedar or pine is ideal.
- Select your frame material. A deep picture frame, a shallow wooden crate, or even a pallet section works perfectly.
- If building from scratch, cut your wood to the desired size and assemble into a square or rectangle using wood screws for strength.
- Cut a piece of 1/4-inch hardware cloth (metal mesh) to fit snugly inside your frame. This will be the structure that holds the soil and plants.
- Using a staple gun, securely attach the hardware cloth to the back of the wooden frame. Wear safety glasses for this step, as wire clippings can fly.
Seal any raw wood with a non-toxic, water-resistant sealant if you plan to hang your display outdoors.
Step 2: Add Planting Pockets and Lining
This step creates the “pockets” that will hold everything in place. I’ve found that using a two-layer system works best.
- Line the entire inside of the frame, covering the hardware cloth, with a sheet of sphagnum moss. Press it down to create a layer about half an inch to an inch thick. This moss is fantastic for retaining a little moisture while still allowing air flow.
- On top of the moss, add a layer of landscape fabric. Staple it securely to the top edges of the wooden frame.
- The landscape fabric is what will ultimately hold the soil. Use a utility knife to carefully cut small X-shaped slits in the fabric where you want each plant to go.
Wet the sphagnum moss before you add it to the frame; it’s much easier to work with when it’s damp and pliable.
Step 3: Mount and Plant Your Creation
It’s time to get your masterpiece on the wall. This is a two-person job for anything larger than a small frame.
- Before you add soil, decide on your mounting method. For a heavy frame, find the wall studs and use heavy-duty picture-hanging D-rings attached to the frame’s back.
- Once the frame is securely mounted, fill it with your succulent soil mix through the top, gently tamping it down as you go. Pack the soil firmly so it doesn’t settle too much later.
- Starting from the top of the frame, gently poke a succulent’s root ball through one of the slits you cut in the landscape fabric. Use a chopstick to help guide the roots in if needed.
- Continue planting through the slits, working your way down the frame. Pack a little extra moss around the stem of each plant from the front to help secure it in place.
Let your vertical planter sit flat for a week or two before tilting it upright, giving the plants time to establish their roots in the new soil.
How to Hang Your Planters Indoors and Outdoors
Hanging succulent planters add charm to any setting, but indoor and outdoor setups need different care. I always recommend doing a quick safety check by gently tugging on hooks before adding plants to avoid surprises. For hanging plants indoors, install secure ceiling hooks and use sturdy, lightweight planters. Place them where they receive bright, indirect light. Indoors, focus on light and stability, while outdoors, weather and wind play bigger roles.
Indoor Hanging Tips
Indoor hanging lets you control the environment more easily. Pick hooks that anchor firmly into wall studs or ceilings to handle the weight over time. From my experience, these practices keep your displays secure and healthy.
- Use sturdy screw-in hooks or toggle bolts for heavier planters-adhesive strips work for lightweight ones.
- Avoid spots near sinks or showers where dampness can lead to root rot.
- Place planters in areas with bright, indirect sunlight, like near east-facing windows.
- Rotate planters every few weeks so all sides get even light exposure.
- Check hooks monthly for looseness, especially if you have curious pets or kids.
Outdoor Installation Advice
Outdoor hanging brings nature closer but requires weather-ready choices. Opt for materials like coated metal or treated wood to resist rain and sun damage. I’ve hung planters on my balcony for years, and this approach prevents mishaps.
- Choose weatherproof hooks and brackets made of stainless steel or rust-resistant finishes.
- Secure planters in sheltered spots like under eaves or on covered patios to reduce wind sway.
- Ideal locations include balconies, vertical garden frames, or fence lines with partial sun.
- Add a layer of gravel at the planter base for drainage during heavy rains.
- Inspect installations after storms to ensure nothing has shifted or weakened.
Choosing the Best Succulents for Vertical Gardens
Selecting the right succulents turns a vertical garden into a living masterpiece. Focus on varieties that naturally spill or cluster, as they fill space beautifully without much fuss. I love experimenting with colors and textures to create eye-catching displays that thrive with minimal water. Designing with intention ties these choices together into a stunning succulent garden.
- String of Pearls: Trails elegantly and handles dry spells well-perfect for high shelves.
- Burro’s Tail: Features plump leaves that cascade down, ideal for full sun spots.
- Echeveria: Forms tight rosettes in hues like blue-green or pink; great for mixing shades.
- Sedum morganianum: Drought-tolerant and spreads quickly, adding fullness to any arrangement.
- Haworthia: Prefers indirect light and offers striking stripes for contrast.
Combine succulents with varying heights and colors for depth—try pairing silvery greens with deep purples. Most vertical garden succulents need 4-6 hours of sunlight daily, but some tolerate shade if you rotate them occasionally. Different species vary in their light needs. Some crave full sun, while others thrive in light shade. In my own setups, I group light-lovers together and shade-tolerant types separately for even growth.
Caring for Your Hanging and Wall-Mounted Succulents
Living with succulents on my walls for years has taught me that their care is a beautiful, tactile ritual. The key to success is remembering that these are not thirsty plants; they are masters of water conservation. You’re working with their natural instincts, not against them.
Watering and Maintenance Routine
I’ve killed more plants with kindness (read: overwatering) than with neglect, so trust me on this routine. Forget the calendar; your succulents will tell you when they need a drink. Here is the simple, foolproof method I use every time.
- Check the Soil: Push your finger an inch into the soil. If it feels dry and crumbly, it’s time. If there’s any coolness or moisture, wait.
- Water Deeply: Take the planter down or use a long-spouted watering can. Water slowly at the base of the plant until you see a trickle run out of the drainage hole.
- Drain Completely: This is non-negotiable. Let the planter drain in a sink or over a towel for at least 30 minutes before hanging it back up. No plant likes wet feet!
- Wait for the Next Signal: Do not water again until the soil is completely dry. This could be every 2-3 weeks indoors, depending on your home’s humidity and light.
Seasonal care is just as straightforward. In the winter, when light is lower and growth slows, I often cut my watering frequency in half. The plants are semi-dormant and need even less. In the brighter, warmer summer months, they might be ready for water a bit more often.
Preventing Common Problems
Most issues with wall succulents are easy to spot and simpler to fix if you catch them early. Your eyes are your best tool for keeping these plants healthy and vibrant. Look for these common signs and act quickly.
- Overwatering (Mushy, Translucent Leaves): This is the number one killer. If leaves feel soft and look see-through, stop watering immediately. Let the soil dry out completely. You may need to remove the plant, trim any black, rotten roots, and repot it in fresh, dry soil.
- Poor Drainage (Yellowing Lower Leaves): If water sits in the planter, the roots suffocate. Ensure your container has a drainage hole. If it doesn’t, be extremely cautious with water, using only a tablespoon or two at a time.
- Pests (Mealybugs & Fungus Gnats): Mealybugs look like tiny bits of white fluff in leaf crevices. Dab them with a cotton swab dipped in rubbing alcohol. Fungus gnats are a sign of consistently damp soil. Let the soil dry out more between waterings, and they’ll disappear.
- Stretching or “Etiolation” (Leggy Growth): If your succulent is stretching out with large gaps between leaves, it’s begging for more light. Move it to a brighter spot, like a south or west-facing window.
A quick tip: Give your plant a gentle quarter-turn every time you water it. This ensures all sides get even light, preventing it from leaning awkwardly toward the window and keeping its beautiful, symmetrical shape.
## Common Questions
What is a hanging succulent planter?
A hanging succulent planter is a container designed to be suspended, allowing you to grow succulents vertically and save space.
How to hang a hanging succulent planter indoors?
Use sturdy screw-in hooks anchored into ceiling joists or wall studs for a secure indoor installation.
How to hang a hanging succulent planter outdoors?
Install it using rust-proof hooks and brackets in a location sheltered from strong winds and harsh direct sun.
Where to buy a hanging succulent planter at Home Depot?
You can find a variety of hanging planters in the garden center or indoor plant department at Home Depot.
How to DIY a hanging succulent planter?
You can easily create one by adding a drainage hole to a container and assembling a simple macrame or rope hanger.
What is a hanging succulent planter box?
It is a rectangular or square-style hanging planter, often made of wood, that can hold multiple succulents in a single display.
Your Succulent Wall Awaits
To create a thriving vertical garden, focus on selecting the right materials for your planter and mastering a careful watering routine for your succulents. Remember these three essentials when building a vertical succulent garden:
- Ensure excellent drainage in every container.
- Place your creation in a spot with plenty of bright, indirect light.
- Use a gritty, well-draining soil mix.
Now, go gather your supplies and bring your own unique succulent display to life. Get creative with how you decorate your home with succulents. Try vertical wall planters, terrariums, and charming tabletop arrangements. Trust your instincts, enjoy the creative process, and care for your plants with the confidence that you’ve got this.
Further Reading & Sources
- The Best DIY Succulent Planter Ideas – Westwood Gardens
- DIY Hanging Succulent Planter – The Kitchen Garten
- DIY Hanging Succulent Planter – My Uncommon Slice of Suburbia
- DIY Hanging Succulent Planters | Brooklyn Limestone
Lena Greenfield is a passionate horticulturist and plant care expert with over 10 years of experience cultivating and nurturing hardy house plants. With a deep understanding of both indoor and outdoor gardening, Lena shares practical advice on choosing, caring for, and maintaining resilient plants that flourish year-round. Through her knowledge and hands-on approach, Lena helps plant lovers transform their spaces into vibrant, green sanctuaries, no matter their gardening experience.
DIY Projects