
Signs Your Succulent Propagation is Working
Published on: October 5, 2026 | Last Updated: October 5, 2026
Written By: Lena Greenfield
You’ve carefully placed your succulent leaves or cuttings on soil, and now you’re wondering if anything is actually happening beneath the surface. That period of waiting can be nerve-wracking, but there are clear, happy signals that tell you your plant project is on the right track.
In my years of filling every windowsill with baby plants, I’ve learned exactly what to look for. I’ll guide you through the key milestones, from the first tiny roots to a fully independent plant. We’ll cover new root growth, the appearance of baby plants (pups), healthy leaf changes, and what to do when you see these signs.
The First Hopeful Signs: Callus Formation and Early Rooting
After you’ve set your leaf or cutting aside, the very first thing you want to see is a callus. That dry, scab-like layer over the cut end is your plant’s natural bandage, and it’s the first solid sign you’re on the right track. I check my props every few days, and I always breathe a sigh of relief when I see that little patch of toughness has formed. It means the wound is sealed and protected from rot, which is the number one killer of baby succulents.
Once the callus is secure, the real magic begins underneath. You might notice tiny, almost invisible, pink or white nubs pushing out from the callused area-these are your first root initials. They look like miniature dust bunnies at first. Don’t poke or prod them! This stage requires patience. I keep the soil barely moist by giving it a light spritz with a spray bottle every few days only if the soil is completely dry.
Visible Growth Milestones: New Roots and Plantlets
This is the stage where your patience truly starts to pay off in visible, exciting ways. Seeing a network of fine, white roots spreading across the soil surface is a definitive victory in the propagation journey. Those roots are the lifeline, and their appearance tells you the tiny plant is ready to start drawing its own water and nutrients.
The mother leaf will begin to look tired and wrinkled as the baby plantlet uses up its stored energy. This shriveling is a completely normal and positive process; it means the pup is thriving at the leaf’s expense. I never remove the mother leaf until it is dry and crispy and falls off on its own. It’s still providing valuable resources.
Spotting Success in Leaf Propagation
Leaf propagation feels like pure magic. You’re literally growing a whole new plant from a single part of another.
- A tiny rosette or cluster of minuscule leaves pushing out from the base of the mother leaf. This is your new plantlet!
- The mother leaf becomes progressively softer, thinner, and papery as it sacrifices itself.
- Established roots that actively grip the soil when you give the leaf a very gentle tug.
Quick tip: If the mother leaf stays plump but you see no growth after weeks, it might just be taking its time. Some varieties are much slower than others. My Echeveria leaves often sprout faster than my Sedum morganianum (Burro’s Tail) cuttings. So, are succulents fast or slow growing plants? It depends on the species; many are slow growers, though some can speed up with good light, warmth, and a bit of patience.
Confirming Success in Stem and Offset Propagation
Propagating from a stem cutting or a pup (offset) you’ve removed from the mother plant is often faster. You’re starting with a more mature structure.
- Firmness is Key: A successful stem cutting will feel firm and solid in the soil, not wobbly or loose. That firmness indicates a strong root anchor.
- New Growth on Top: Look for fresh, bright green leaves emerging from the center (the growth point) of your stem cutting or offset. This is the ultimate confirmation of success.
- Resistance When Tugged: After a few weeks, a gentle tug should meet with clear resistance, telling you the roots have established themselves in the potting mix.
From my experience, a stem cutting that shows no signs of wrinkling or thirst for several weeks is a very good sign that its new root system is doing its job and supplying water.
The Telltale Feel: Firmness and Turgor Pressure
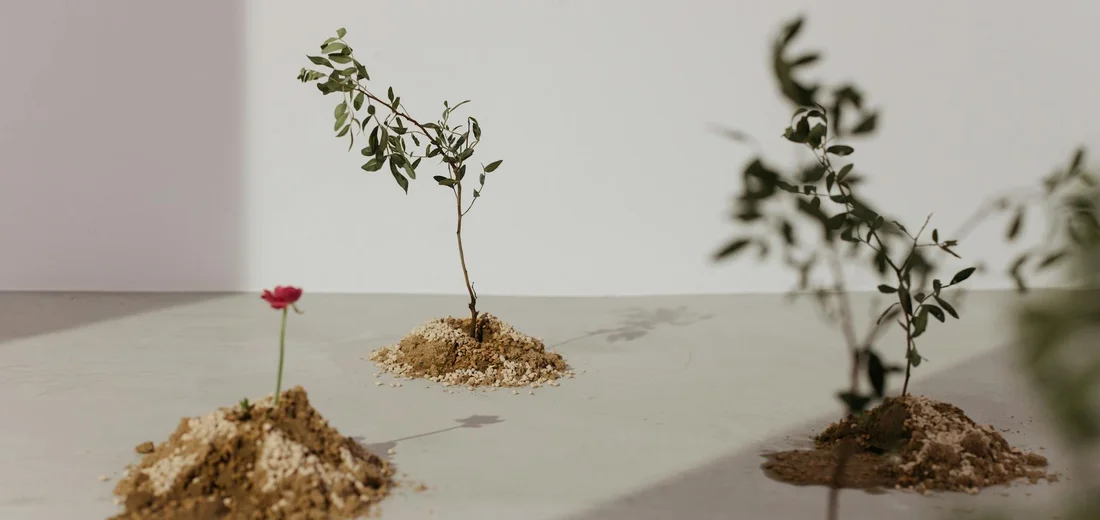
I always tell fellow plant lovers that your fingertips are one of your best diagnostic tools. A successfully propagating succulent leaf or cutting will start to feel plump and firm to the touch, like a well-watered grape. This is especially true when propagating succulents from leaf cuttings. After you harvest a healthy leaf, let the cut end callus for a day or two, then set it on well-draining soil to start roots. This firmness is a direct result of healthy turgor pressure, which means the plant’s cells are full of water and pushing outward against their walls.
Before a propagation takes root, the parent leaf often feels a bit soft and flexible as it sacrifices its stored water to fuel new growth. When you gently squeeze a propagating leaf and it resists with a pleasant firmness, that’s a fantastic sign. It means the new, tiny roots are finally drawing water from the soil and replenishing the leaf.
On the flip side, a leaf that remains mushy, wrinkled, or feels like a deflated balloon is often a sign of trouble, usually rot from too much moisture. A healthy propagating succulent should never feel squishy or leave moisture on your fingers.
Timeline of Success: What to Expect Week by Week
Patience is the secret ingredient in succulent propagation, but it helps to have a roadmap. I’ve propagated hundreds of succulents, and while timing can vary, this is the general progression I see in my own plant nursery. To help you plan the long game, here’s the complete propagation timeline. We’ll walk through the main stages and typical timeframes so you know what to expect.
Signs of Progress After 2-3 Weeks
This is the stage where you need a keen eye. Don’t be discouraged if you don’t see anything yet, but here’s what to look for:
- The first magical sight is often tiny, pink or white nubs emerging from the callused end of the leaf. These are the initial root hairs seeking out moisture.
- The parent leaf itself may start to look a little weathered or wrinkled as it dedicates its energy to the new life.
- You might see a tiny, almost microscopic rosette beginning to form at the base of the leaf. It often looks like a minuscule green dot that slowly unfurls.
Robust Signs of Life After 4-6 Weeks
If the first few weeks are about promise, this period is about proof. Your propagation efforts will become undeniably visible.
- Those initial nubs will have developed into a proper network of white or reddish roots, actively growing into the soil.
- The baby plant (pup) will be clearly visible, looking like a miniature version of its parent. You’ll see several tiny leaves forming a distinct, recognizable rosette.
- The pup will begin to show its true colors, developing the same hues and shapes as the mature plant.
- Quick Tip: If your pup is growing but the parent leaf is still plump, resist the urge to remove it! It’s still providing crucial nutrients.
Resilience and Acclimation: Signs Your New Plant is Thriving
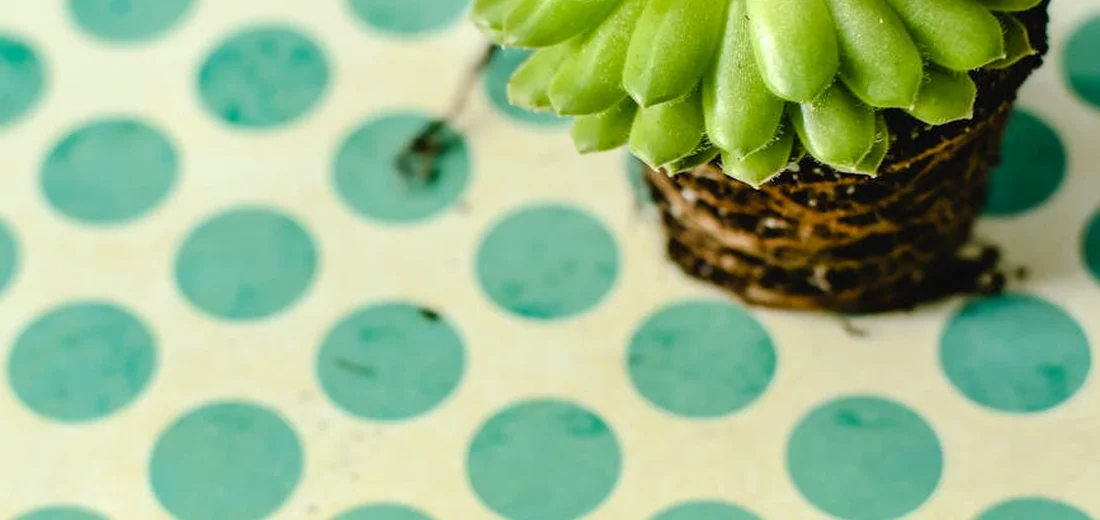
The final test of a successful propagation is how the new plant handles the real world. A baby succulent that’s truly established will show its independence in a few key ways. To help it pass that test, consult a care guide for aftercare for newly propagated succulents. It covers gentle watering, bright indirect light, and gradual acclimation to real-world conditions.
I know it’s tempting to coddle them, but a thriving propagation will hold its own. When you give the pot a very gentle wiggle, the plant should feel anchored and not loose in the soil, a sure sign its root system is well-developed.
Another great sign is how it reacts to its first deep watering. A struggling plant might show signs of stress, but a resilient one will soak up the water and appear even plumper and happier a day later. Its growth will also be consistent, not stunted, pushing out new leaves from the center regularly. If you’re unsure when to water, look for telltale symptoms, including the signs your succulents need water. Wrinkled or shriveled leaves and dry soil signal that it’s time to water.
Perhaps the most rewarding sign is when the parent leaf finally dries up, becomes crispy, and falls off on its own. This is the plant’s way of telling you it’s fully self-sufficient. Don’t force it off; let this process happen naturally. It’s the ultimate graduation ceremony for your propagation.
When to Pot Your Success: The Final Green Light
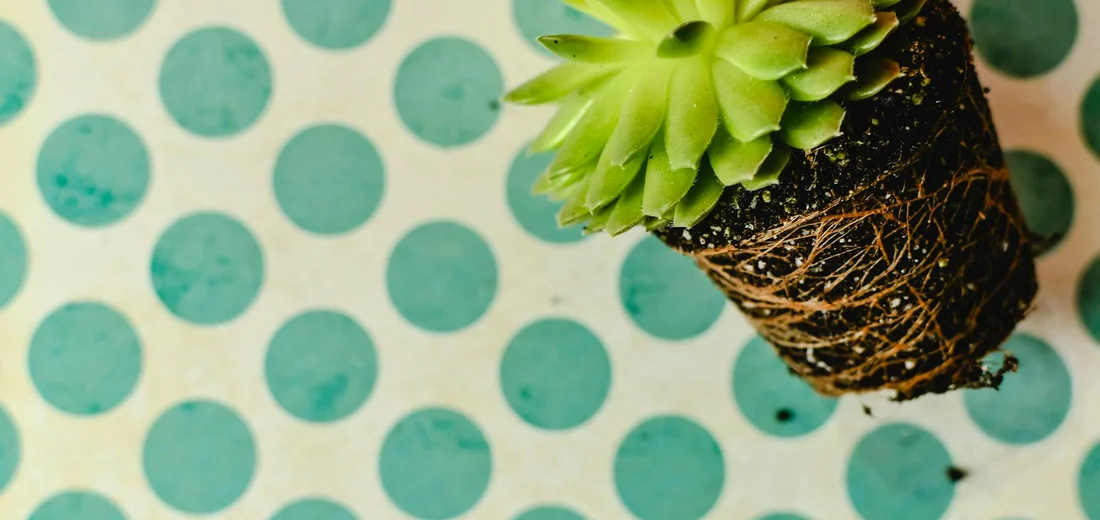
You’ve seen the roots and maybe even a tiny new rosette. The big question is: when do you finally move your baby plant to its own home? I wait until the original leaf has shriveled into a papery husk and the new plant’s root system looks substantial enough to anchor itself.
In my experience, patience is the real key here. Rushing this step is the most common mistake I see. A tiny pup with just two little roots isn’t ready for the big leagues. You want to see a small cluster of roots, about an inch or so long.
My Personal Potting Checklist
Before I even reach for a pot, I run through this mental list. The plant must check all these boxes:
- The “mother leaf” is fully dried and can be gently brushed away or has fallen off on its own.
- The new plant has several roots, not just one or two single strands.
- The pup itself has noticeable growth and looks plump and healthy.
- It’s been growing steadily for a few weeks in its propagation tray.
Quick tip: If you give the pup a very gentle tug and it resists, that’s a great sign its roots are established enough for potting. If it pops right out, give it more time.
Troubleshooting: Common Hurdles and Simple Fixes
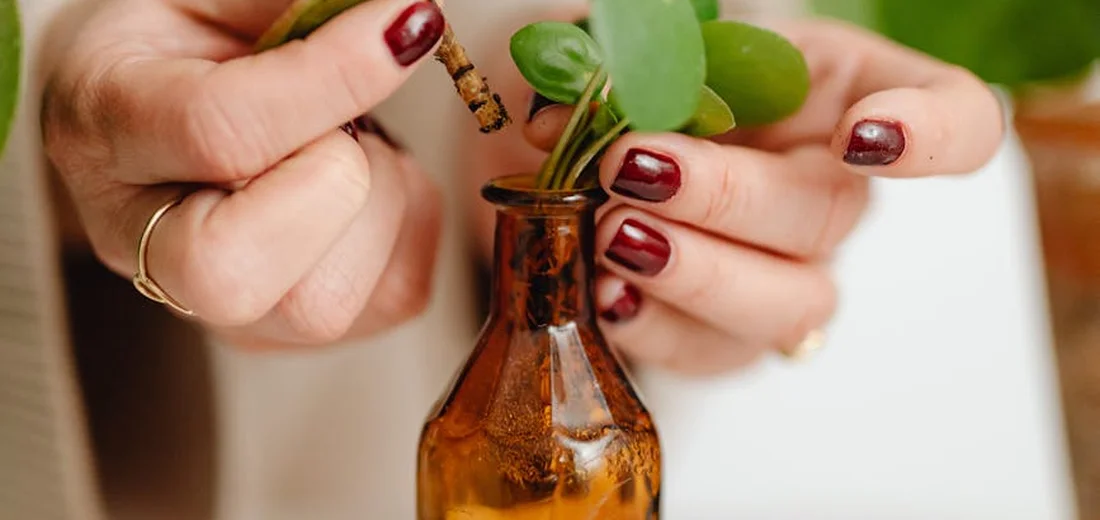
Not every propagation attempt goes perfectly, and that’s okay. I’ve had plenty of failures that taught me what to look for. Here are the issues you might face and how I handle them.
The Mother Leaf Turns to Mush
This is usually a sign of too much moisture. The leaf rots before it can support a new plant. If you see a leaf getting soft, translucent, and smelly, remove it from your propagation tray immediately to prevent mold from spreading. These are common propagation issues that signal the need for troubleshooting. By addressing moisture levels, keeping cuts clean, and using a well-draining medium, you can improve rooting success.
- Fix: Let your leaf cuttings callus over for a full 2-3 days before you even think about placing them on soil. Water much less frequently, if at all. I often just mist the soil around the leaves, not the leaves themselves.
Roots Appear, But Then They Dry Up
This one used to frustrate me to no end. The leaf puts out beautiful roots, and a week later, they’re brown and crispy. This happens when the tiny roots can’t find any moisture to absorb and simply desiccate.
- Fix: Once you see roots, make sure they have light contact with the soil. I gently nudge a little soil over them. Then, start a light misting routine, focusing water on the root area every few days to keep the immediate surroundings slightly damp.
The Pup is Growing, But It’s Stretched and Pale
This is called etiolation, and it means your baby succulent is desperate for more light. It’s stretching out to find a sunbeam. A leggy pup is a sure sign it needs to be moved to a much brighter location.
- Fix: Gradually acclimate your propagation tray to a spot with brighter, indirect light. A south or east-facing windowsill is ideal. Once potted, ensure the mature plant gets several hours of direct sun daily.
Nothing Happens For Weeks (Or Months!)
Sometimes, a leaf just sits there. It hasn’t rotted, but it hasn’t done anything else either. Don’t lose hope. I’ve had leaves that took over two months to show any signs of life—succulents operate on their own schedule. If you’re wondering whether it’s dormancy or decline, a quick check of firmness and color helps. Dormant succulents usually bounce back with proper light and watering, while dying ones soften and darken.
- Fix: As long as the leaf is still firm and not rotting, just leave it be. Ensure it’s getting bright light and forget about it for a while. The plant will decide when it’s ready to grow.
Common Questions
How often should I water my propagating succulent?
Water very sparingly, only giving the soil a light misting when it is completely dry.
What is the best light condition for succulent propagation?
Provide bright, indirect light to encourage growth without scorching the delicate new roots and pups.
Why is my succulent leaf not producing any roots or pups?
Some succulent varieties are simply slower to propagate and may take several months to show signs of growth.
Should I remove the mother leaf once the pup has grown?
No, you should allow the mother leaf to dry up and fall off on its own as it provides nutrients to the new plant.
How can I tell if my propagation is failing due to rot?
A failing propagation will feel mushy, appear translucent, and may have a foul odor.
When should I start fertilizing my new succulent pup?
Wait until the plant is well-established in its own pot and showing consistent new growth before introducing a diluted fertilizer.
Your Propagation Success Checklist
You’ll know your succulent propagation is working when you see new roots, the original leaf stays plump, and a tiny new plant begins to form. Focus on these three clear signs of a healthy start: new roots, a firm parent leaf, and the appearance of a baby rosette. Once you notice these signs, it’s time to transplant and propagate succulents successfully.
Trust what you see and have fun with the process-you’ve got this! Every little root and new leaf is a small victory in your plant journey.
Further Reading & Sources
- Propagation: What Your Succulents Want You to Know – Debra Lee Baldwin
- Succulent & Houseplant Propagation Guide | Plant Perfect
- Propagating Succulents – Needles + Leaves
- Succulent Propagation 101: How to propagate succulents from leaves, cuttings, offsets and divisions
Lena Greenfield is a passionate horticulturist and plant care expert with over 10 years of experience cultivating and nurturing hardy house plants. With a deep understanding of both indoor and outdoor gardening, Lena shares practical advice on choosing, caring for, and maintaining resilient plants that flourish year-round. Through her knowledge and hands-on approach, Lena helps plant lovers transform their spaces into vibrant, green sanctuaries, no matter their gardening experience.
Propagation Methods