
How to Water Your Snake Plant After Repotting
Published on: October 8, 2026 | Last Updated: October 8, 2026
Written By: Lena Greenfield
You’ve just repotted your snake plant and are probably wondering when it’s safe to give it a drink. You might also be worried about giving it root rot, which is a very common fear.
I’ve repotted dozens of snake plants over the years, and in this guide, I’ll walk you through everything I’ve learned. We’ll cover the best time to water, the right watering technique, which soil mix to use, and how to spot and fix any trouble signs.
Why a Post-Repotting Watering Plan is Crucial
After you’ve finished repotting, your first instinct might be to give your snake plant a big drink of water. I’ve felt that urge many times myself. Resisting that initial impulse is the single most important step you can take to ensure your plant thrives in its new home. Your plant’s roots are in a fragile state after being handled and moved.
Think of the tiny root hairs-they are responsible for absorbing all the water and nutrients your plant needs. During repotting, many of these delicate hairs get broken or damaged. Watering a plant with damaged roots is like pouring water on an open wound; it dramatically increases the risk of root rot setting in. I learned this the hard way with one of my first sansevierias, and it was a heartbreaking lesson.
A proper watering plan isn’t just about avoiding rot, though. It’s about giving your plant a gentle transition. This careful approach encourages the roots to grow outward, seeking moisture and firmly anchoring themselves in the fresh soil. You’re essentially training your snake plant to become more resilient and self-sufficient from day one.
The Essential Dry Spell: Your First Step
Immediately after you’ve settled your snake plant into its new pot, your job is to do… nothing. That’s right. The most critical action you take post-repotting is intentional inaction-you must allow for a complete dry spell. I always leave my repotted snake plants completely dry for at least a few days to a full week before even thinking about water.
This waiting period serves two vital purposes. First, it gives any minor root abrasions a chance to callus over and heal, creating a natural barrier against pathogens in the soil. Second, it helps the new soil settle naturally around the root system. This dry spell forces the roots to get comfortable and start exploring their new environment on their own terms.
So, how do you know when the dry spell is over and it’s finally time for that first drink? Don’t just wait for a set number of days on the calendar. You need to become a plant detective. Here’s my simple checklist:
- Lift the pot. Does it feel significantly lighter than it did right after you repotted? That’s your first clue.
- Check the soil depth. Stick your finger or a wooden chopstick about two inches into the soil. It should come out completely clean and dry.
- Look for subtle signs. The leaves might feel just the slightest bit less rigid, a quiet signal that the plant is ready for a sip.
Quick Tip: Mark your repotting date on a calendar as a reminder to start checking for dryness after about five to seven days. This simple habit prevents overwatering guesswork.
When you are absolutely certain the soil is dry all the way through, then—and only then—should you give your snake plant its first watering in its new pot. Snake plants can survive long periods without water, storing moisture in their leaves. This drought tolerance is why careful, infrequent watering yields healthier, hardier plants. This patience pays off with a plant that establishes itself faster and grows more vigorously in the long run. I’ve seen the difference it makes in my own collection, leading to fuller, healthier plants year after year.
Your First Watering: A Gentle Soak Technique
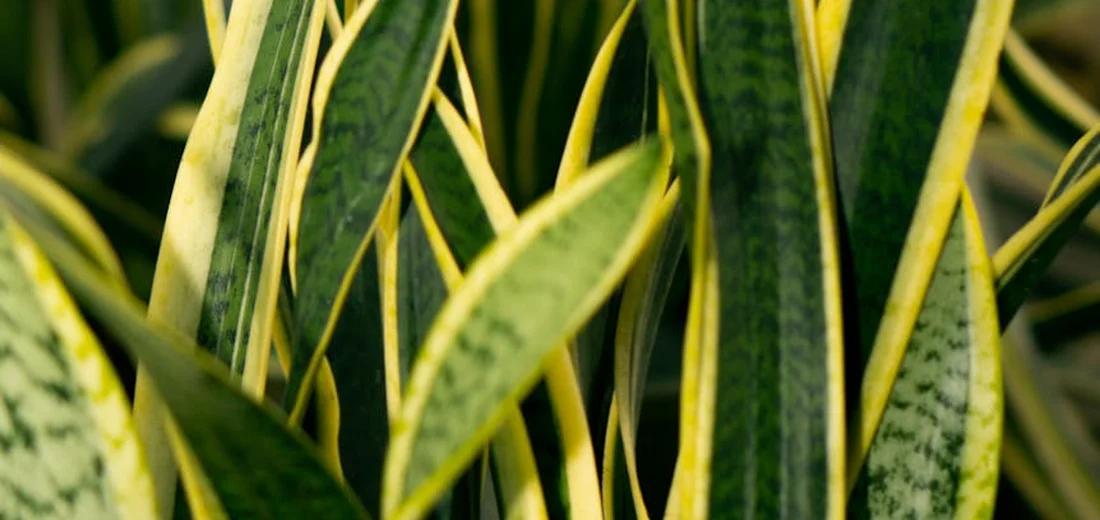
I’ve learned through trial and error that the first watering after repotting is the most critical moment for your snake plant’s recovery. Treat this first drink like a gentle welcome rather than a forceful flood.
- Step 1: Check soil moisture depth. Don’t just poke the surface. I stick my finger about two inches into the pot-if it feels completely dry and no soil sticks to my skin, it’s time to water.
- Step 2: Use room temperature water. I made the mistake of using cold tap water once and saw my plant visibly shudder. Think of it like giving a plant a comfortable bath, not an ice bucket challenge.
- Step 3: Water slowly and evenly around the base. I use a watering can with a long, narrow spout to direct the flow onto the soil, carefully avoiding the center of the plant where water can pool and cause rot.
- Step 4: Soak until water runs from drainage holes. This encourages the roots to grow downward. Be patient-it can take a minute for the water to fully saturate the new soil and find its way out.
- Step 5: Empty the drainage saucer completely. This is non-negotiable. I never let my snake plant sit in a puddle; it’s the fastest way to invite root rot into its new home.
Crafting Your New Watering Schedule
Your old watering schedule is now obsolete. The new pot and fresh soil mix change everything, creating a unique environment that dries out at its own pace. I ignore the calendar and let the plant’s condition and the soil’s dryness guide me.
In my sunroom, a repotted snake plant might need water every three weeks, but the one in my lower-light bedroom can go six weeks easily. That kind of nuance is exactly what you’ll find in a complete guide on how often to water snake plants indoors. It explains how light, humidity, and soil affect watering frequency. The secret is to adapt to your plant’s new life, not force it into an old routine.
Signs You’re Watering Correctly
When you get it right, the plant practically glows. The leaves stand tall and feel firm to the touch, with a vibrant, rich color. You’ll notice steady, albeit slow, growth of new leaves from the center, a sure sign of a happy, hydrated plant.
The soil will go through a clear wet-to-dry cycle, and the pot will feel noticeably lighter when you lift it before a watering. This is the rhythm you’re aiming for.
Red Flags: Overwatering and Underwatering
Overwatering is the far greater danger. I know I’ve gone too far if the leaves turn soft, mushy, and yellow, often starting at the base. A foul, musty smell from the soil is a major distress signal that roots are suffocating.
Underwatering shows itself differently. The leaves will get wrinkled, thin, and may start to curl or brown at the tips. They’ll feel brittle and might droop over. If the soil has pulled away from the edges of the pot, it’s been much too dry for much too long.
The Perfect Foundation: Soil and Pot Setup
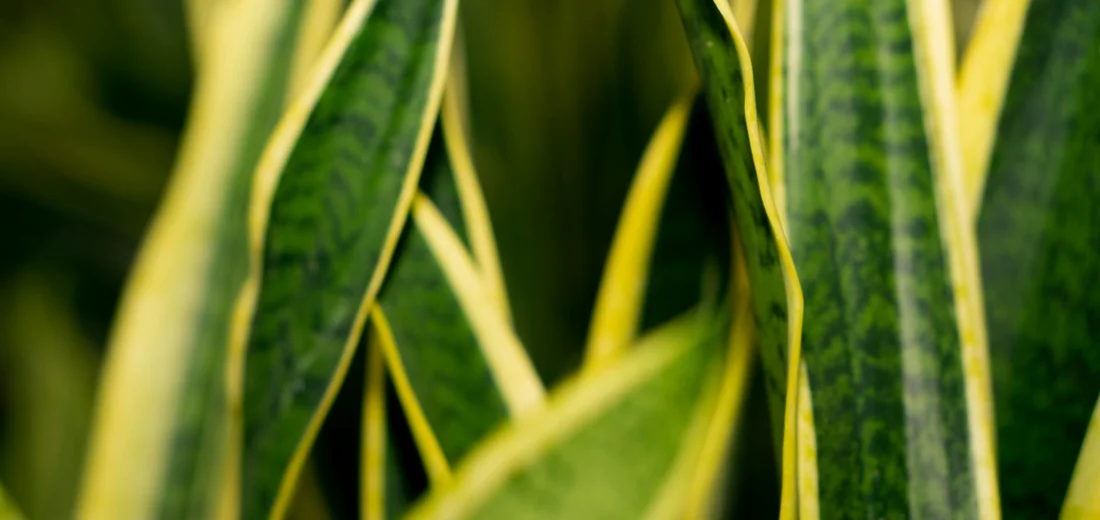
Before you even think about watering, getting the foundation right is your most important job. I learned this the hard way after losing a beautiful snake plant to root rot from a pot with no drainage. The right pot and soil mix are your first line of defense against overwatering. To put this into practice, here’s a quick step-by-step guide to choosing the right pot size for a snake plant. Choosing the right pot size now means healthier growth and less risk of root rot.
Choosing the Right Pot
Your new pot needs to be a good home, not a swimming pool. Here’s what to look for:
- Drainage Holes Are Non-Negotiable: This is the most critical feature. Without a hole, water has no escape route and will pool at the bottom, leading to soggy, rotting roots.
- Size Matters More Than You Think: Only go up one pot size, about 1-2 inches wider in diameter than the old one. A pot that’s too large holds excess soil that stays wet for far too long.
- Material Makes a Difference: Terracotta or clay pots are my personal favorite because they are porous and allow the soil to dry out faster. Plastic or glazed ceramic pots retain moisture longer, so you must be extra careful with your watering schedule.
Crafting the Ideal Soil Mix
Snake plants are succulents and despise wet feet. Regular potting soil is too dense and holds too much moisture. Creating a chunky, fast-draining mix is the single best thing you can do for your plant’s long-term health. I always mix my own, and it’s incredibly simple. This approach is covered in our complete guide on succulent soil for snake plants. It covers the exact components and ratios.
Here is my go-to recipe:
- 2 parts all-purpose potting soil
- 1 part perlite (those white, pebble-like bits that add airiness)
- 1 part coarse sand or orchid bark
This combination creates a loose, airy environment that lets water flow through quickly, mimicking the plant’s natural, well-draining habitat. Your roots will get the water they need and the oxygen they crave.
Seasonal Watering Shifts for Your Repotted Plant
Your snake plant’s thirst changes with the seasons, and a newly repotted one is especially sensitive to these shifts. Treating it the same in December as you do in July is a common mistake that can stunt its growth. I adjust my care routine with the calendar, and my plants thank me for it.
Spring and Summer (The Growing Season)
This is when your plant is actively growing and will use water more efficiently. The warmer temperatures and longer days signal it to put out new leaves.
- Water Thoroughly: When the soil is completely dry, give it a deep, generous watering until water runs freely out of the drainage hole.
- Let it Dry Out Completely: Always, always check that the top few inches of soil are bone-dry before you even think about watering again.
- Expect Faster Dry-Out: With more light and warmth, the soil will dry out quicker. You might find yourself watering every 2-4 weeks.
Quick Tip: In summer, I sometimes take my snake plants to the sink or shower for their drink, simulating a good desert downpour and ensuring the entire root ball gets hydrated. This water-centric care also translates to hydroponic growth for snake plants. A complete hydroponic growth guide covers watering, nutrients, and growing media for best results.
Fall and Winter (The Dormant Season)
Growth slows way down during these cooler, darker months. Your plant is basically napping, and its water needs drop dramatically.
- Water Sparingly: This is the time for restraint. You might only need to water your repotted snake plant once a month, or even every 6-8 weeks.
- Check Soil Moisture Deeply: Don’t just trust the surface. Stick your finger deep into the soil to make sure it’s dry all the way through.
- Beware of Cold Drafts: Keep your plant away from drafty windows or heating vents, as extreme temperature changes can stress it and affect how it uses water.
The biggest winter mistake is loving your plant to death with too much water. When in doubt, wait another week. A slightly thirsty snake plant is always better than a drowned one.
FAQs
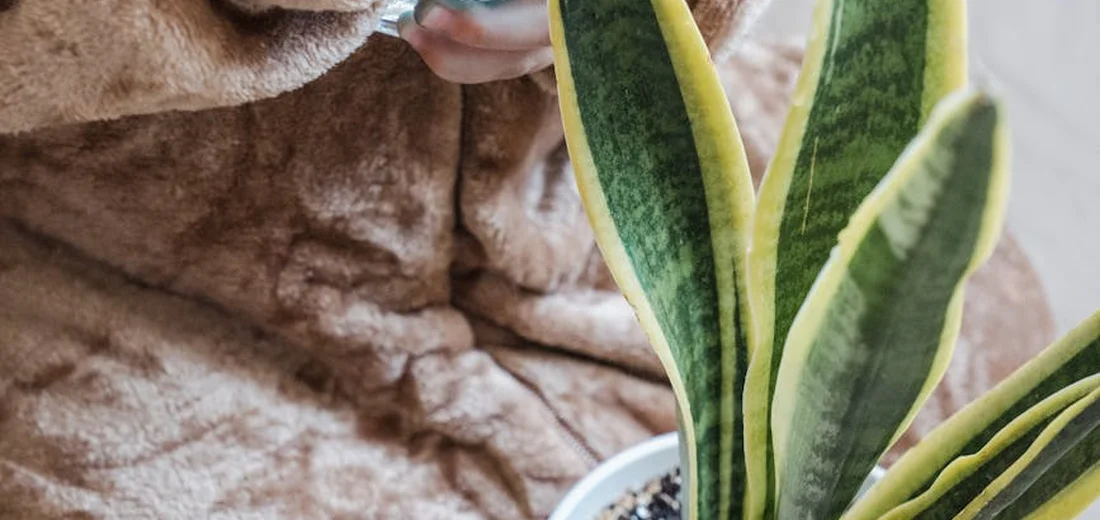
What is the best way to water snake plants?
Water them thoroughly only when the soil has completely dried out, then allow excess water to drain away fully.
How does watering a snake plant change in winter?
During winter dormancy, water your snake plant much more sparingly, sometimes as infrequently as once every 6-8 weeks. For more detailed guidance, check out our winter care guide for snake plants.
Can I water my snake plant every other day?
Watering every other day will quickly cause root rot, as snake plants require the soil to dry out completely between waterings. Do snake plants need drainage holes? Yes—use a pot with drainage holes to prevent water from sitting in the soil and to help it dry out between waterings.
How should I water snake plants kept outdoors?
Water outdoor snake plants only during dry spells, as rainfall often provides sufficient moisture, and always ensure they are in well-draining soil. Different snake plant types vary in light tolerance and watering needs. For detailed guidance on this, refer to the article on Snake plant care by type. Choose light exposure and a sandy, well-draining soil mix appropriate to the variety.
Is it beneficial to water snake plants from the bottom?
Bottom watering can be an effective method to encourage deep root growth and ensure the soil is evenly moistened.
Is watering a snake plant with ice cubes a good idea?
Using ice cubes is not recommended, as the extreme cold can shock the roots and lead to damage in this tropical plant.
You’ve Got This!
Remember, the golden rule for watering your repotted snake plant is simple: Wait until the soil is completely dry before giving it a thorough, deep soak. In a proper repot snake plant step-by-step guide, this sets the stage for avoiding overwatering. You’ll also learn how to choose the right pot, soil, and drainage. Stick to these key steps for success:
- Wait at least a week after repotting before the first watering.
- Always check for dry soil with your finger before adding water.
- Water deeply until it runs from the drainage holes, then let it drain completely.
You now have all the knowledge to help your snake plant settle into its new home beautifully. Trust your instincts, use your finger as your guide, and enjoy watching your resilient plant thrive under your care. This is the start of a complete indoor snake plant care guide—from placement to maintenance. Dive into easy tips on where to place it, how to light it, and how to keep it happy year-round.
Further Reading & Sources
- How to Repot Your Snake Plant in 6 Easy Steps
- Repotting Snake Plants: Easy Tips for Transplanting Snake Plants
- When to Repot a Snake Plant and How to Do it Right
- r/houseplants on Reddit: How much water to use when I repot this little snake plant?
Lena Greenfield is a passionate horticulturist and plant care expert with over 10 years of experience cultivating and nurturing hardy house plants. With a deep understanding of both indoor and outdoor gardening, Lena shares practical advice on choosing, caring for, and maintaining resilient plants that flourish year-round. Through her knowledge and hands-on approach, Lena helps plant lovers transform their spaces into vibrant, green sanctuaries, no matter their gardening experience.
Repotting Guidelines